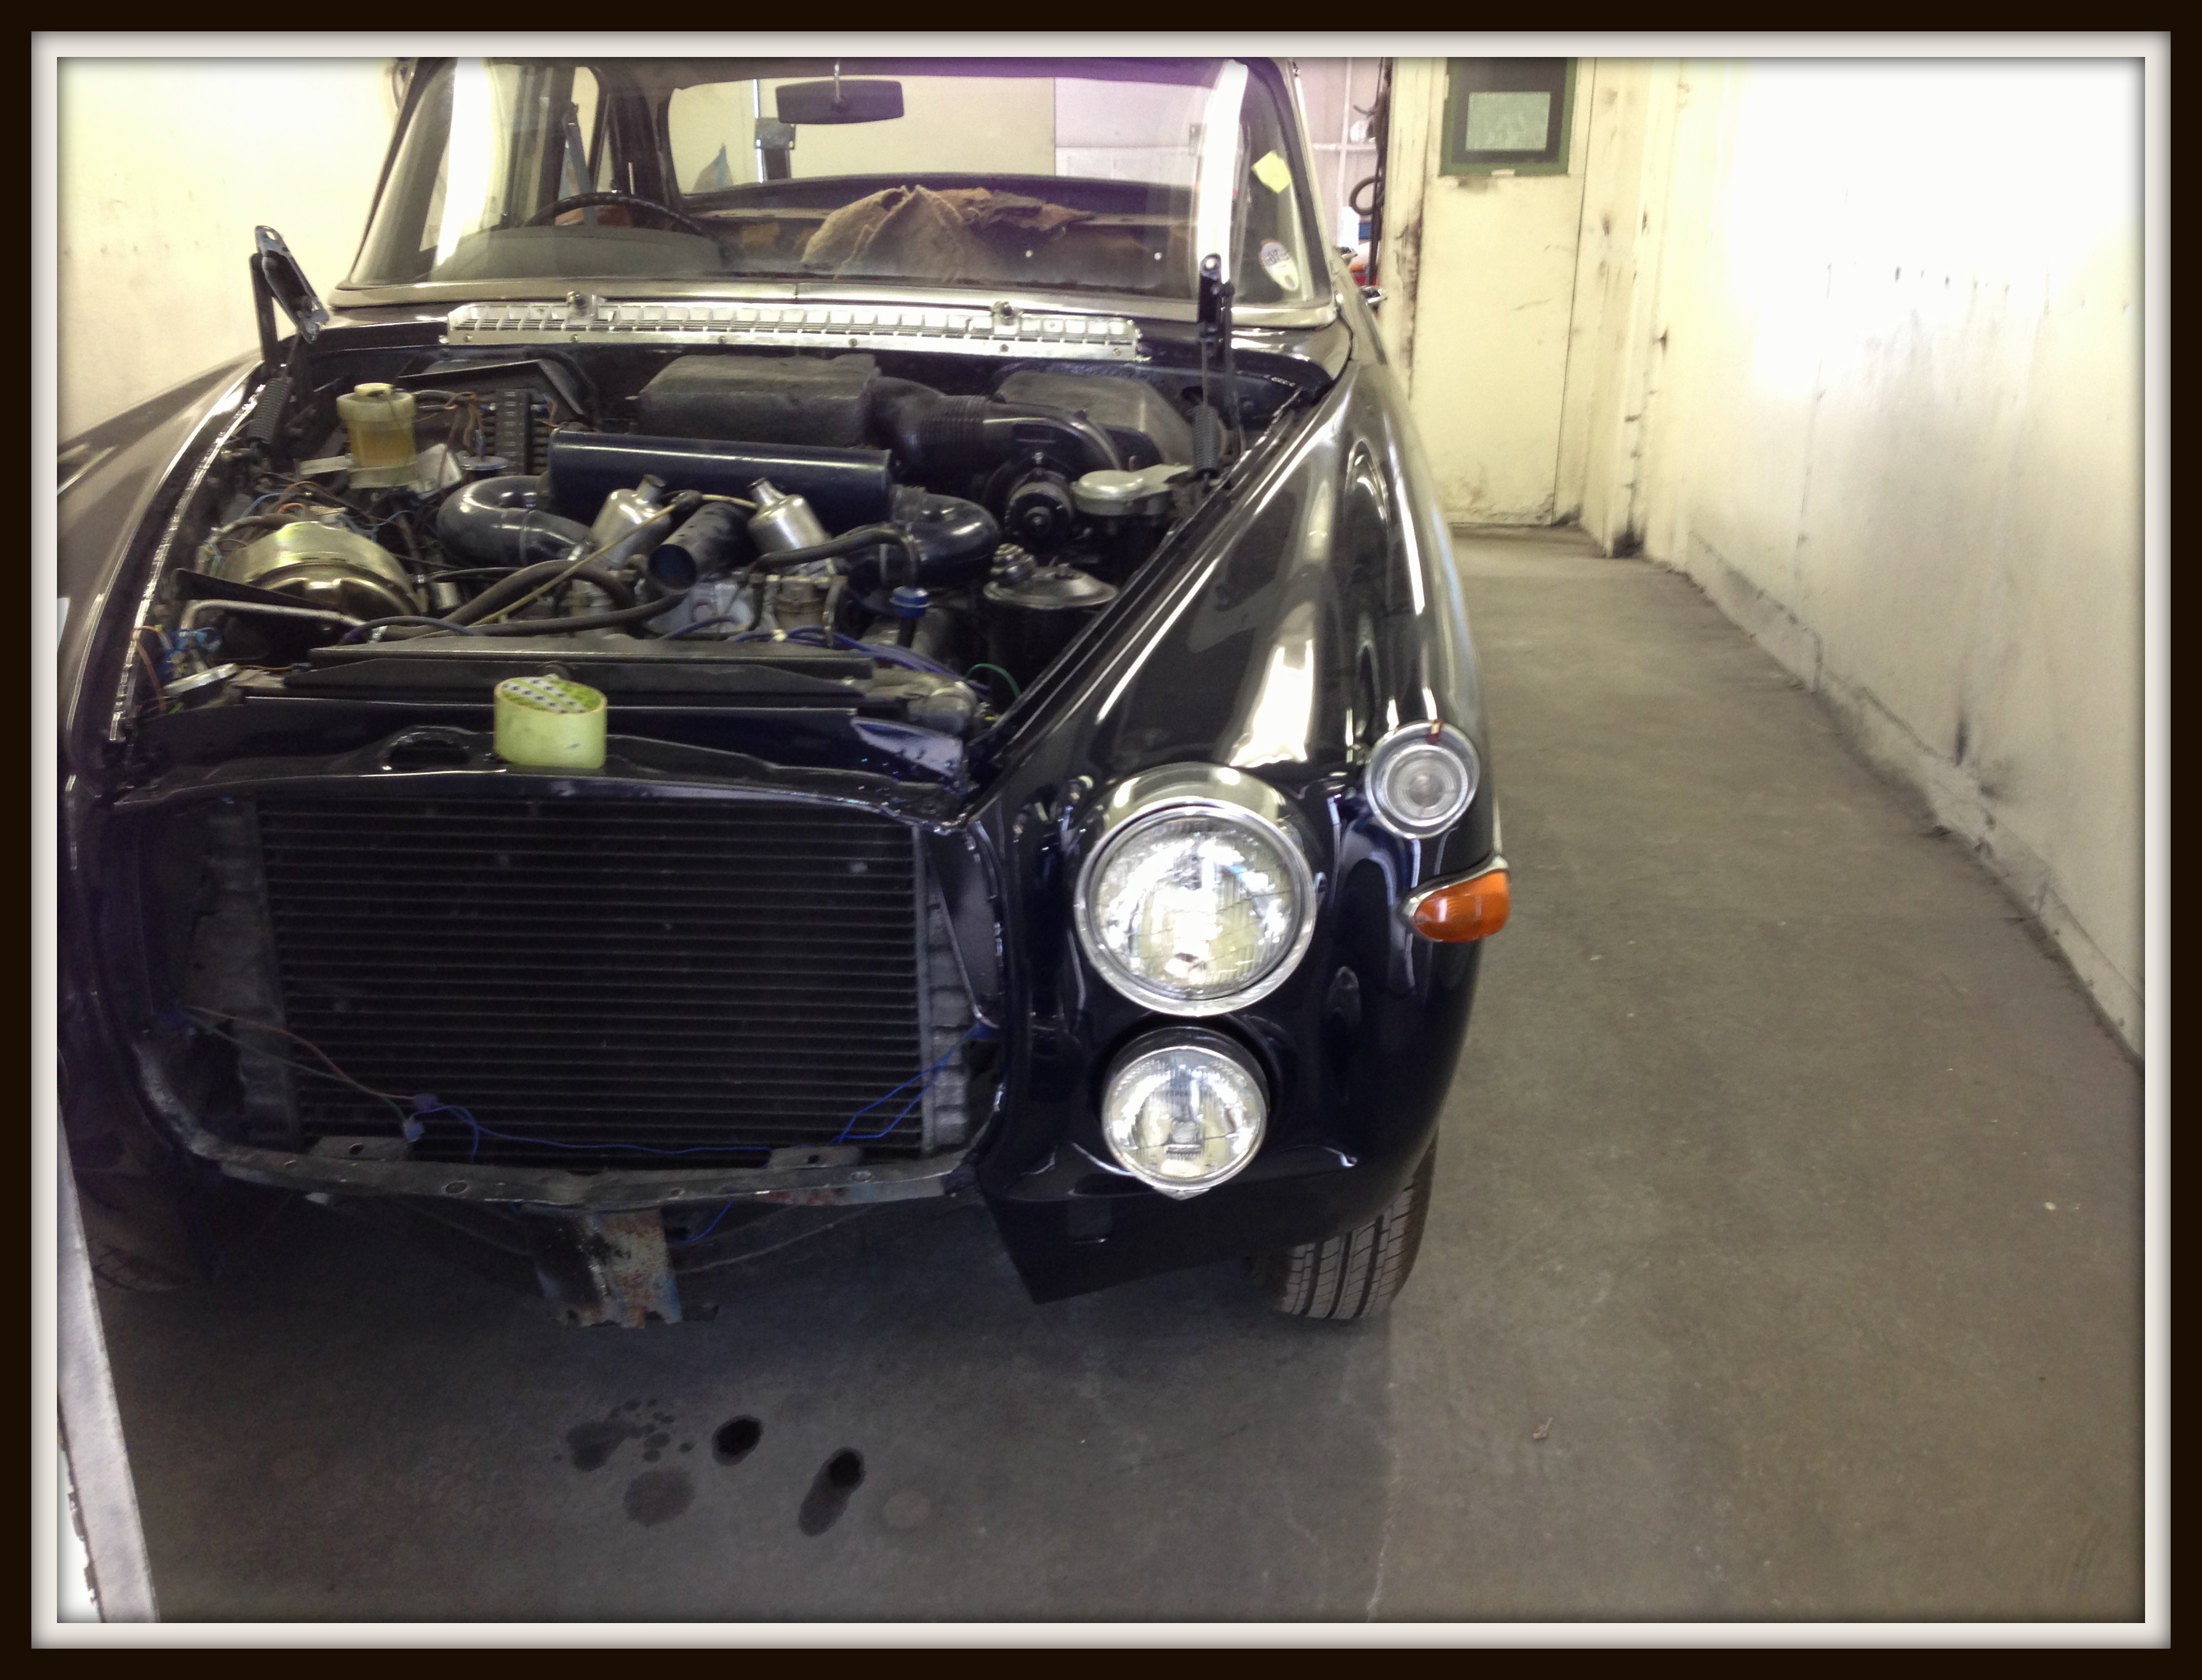
This Rover P5B Coupe had had a partial refurbishment in the past; we were invited to look at it as the current owner had a number of concerns that needed attention. When we collected the vehicle for inspection the owner gave us a list of these, but the one that concerned us most was that the doors were no longer fitting properly.
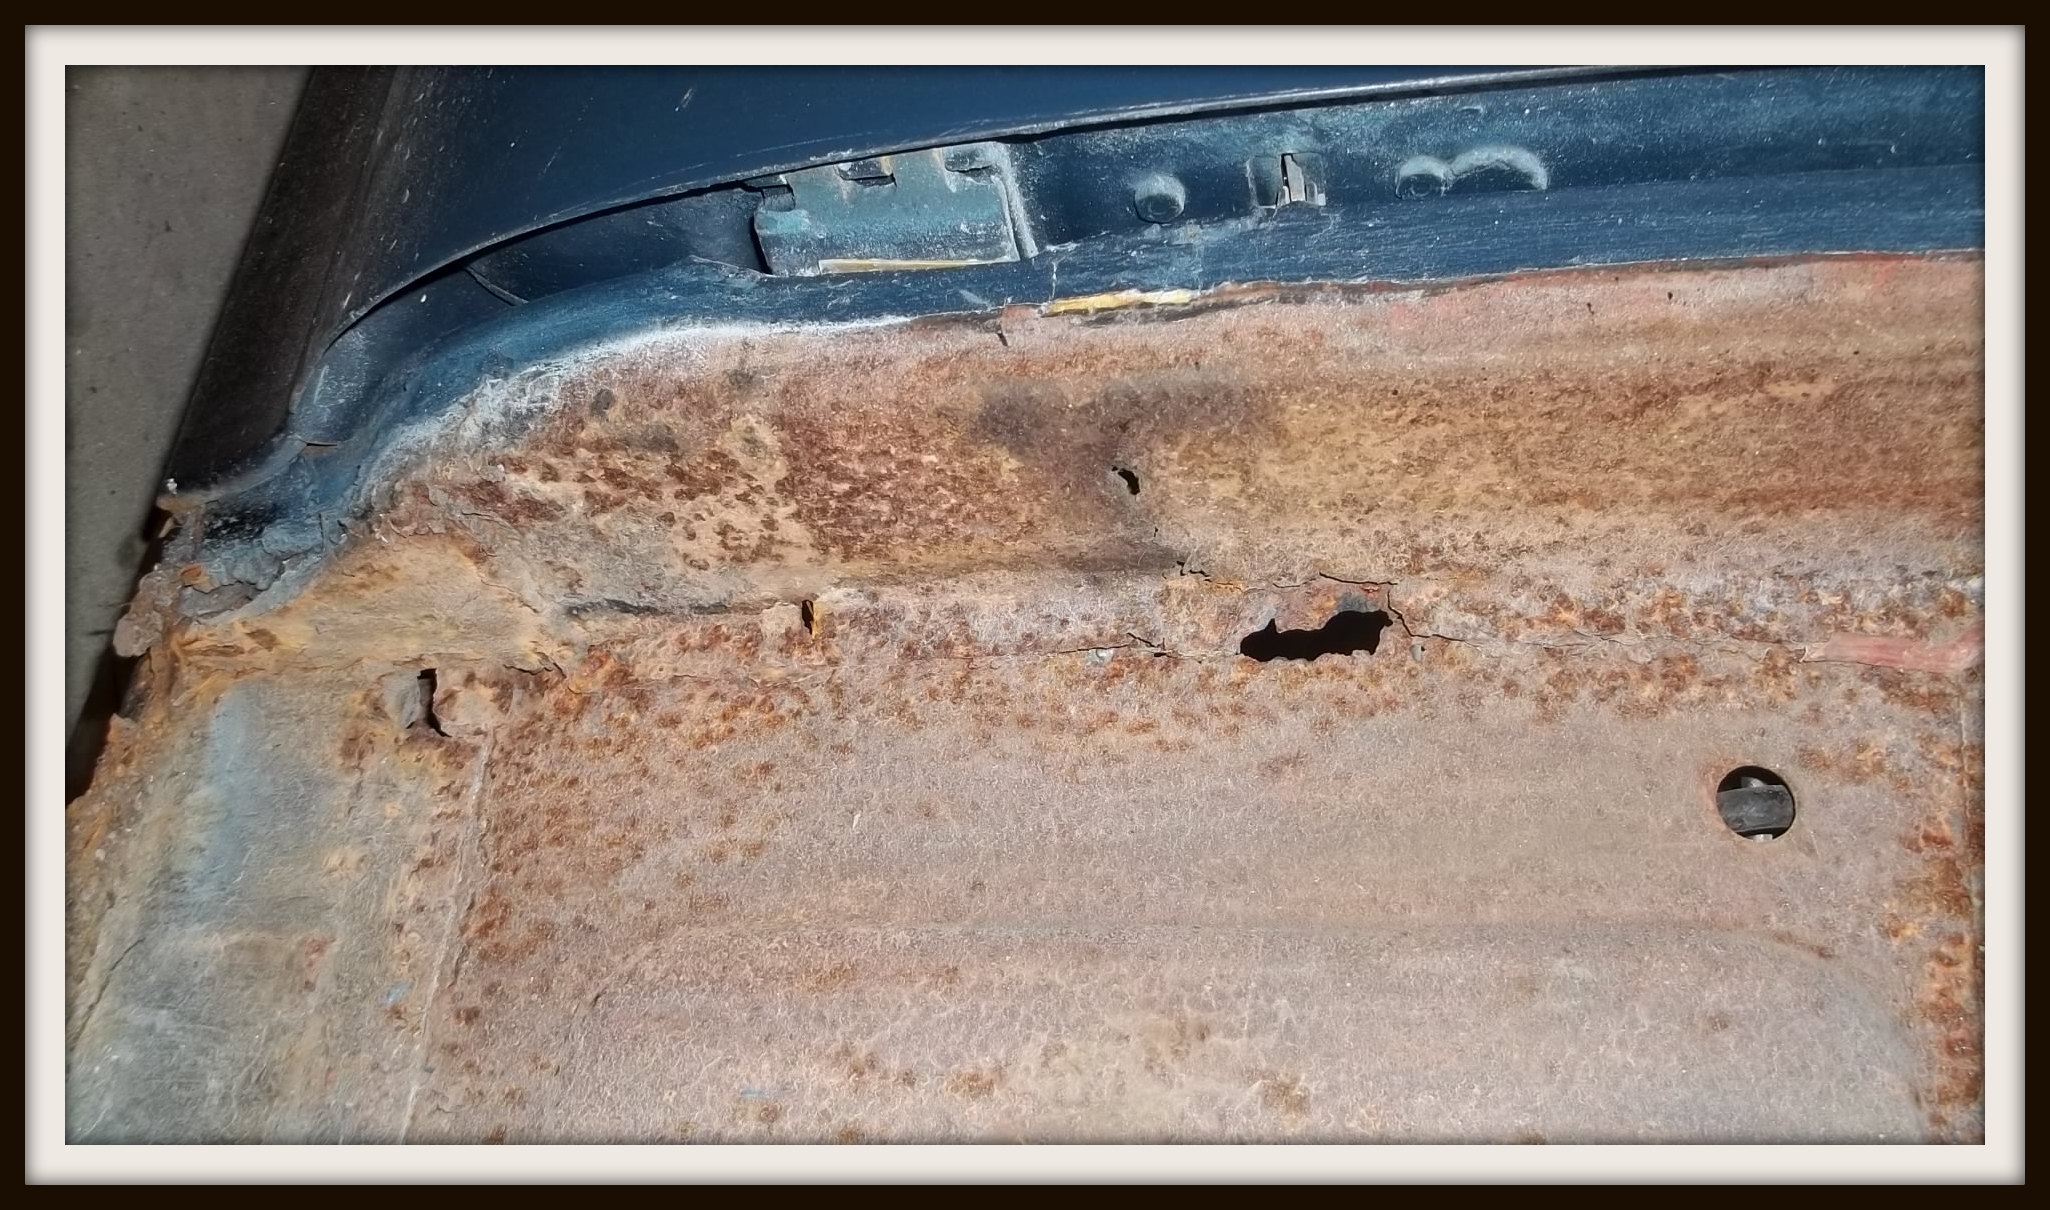
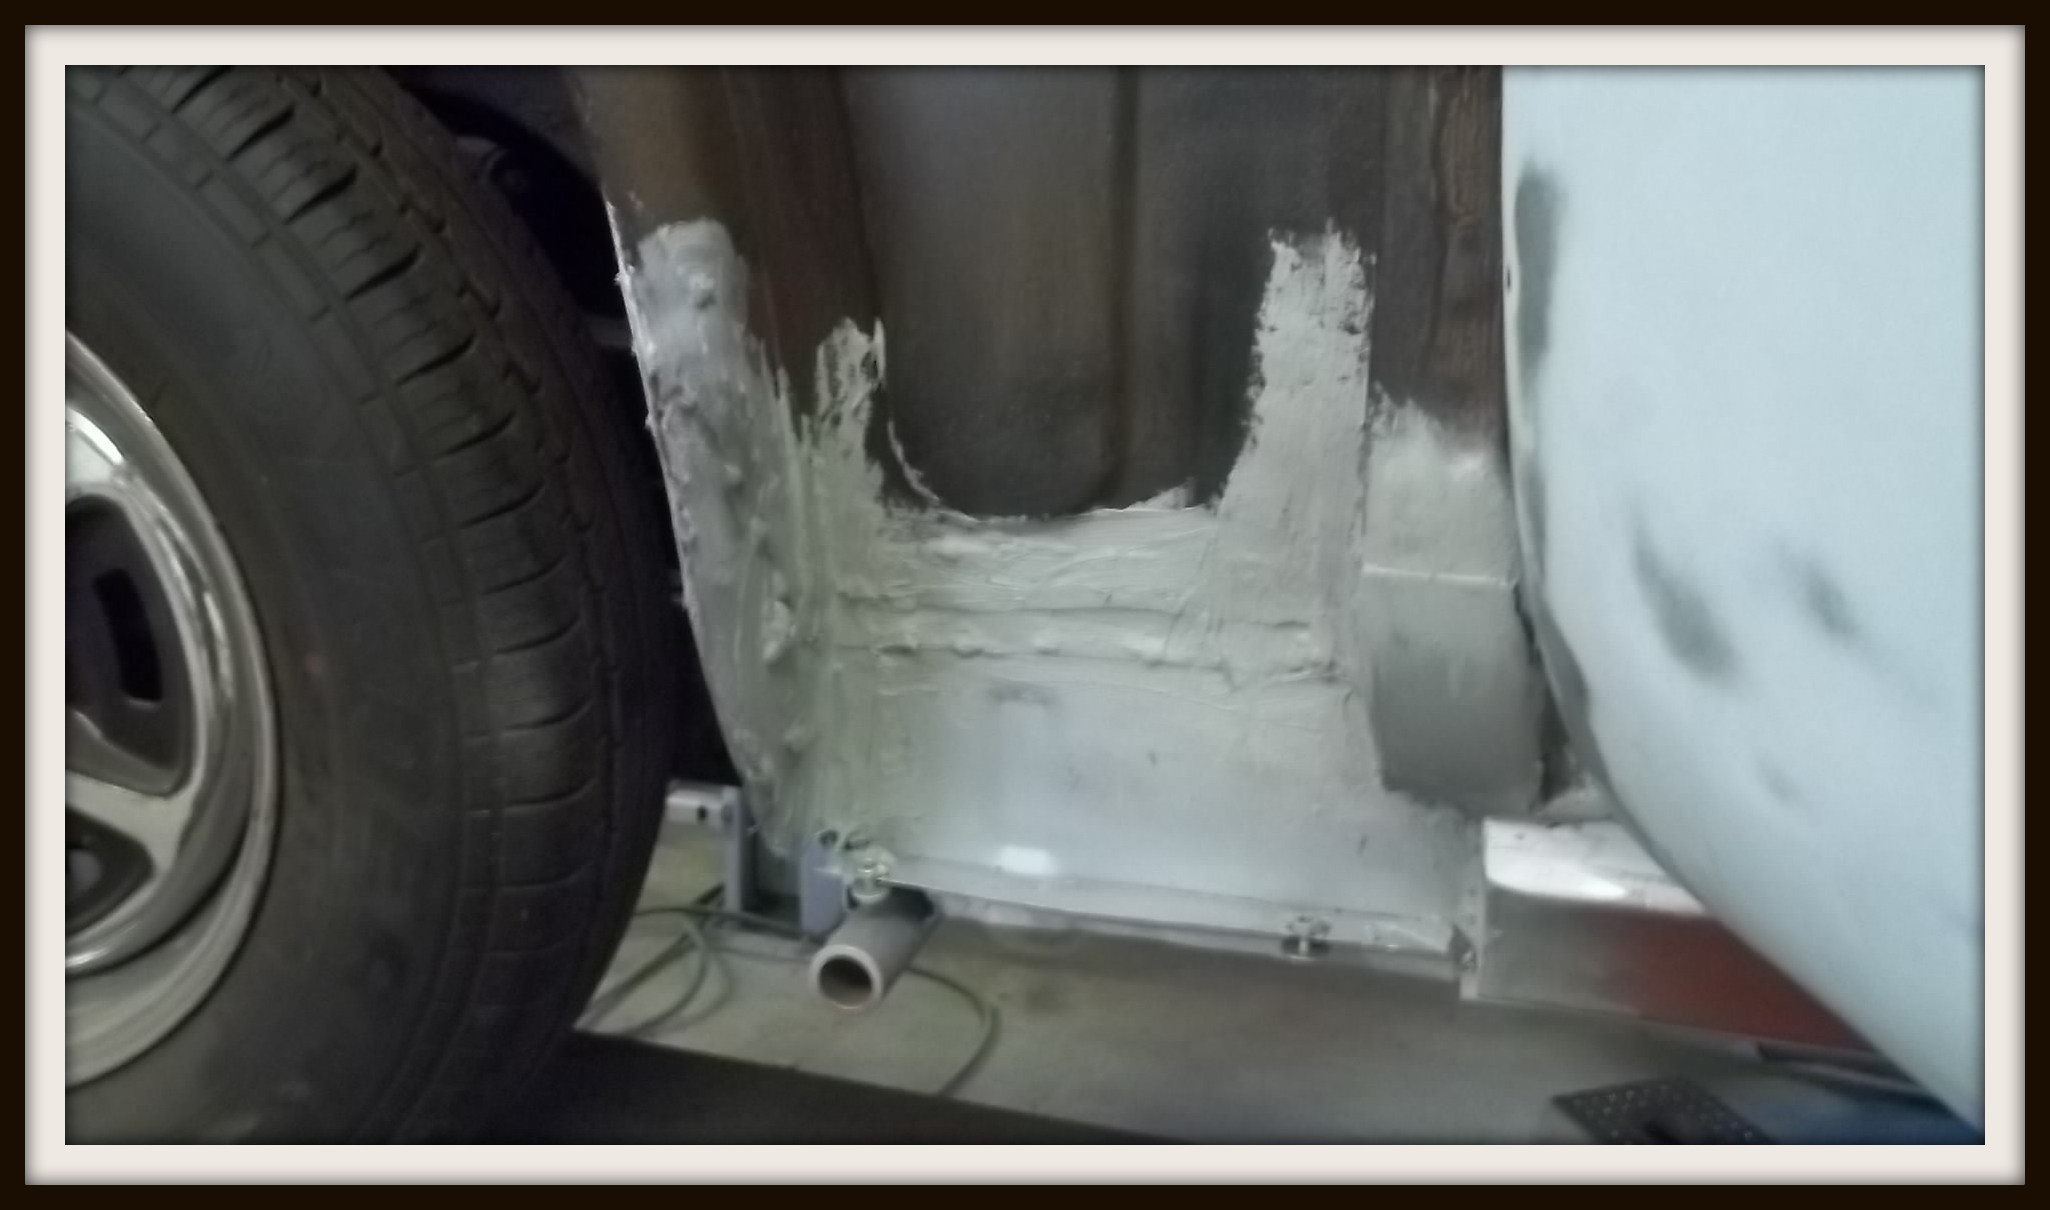
On inspection the car had had new outer cosmetic sills fitted a while back but no attention had been paid to the inner sills which form the main structure to the side of the vehicle and the body was starting to sag, causing the misalignment of the doors.
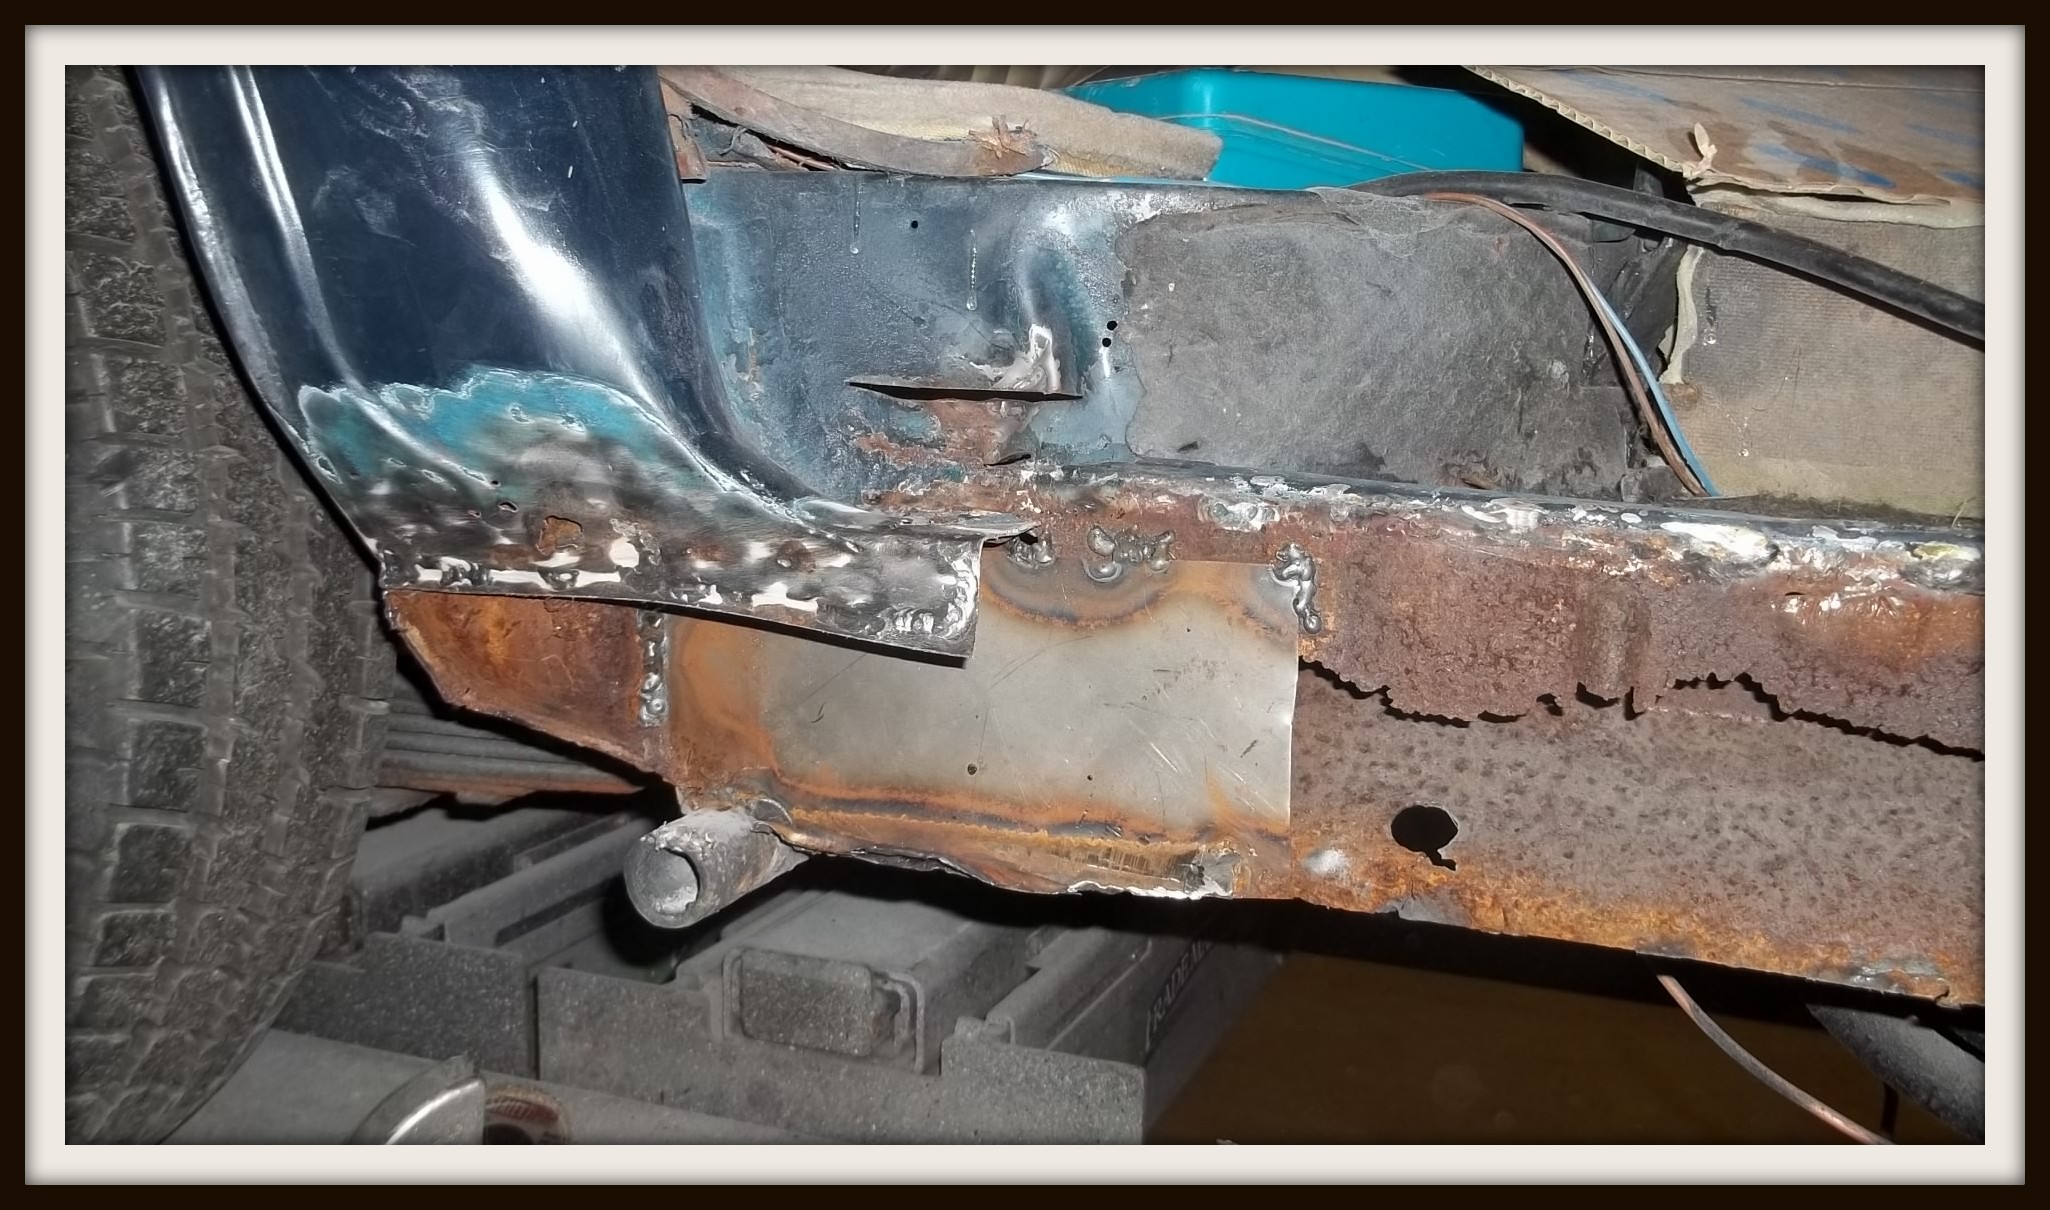
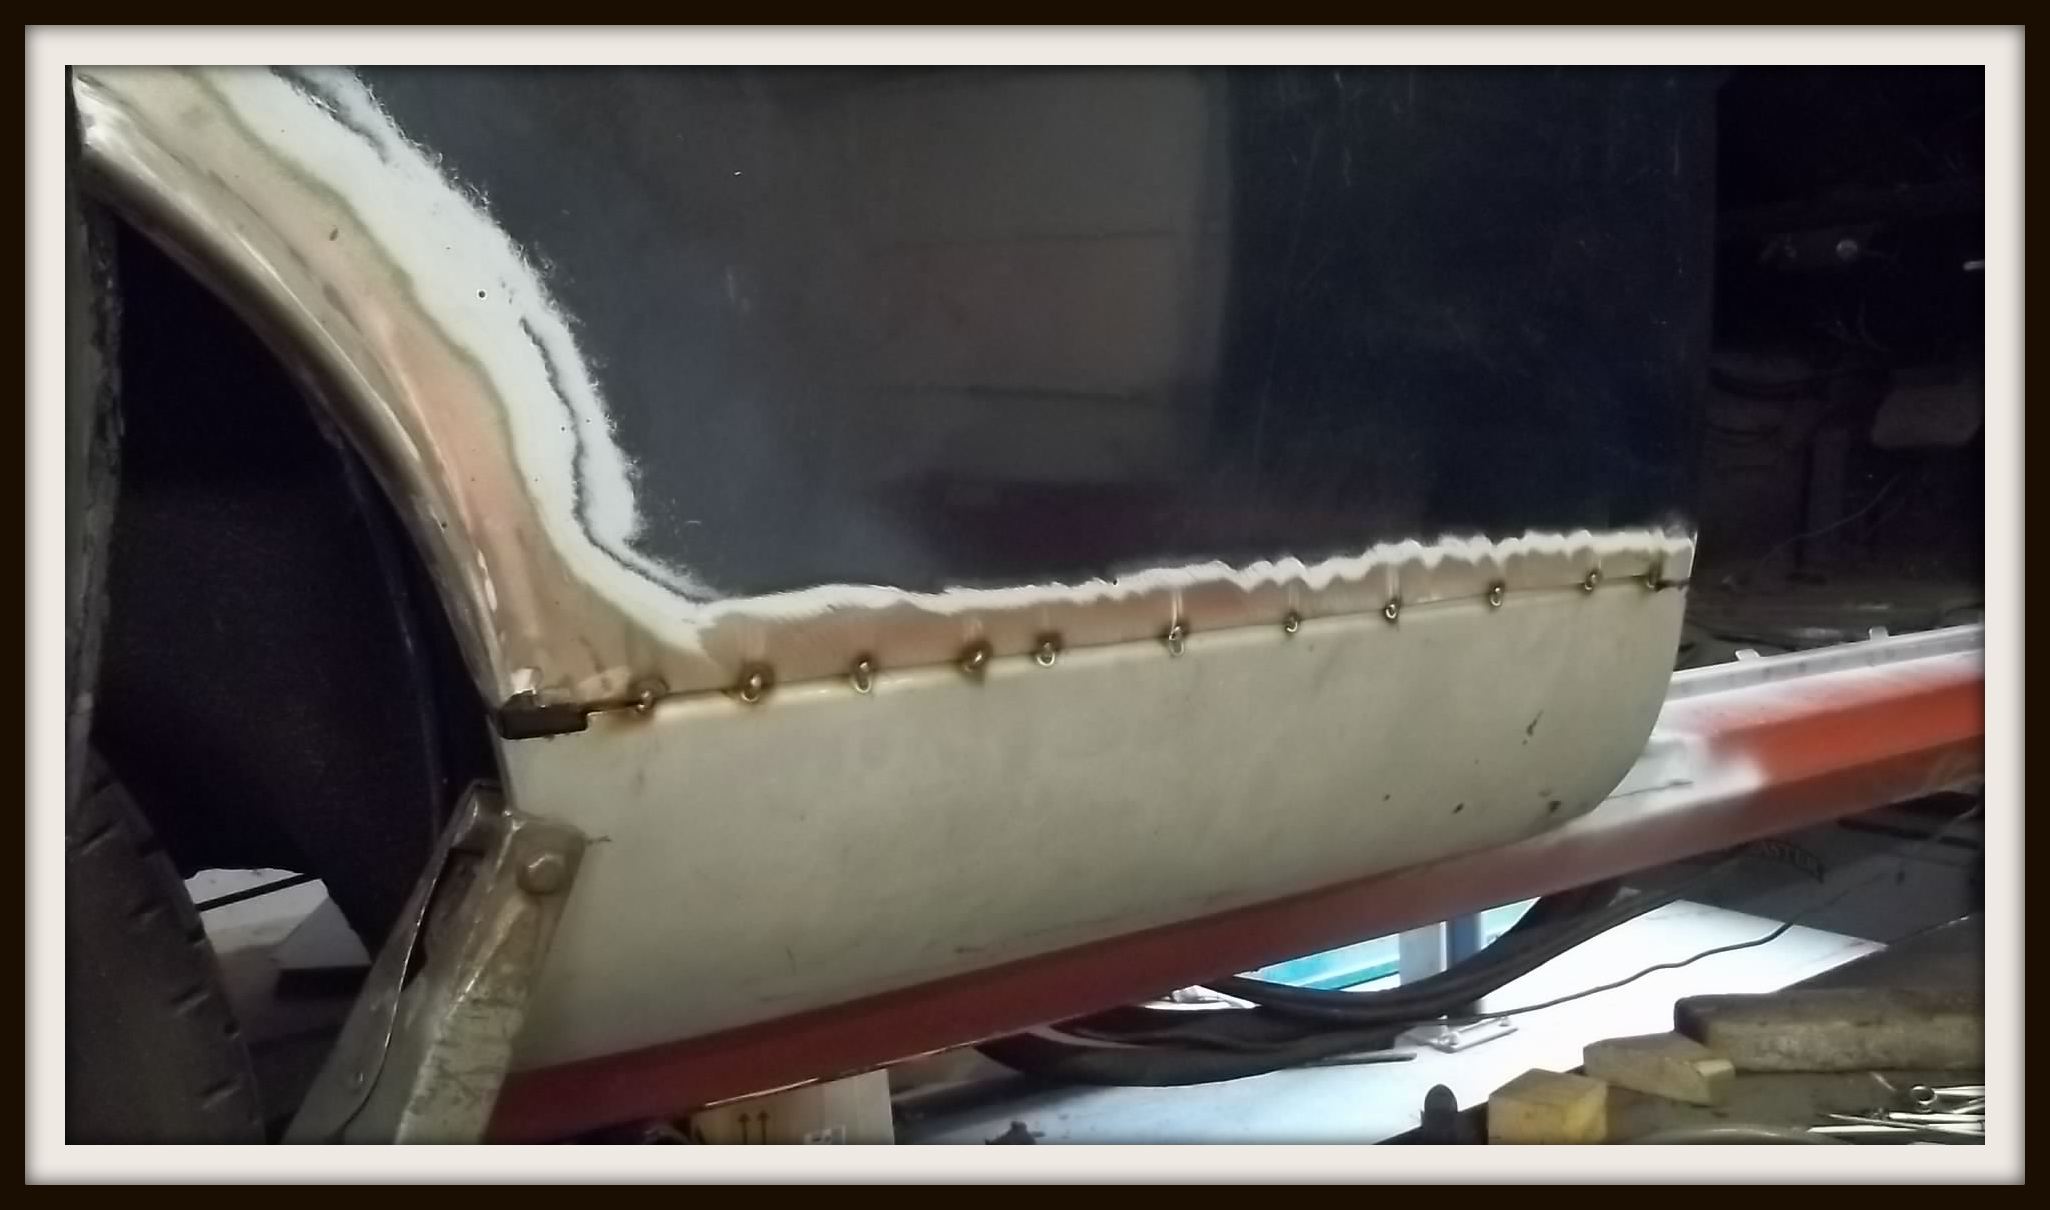
We agreed a schedule of works from what we could see, and started by renewing the sills on both sides. When we removed the outer sills we found that we also needed to replace some sections at the bottom of the A post.
>
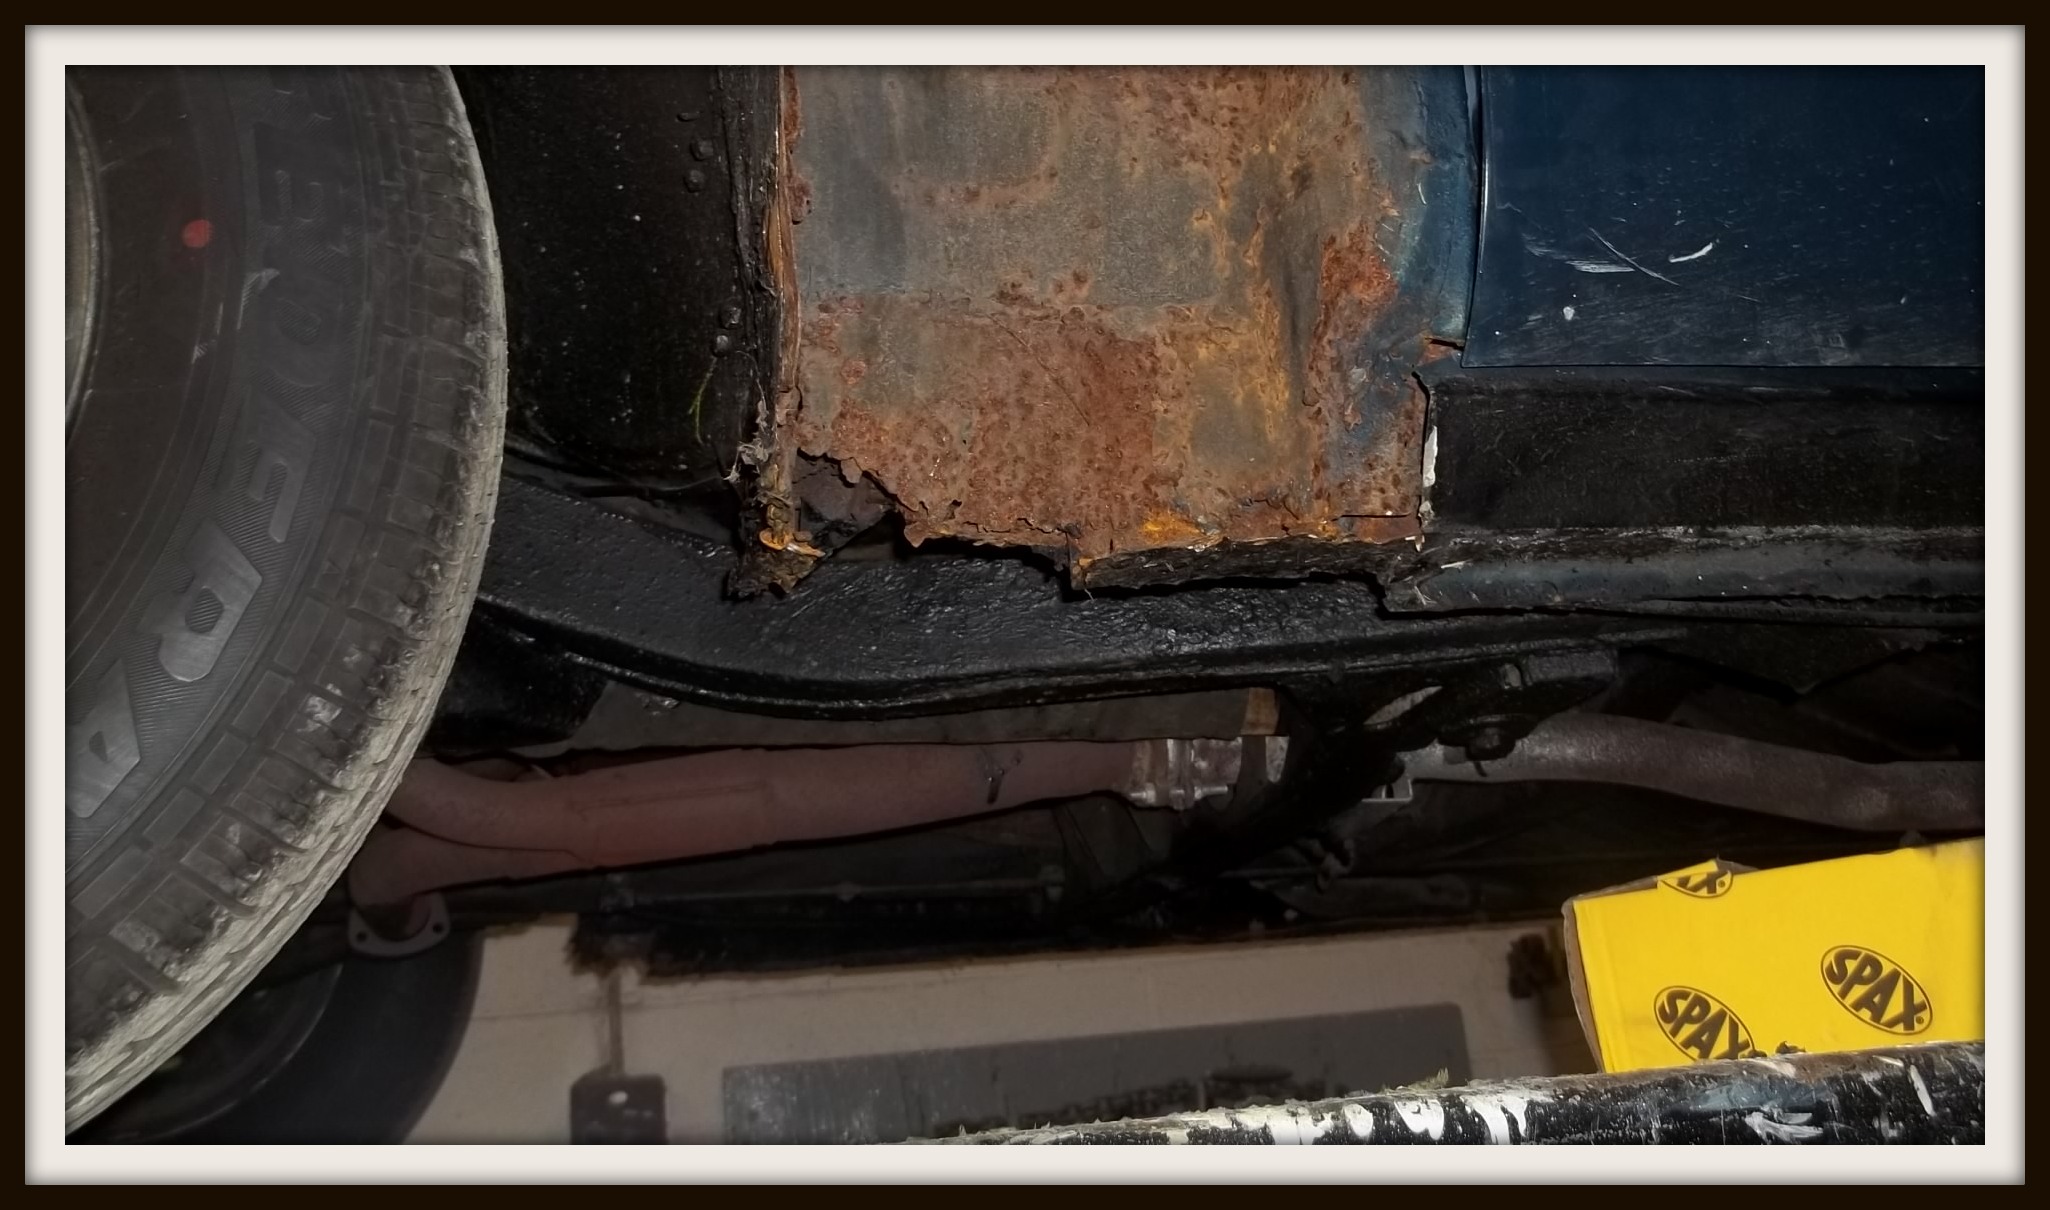
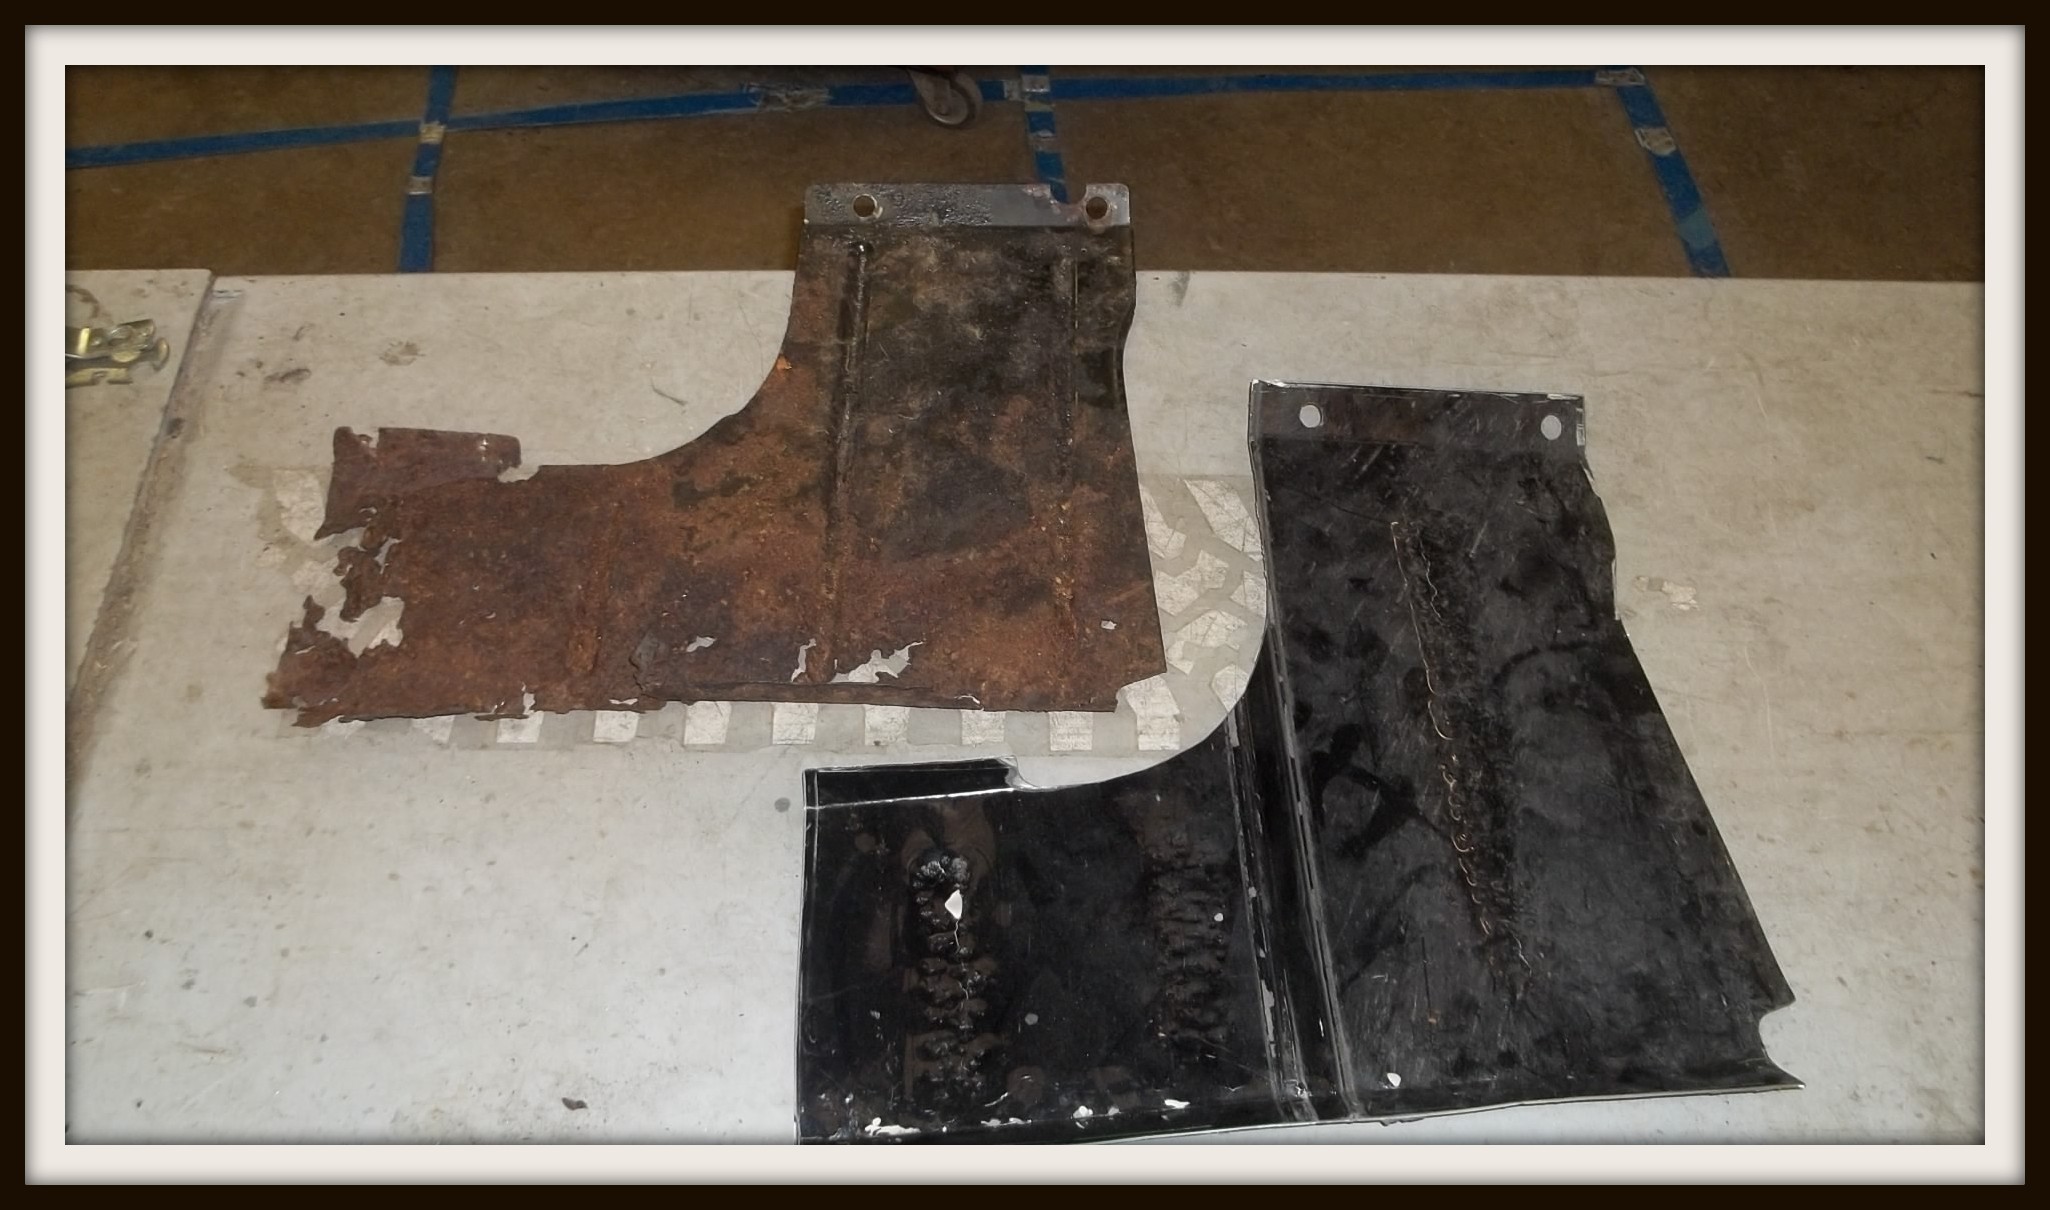
This picture shows a previous attempt to repair the inner O/S sill that was mainly non-existent.
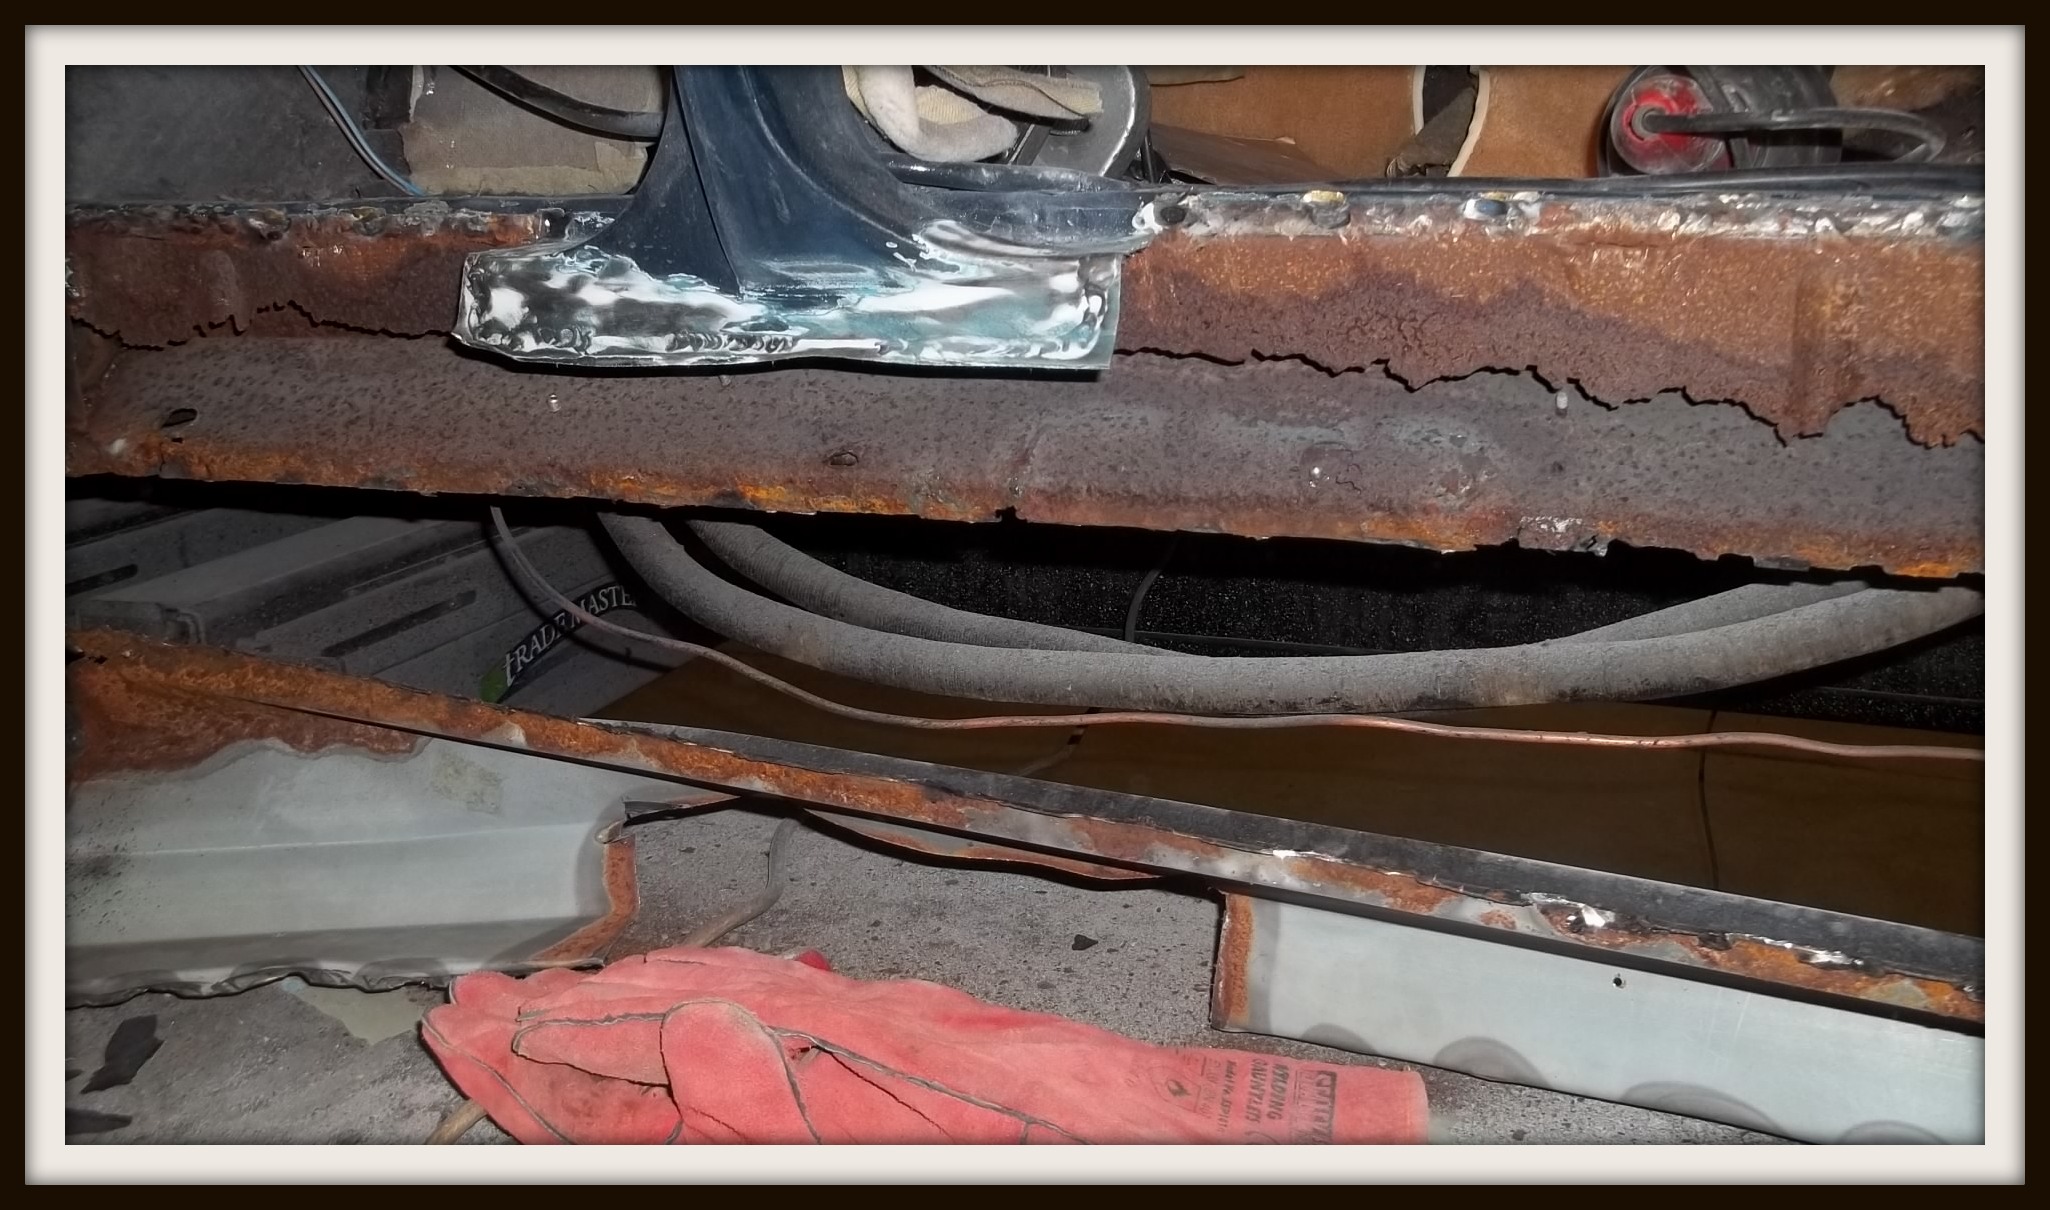
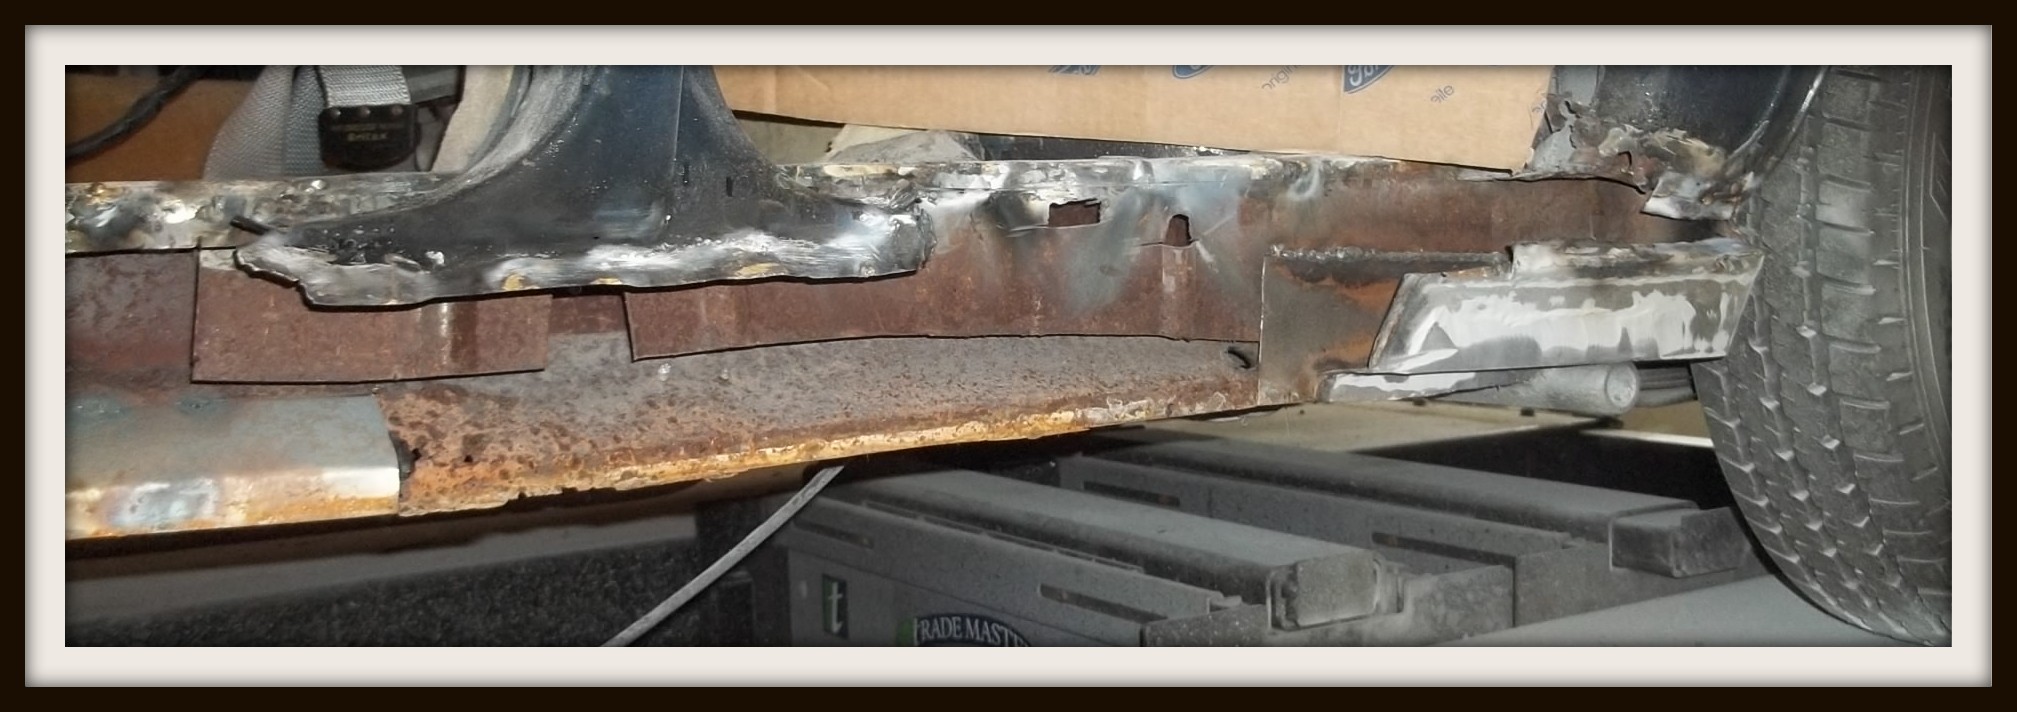
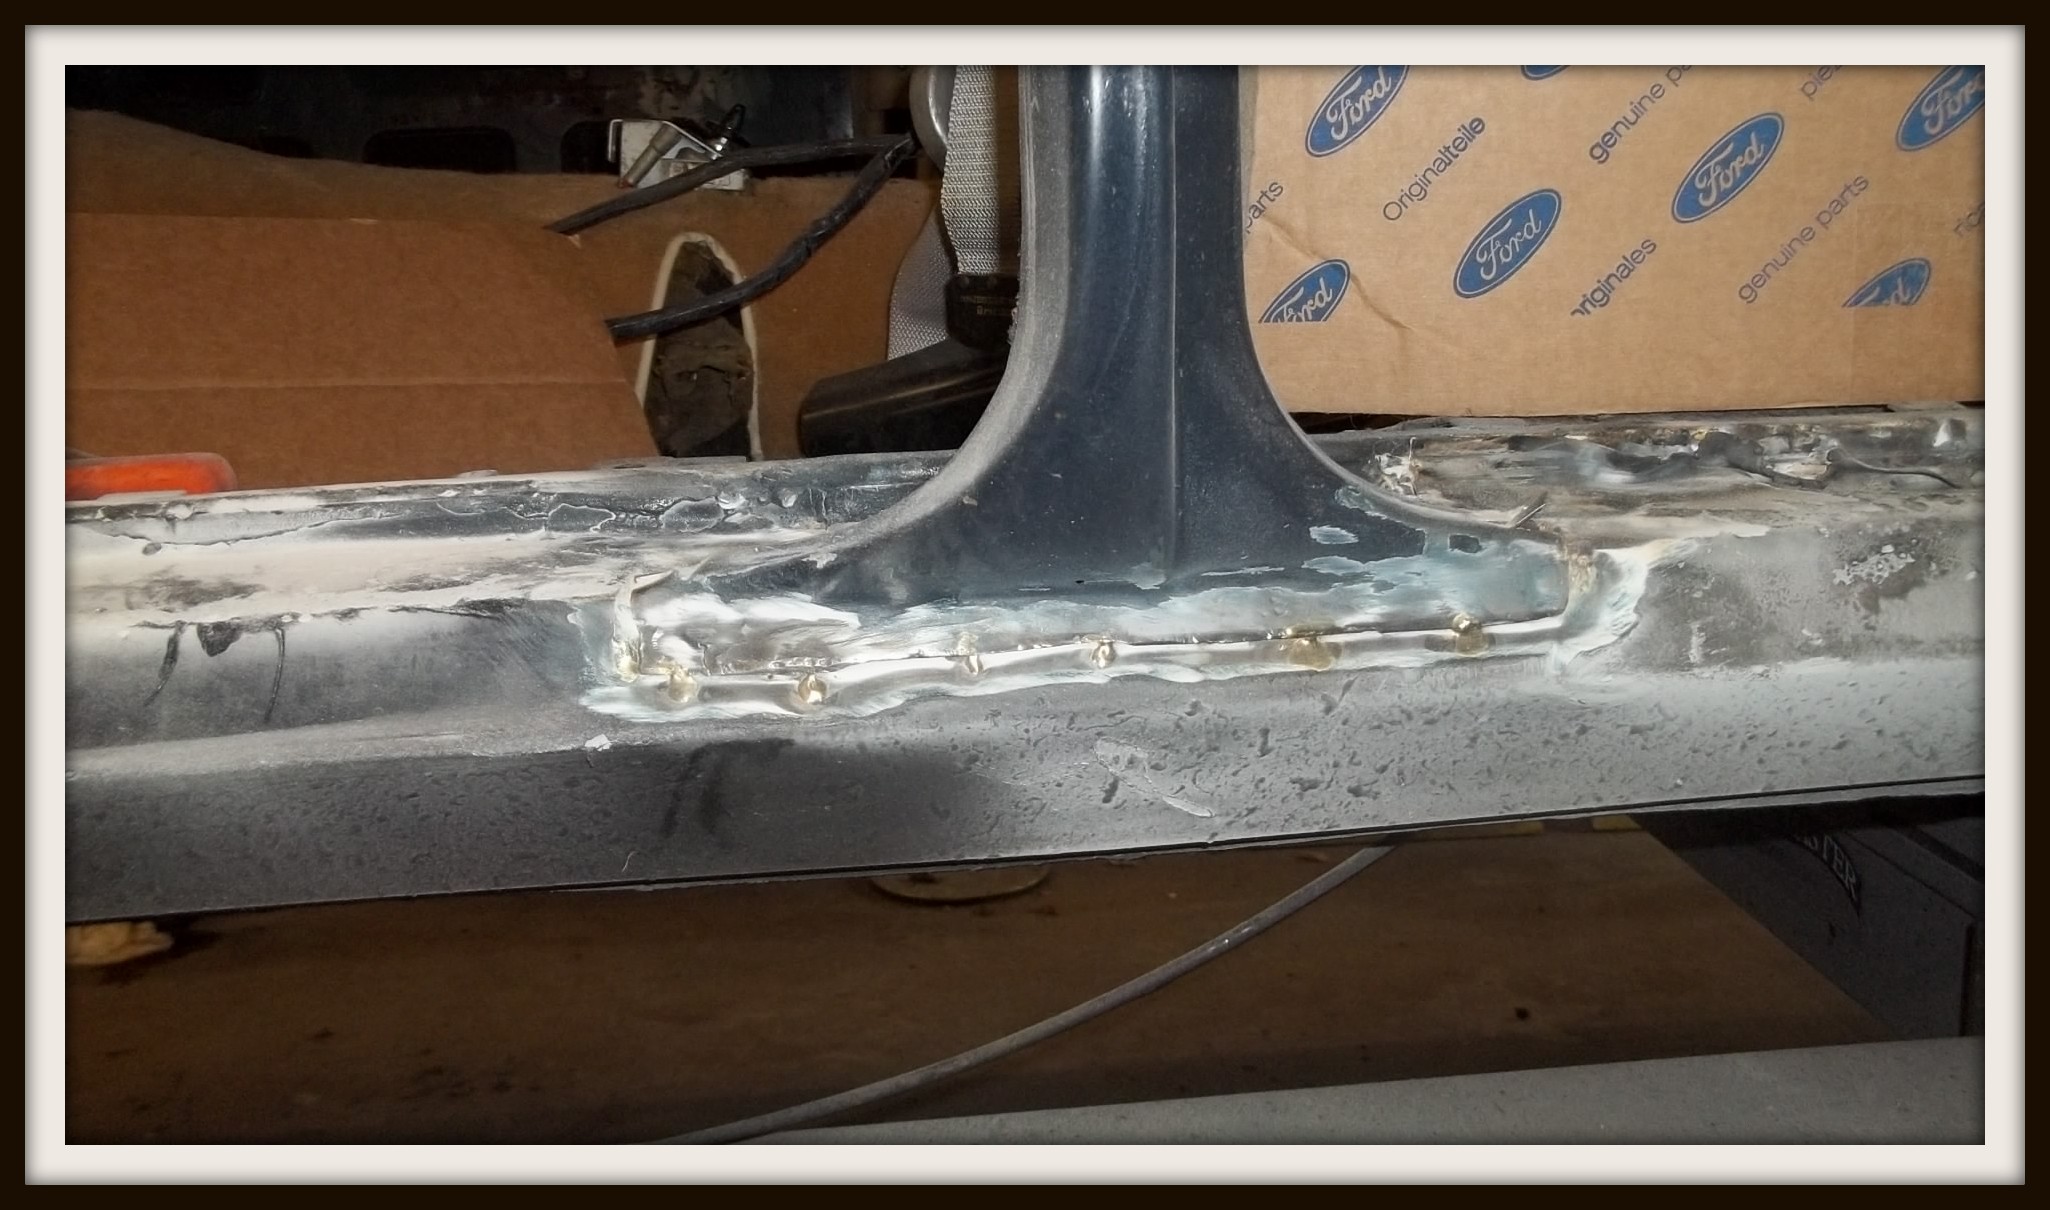
Once the body was aligned the new sills were welded in with new sections where required.
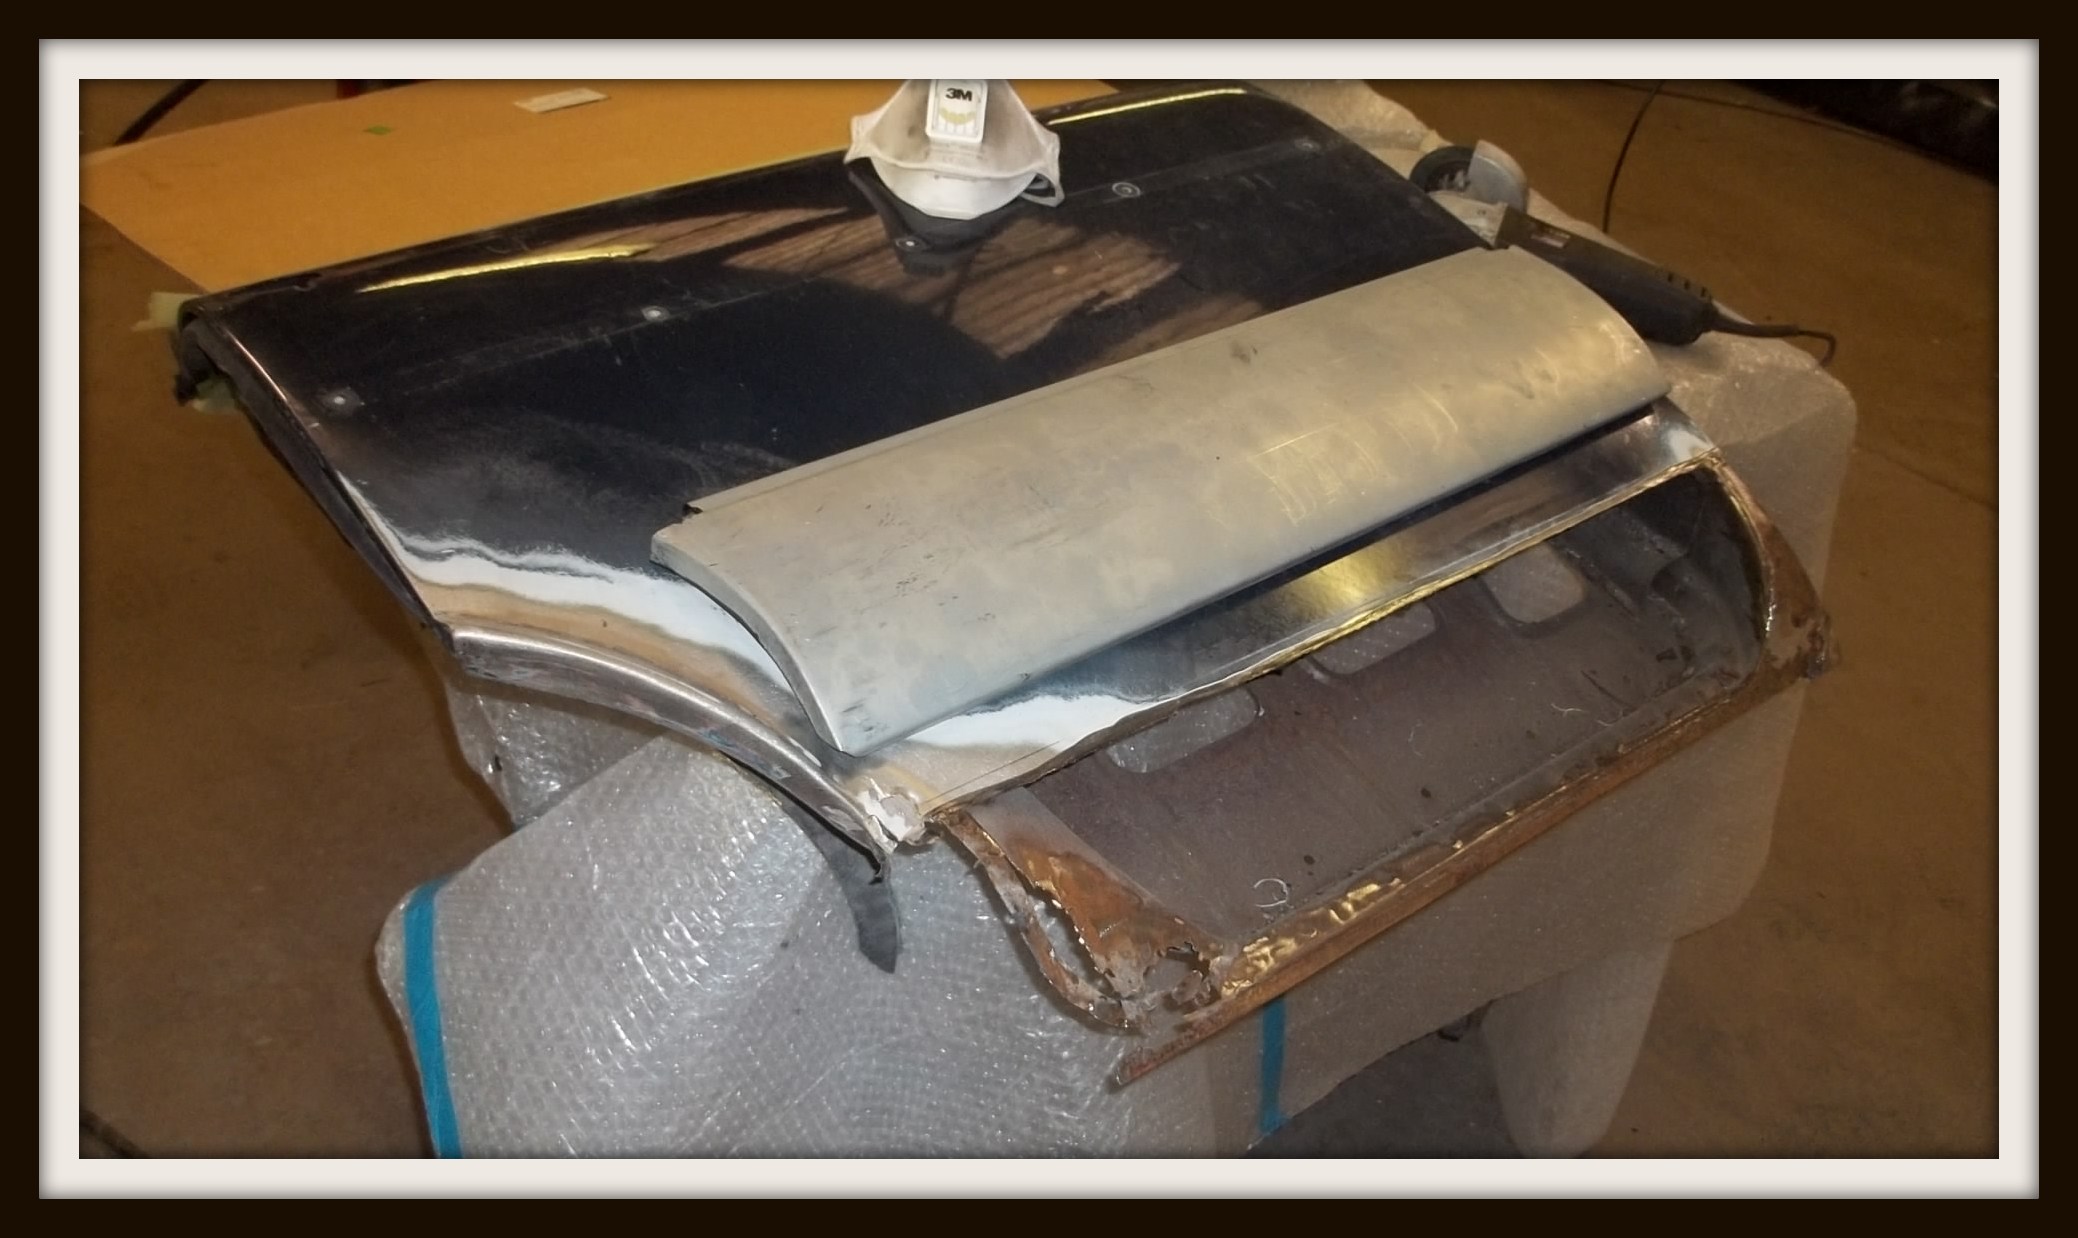
Whilst this was taking place the front wings were removed to be taken down to bare metal for repainting which uncovered some work required to the inner wings, for which repair panels were made and fitted before treating any surface rust.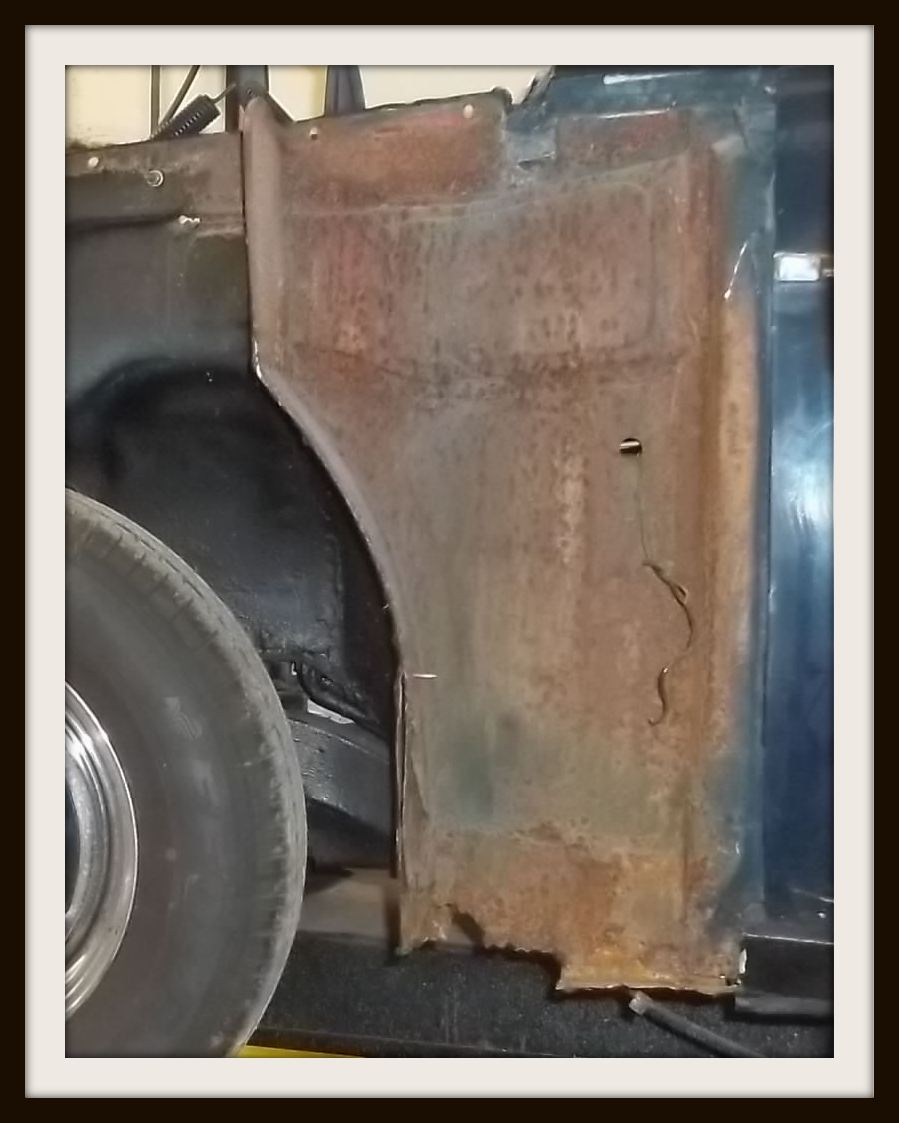
Another anomaly found whilst stripping the inside was that the seats were not originally the now biscuit colour; they had once been burgundy and had been painted, more on this later.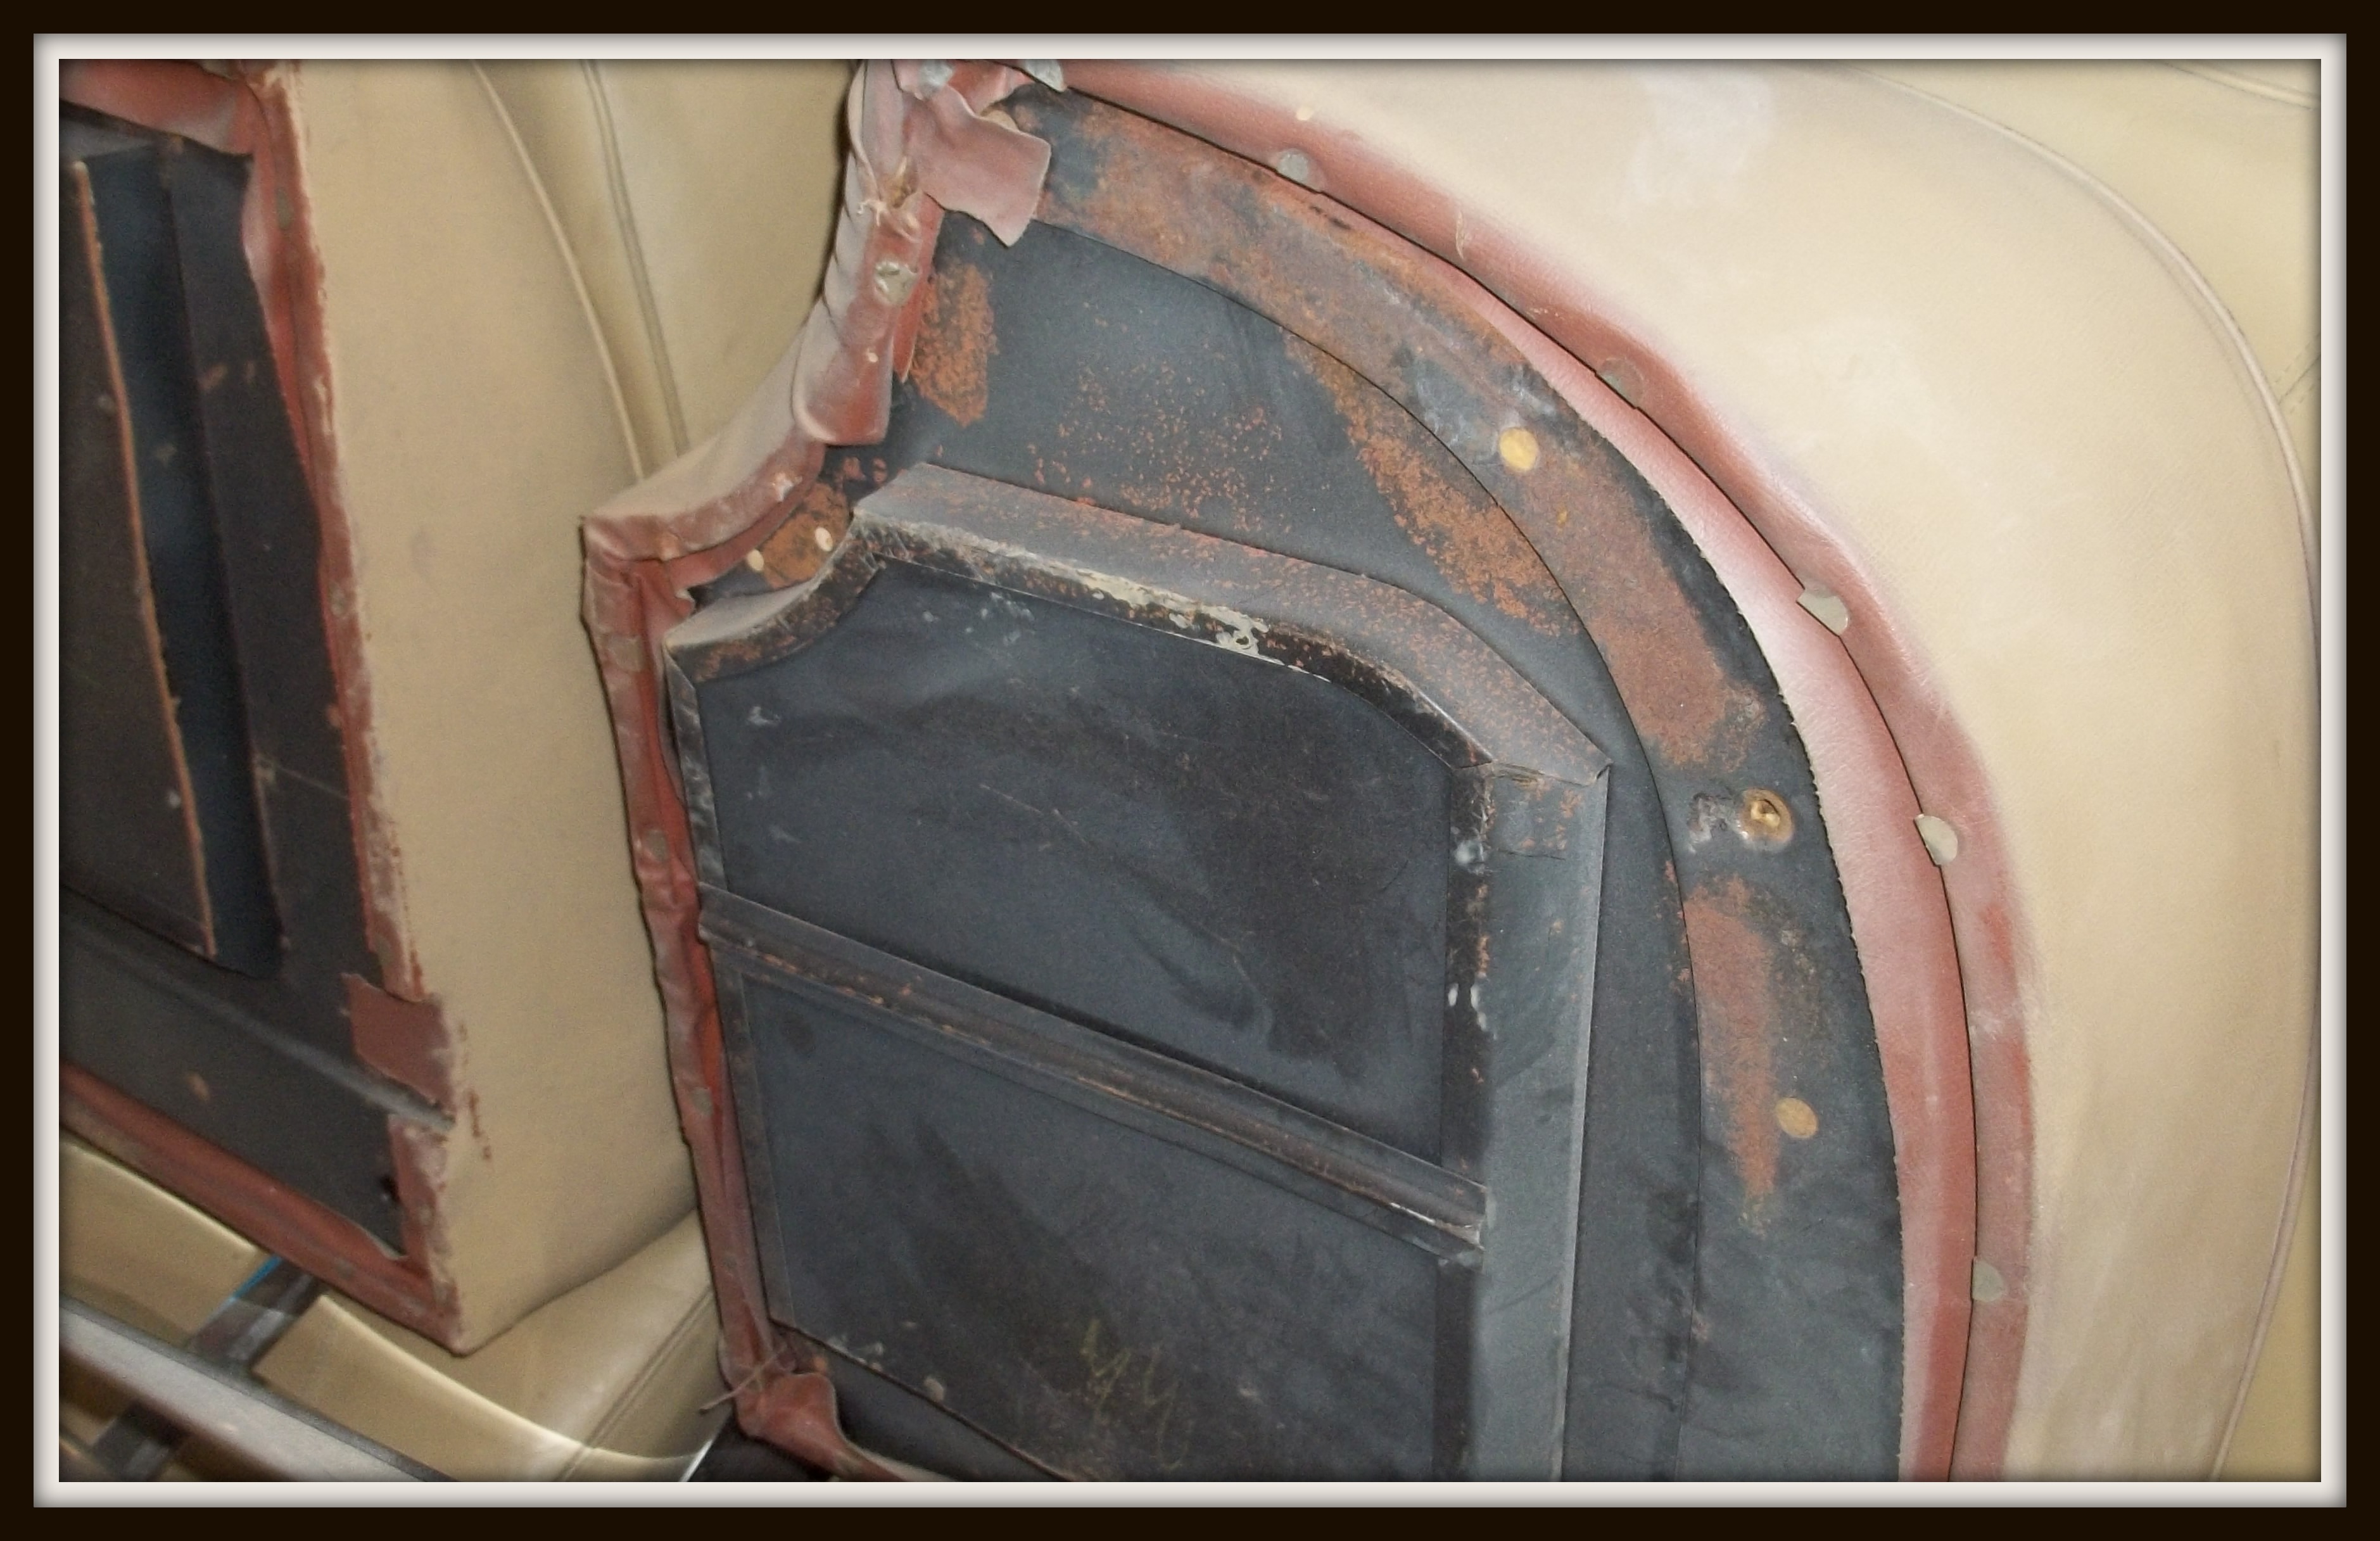
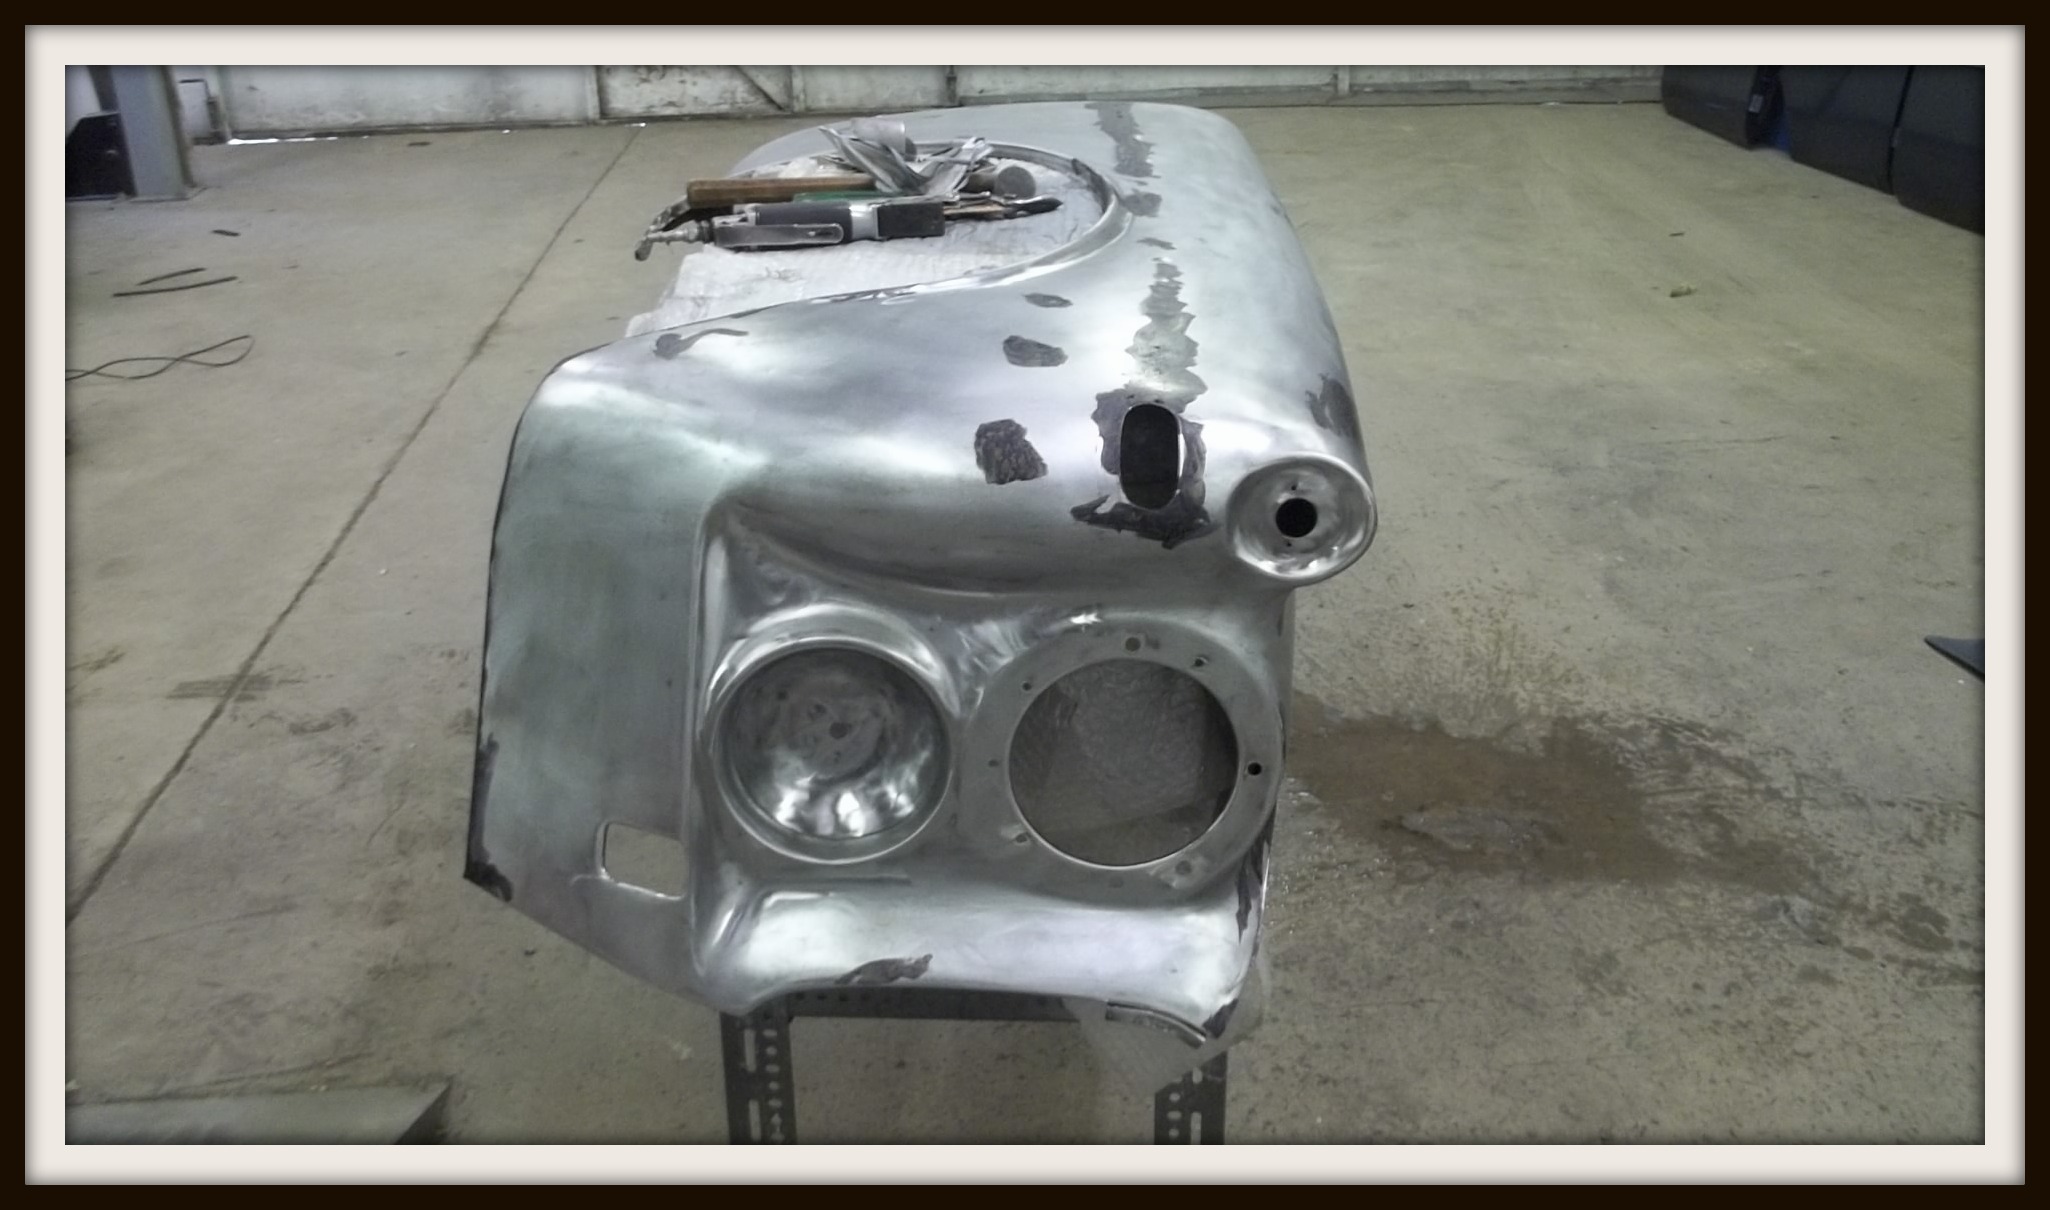
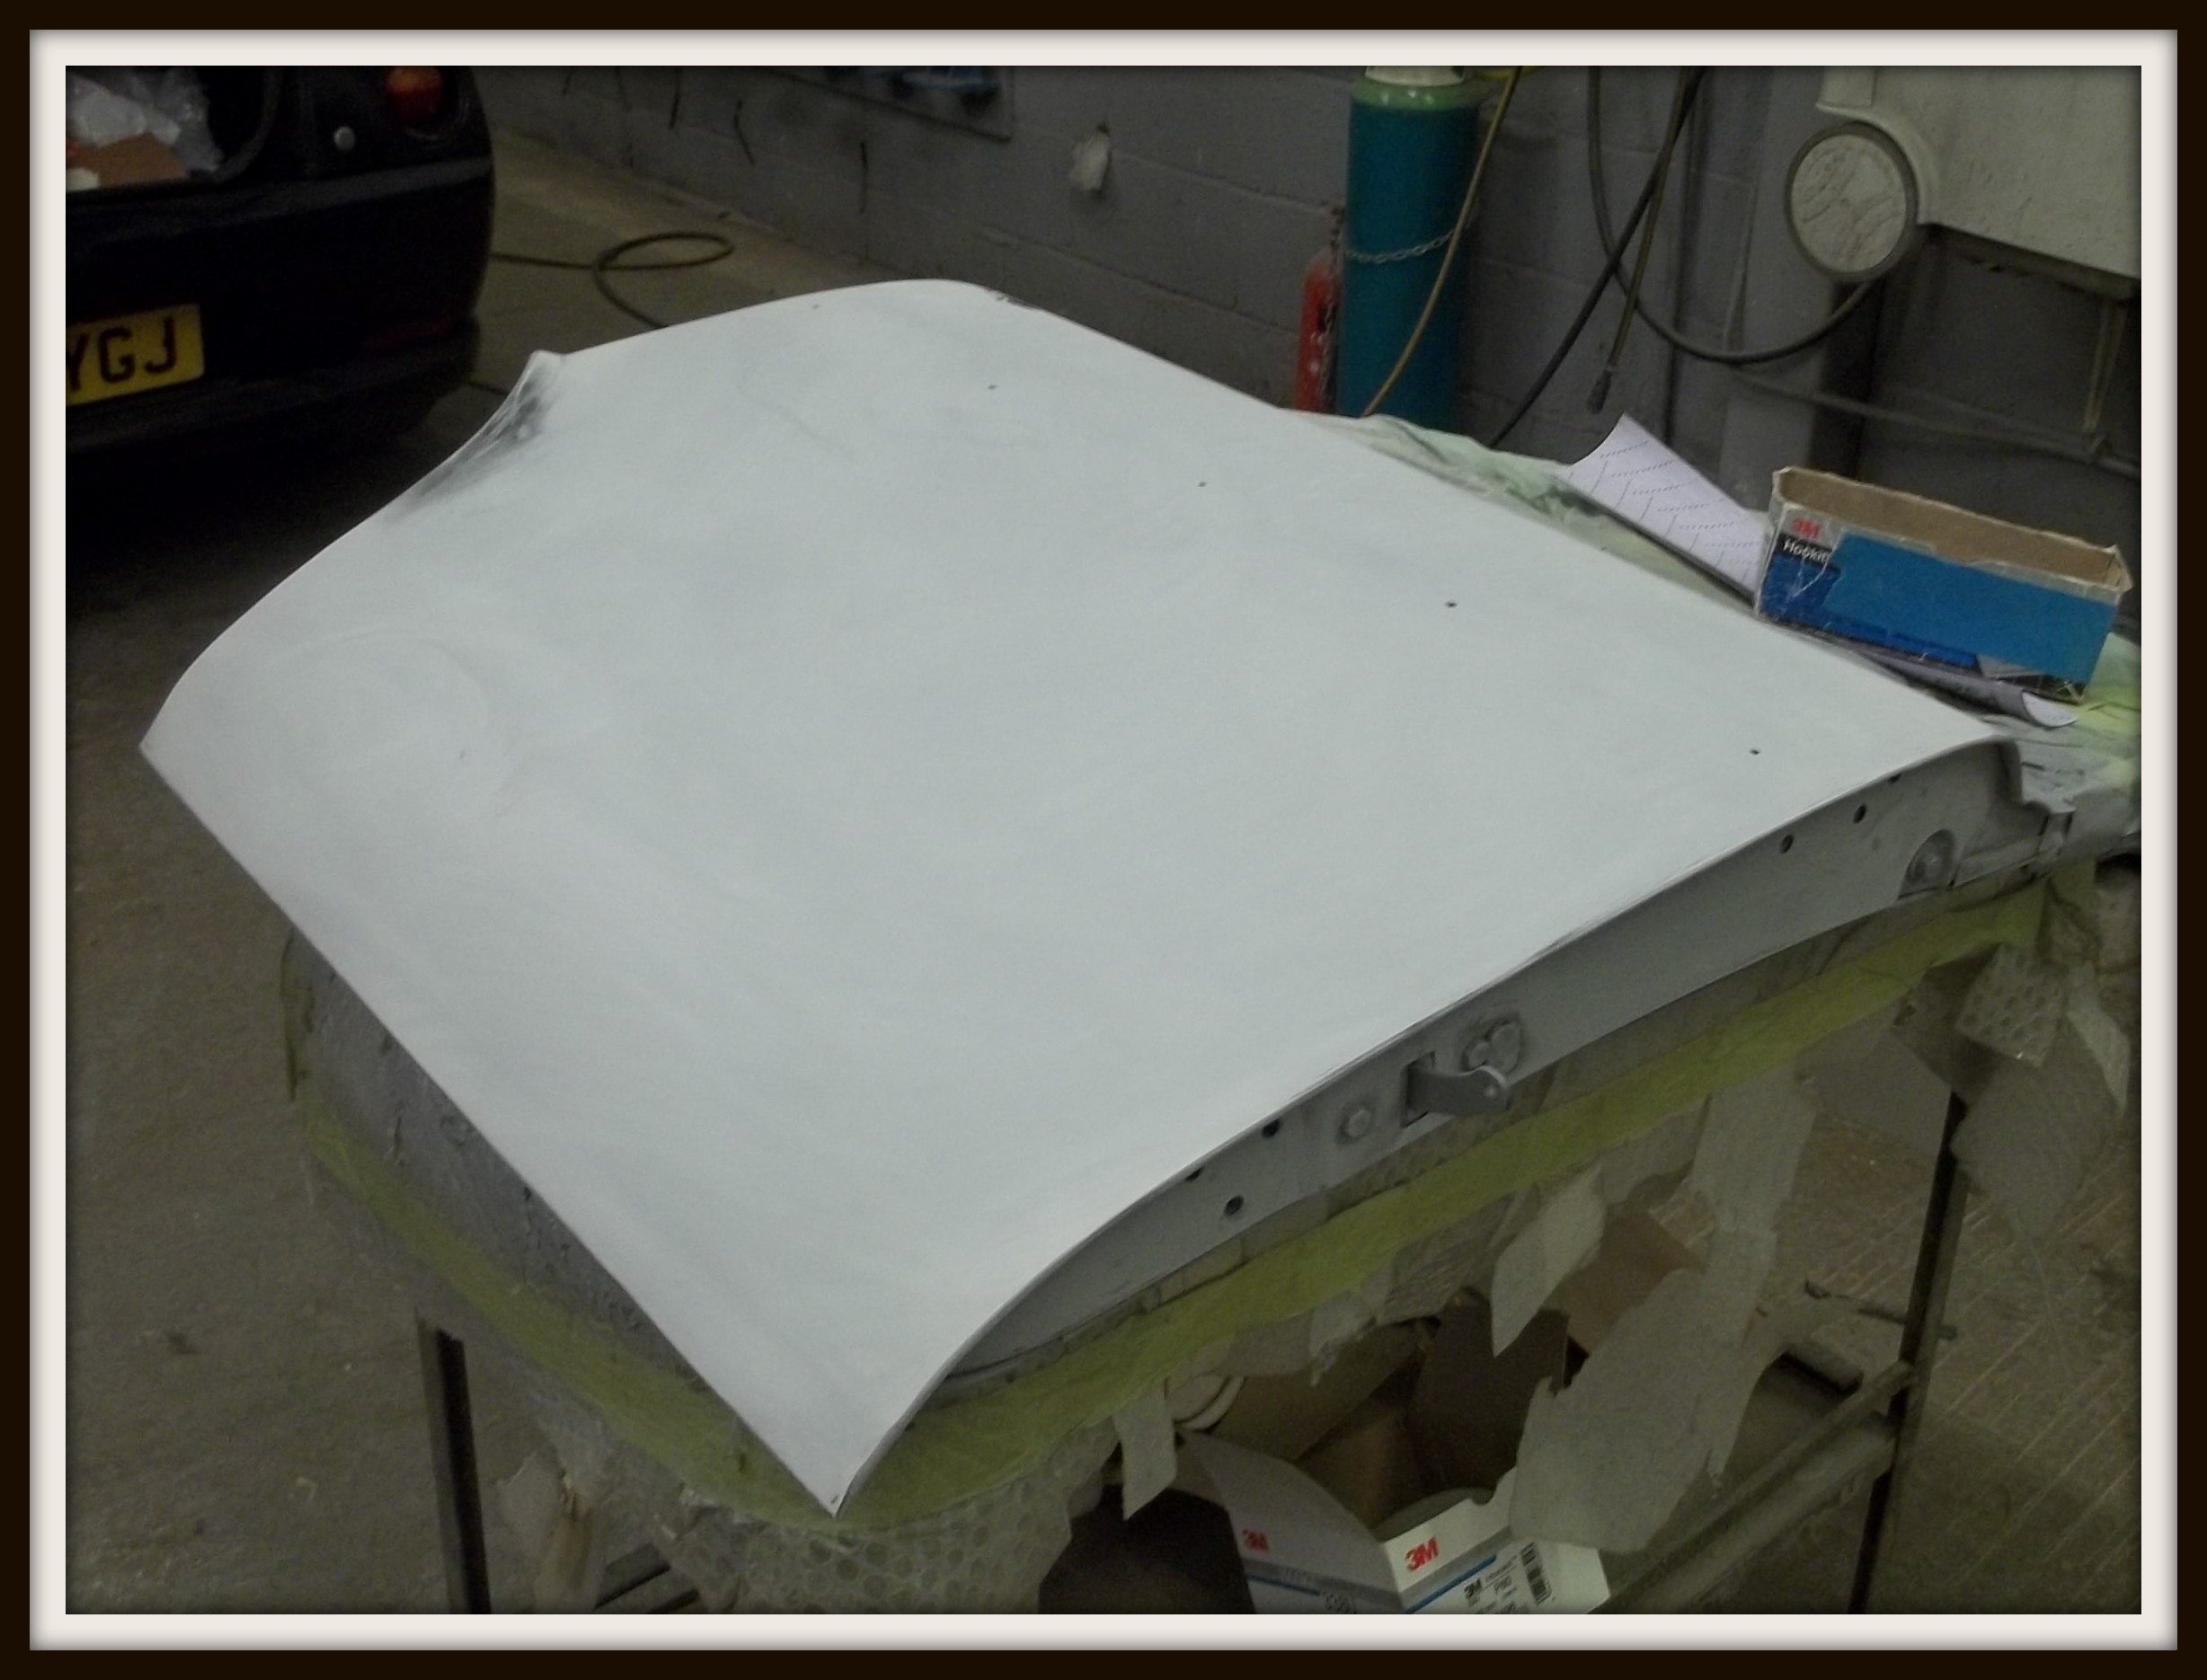
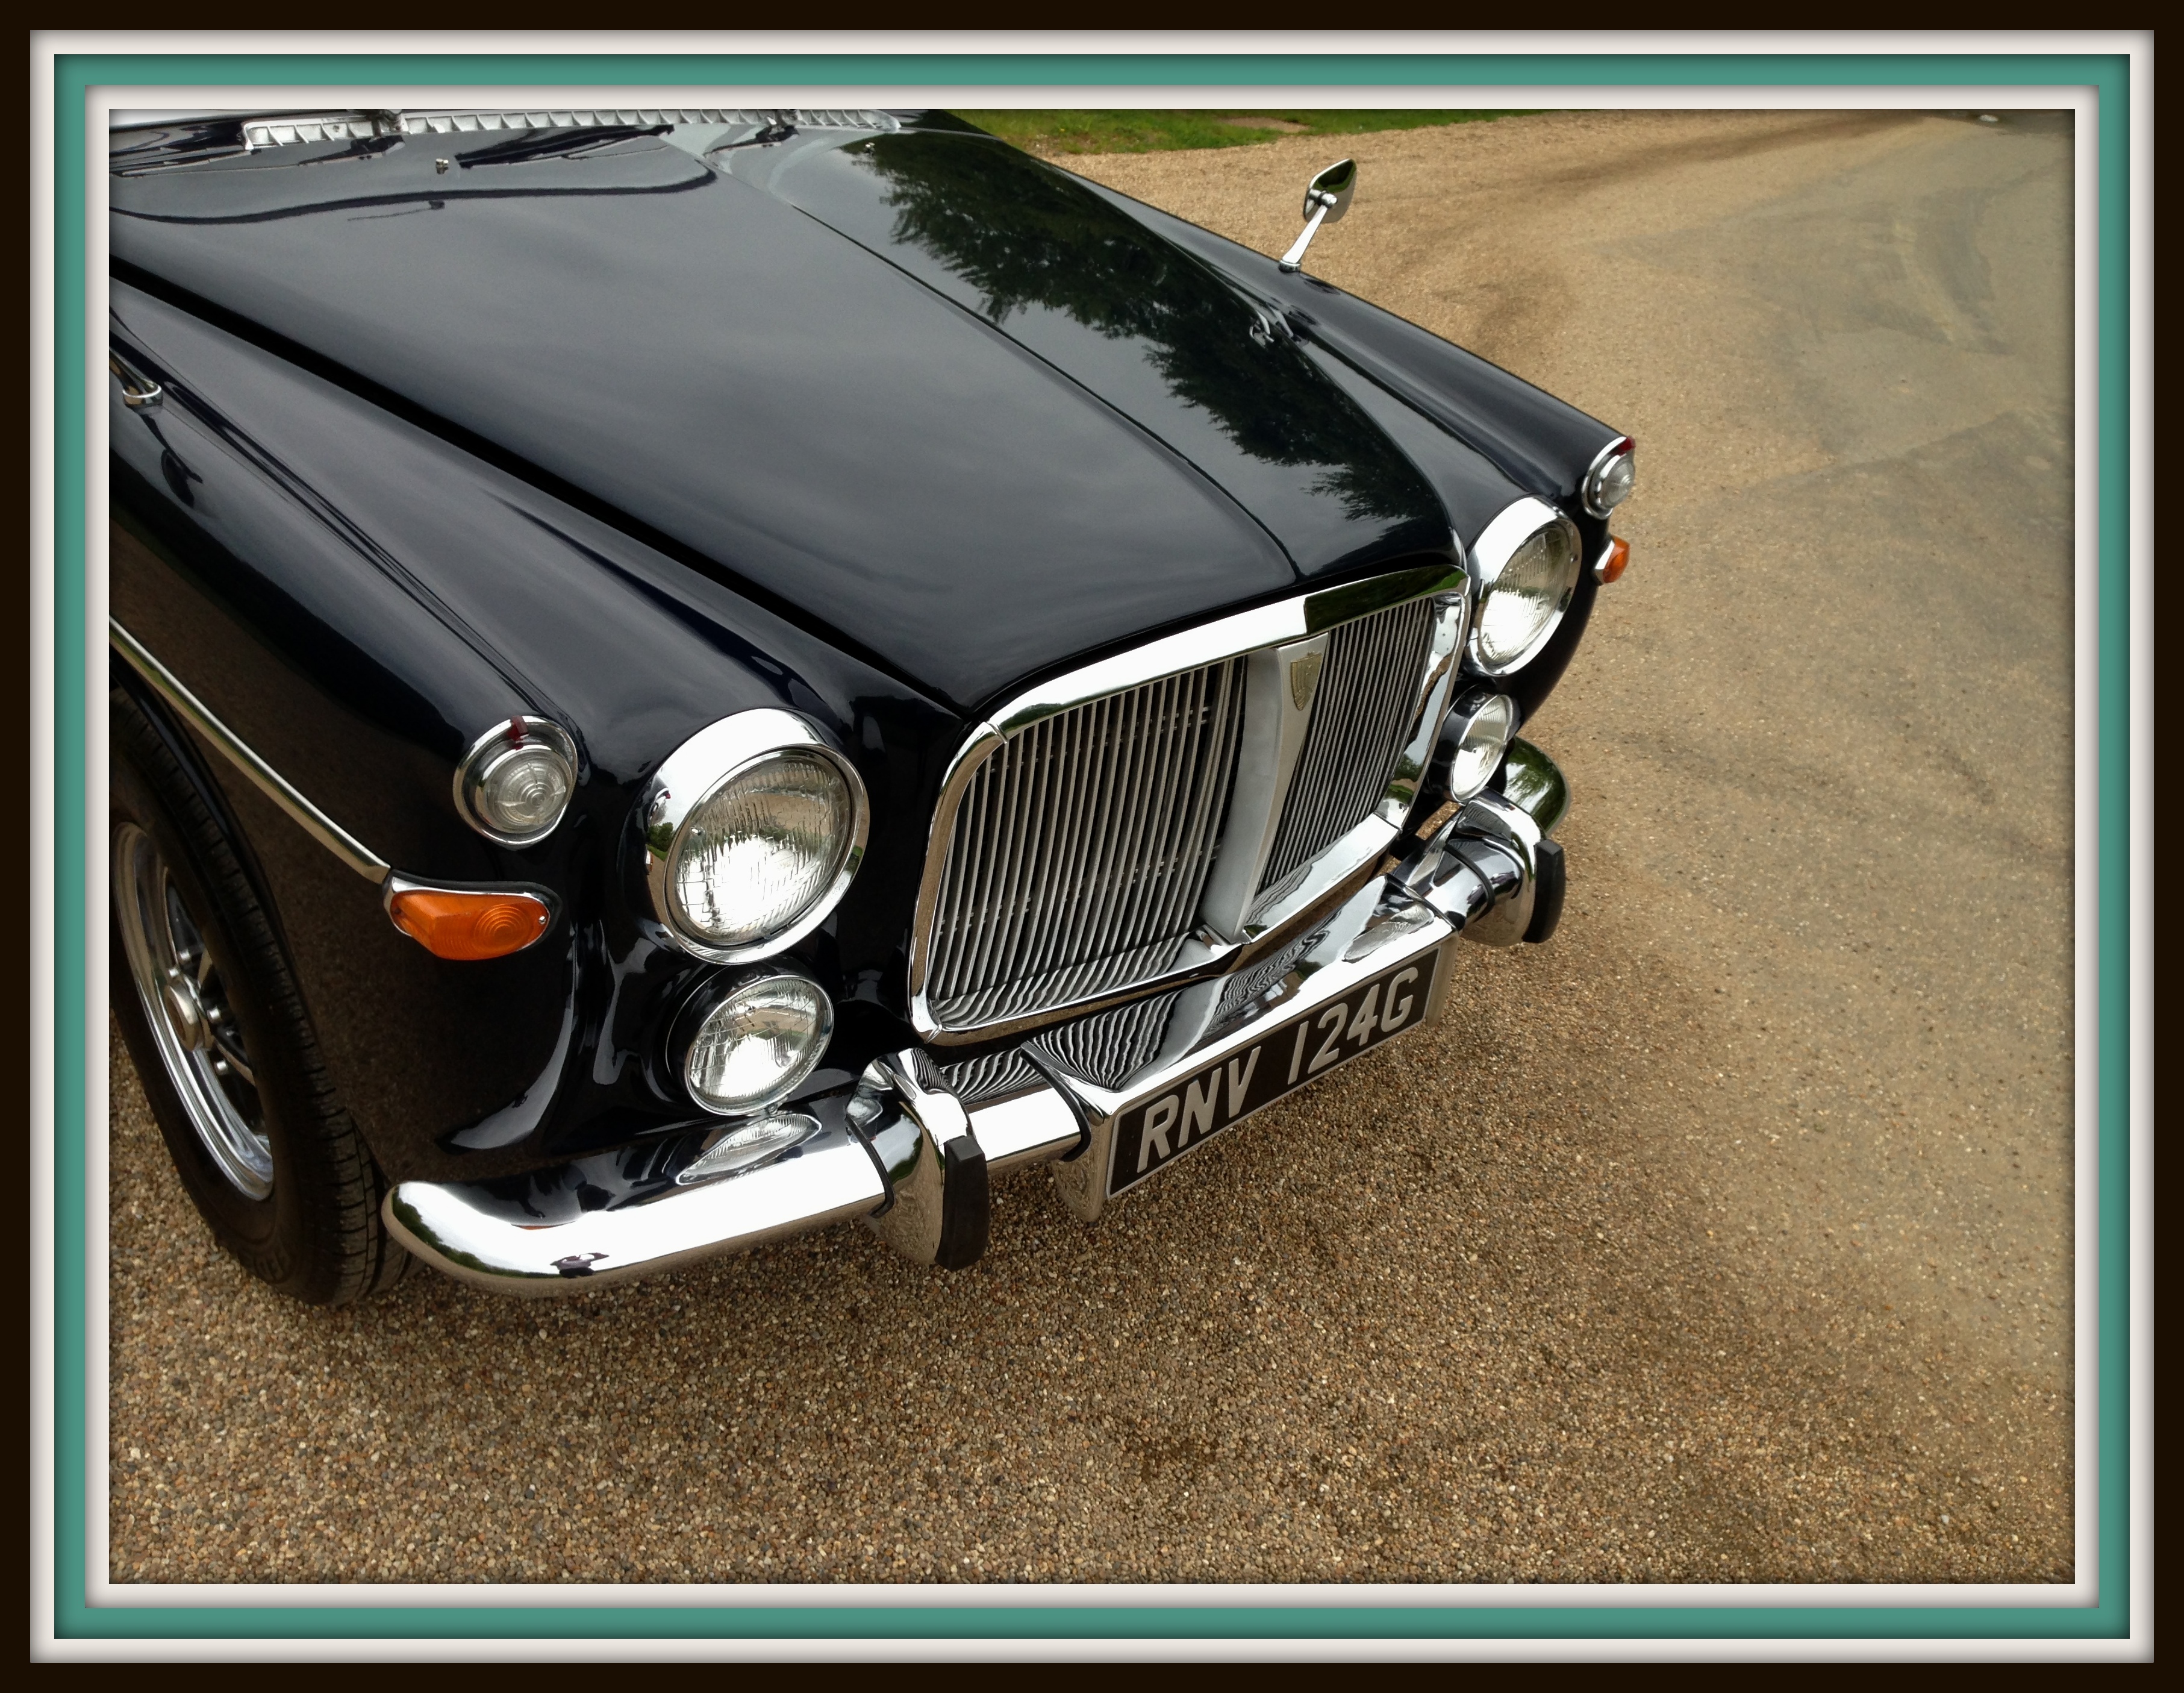
Next the bonnet was off for stripping and a repair. The front as the grill had never fitted square, this was due to a minor altercation it had had sometime in its life with a foreign object causing it to be pushed in on one side, once repaired the grille would align with the bonnet.
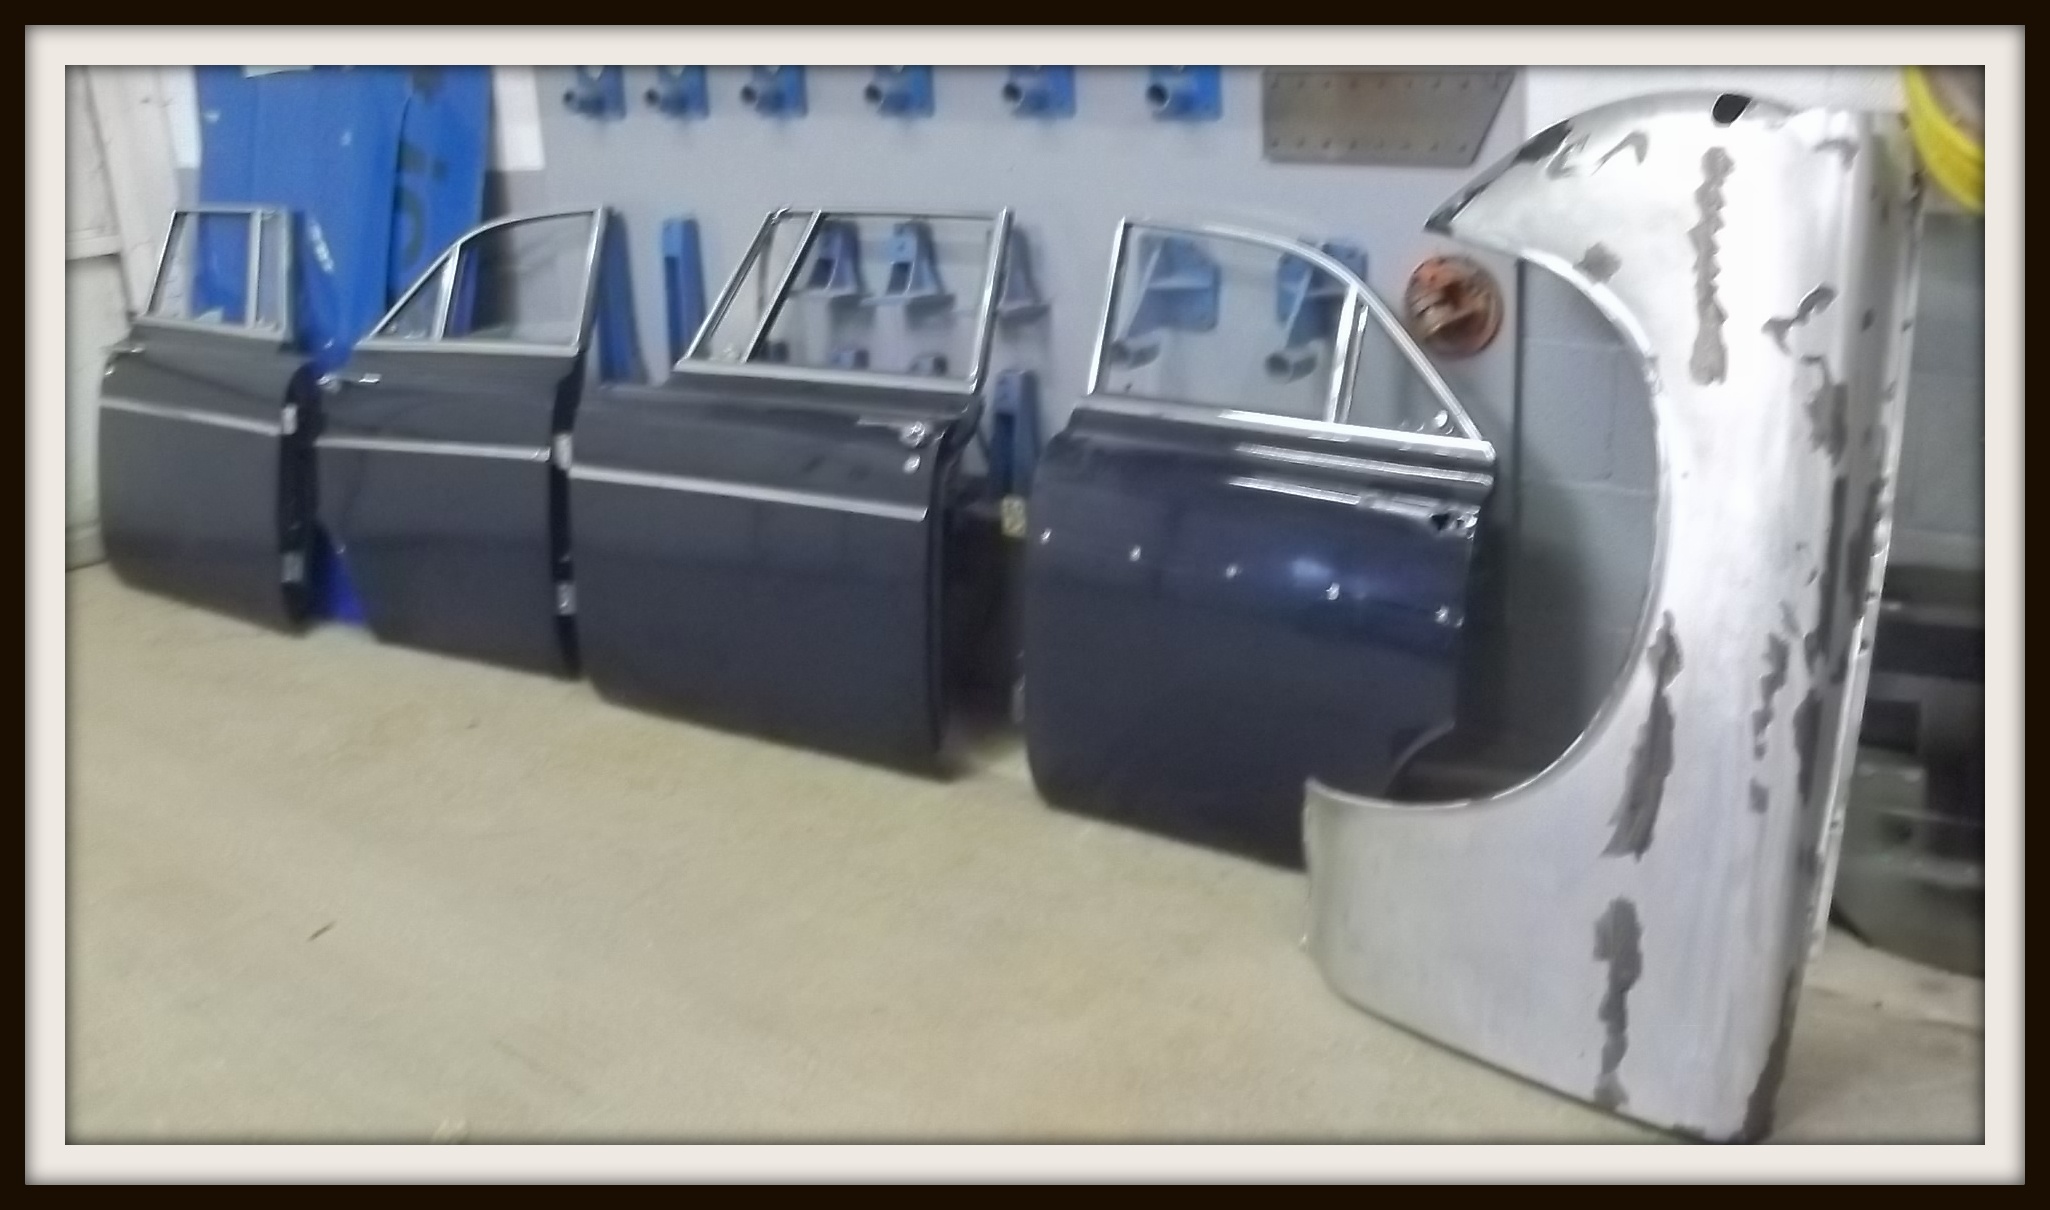
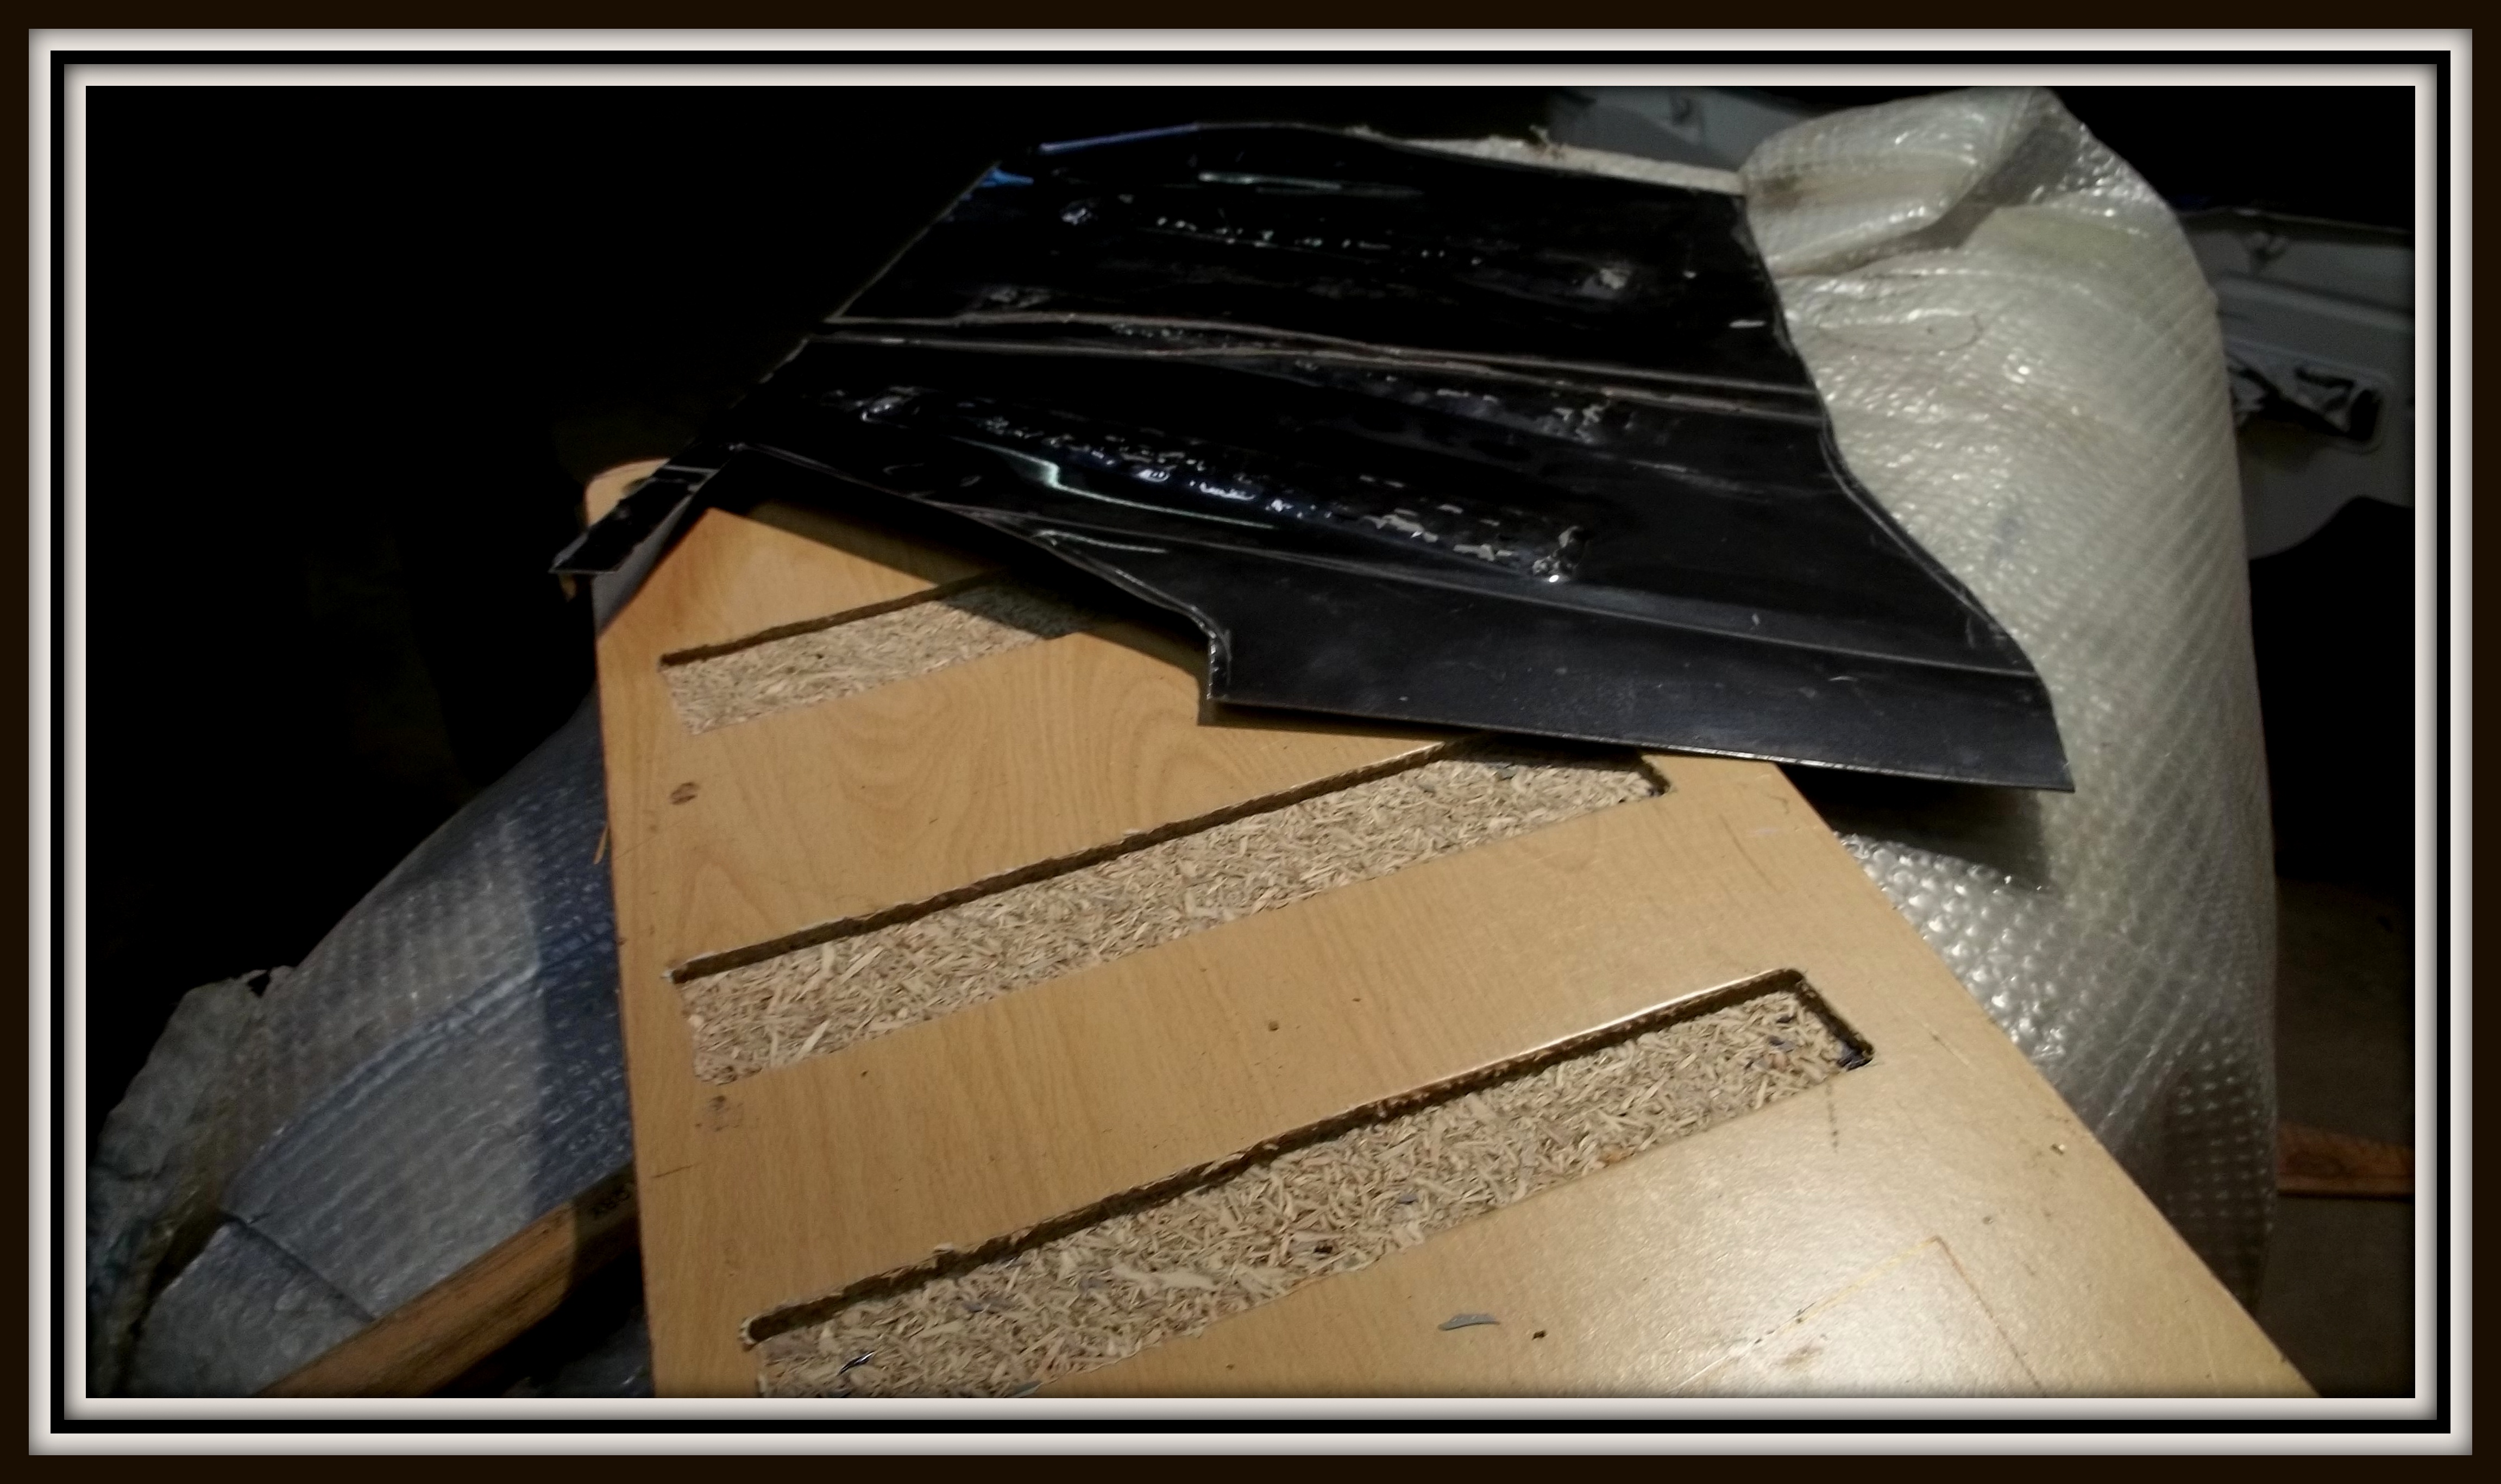
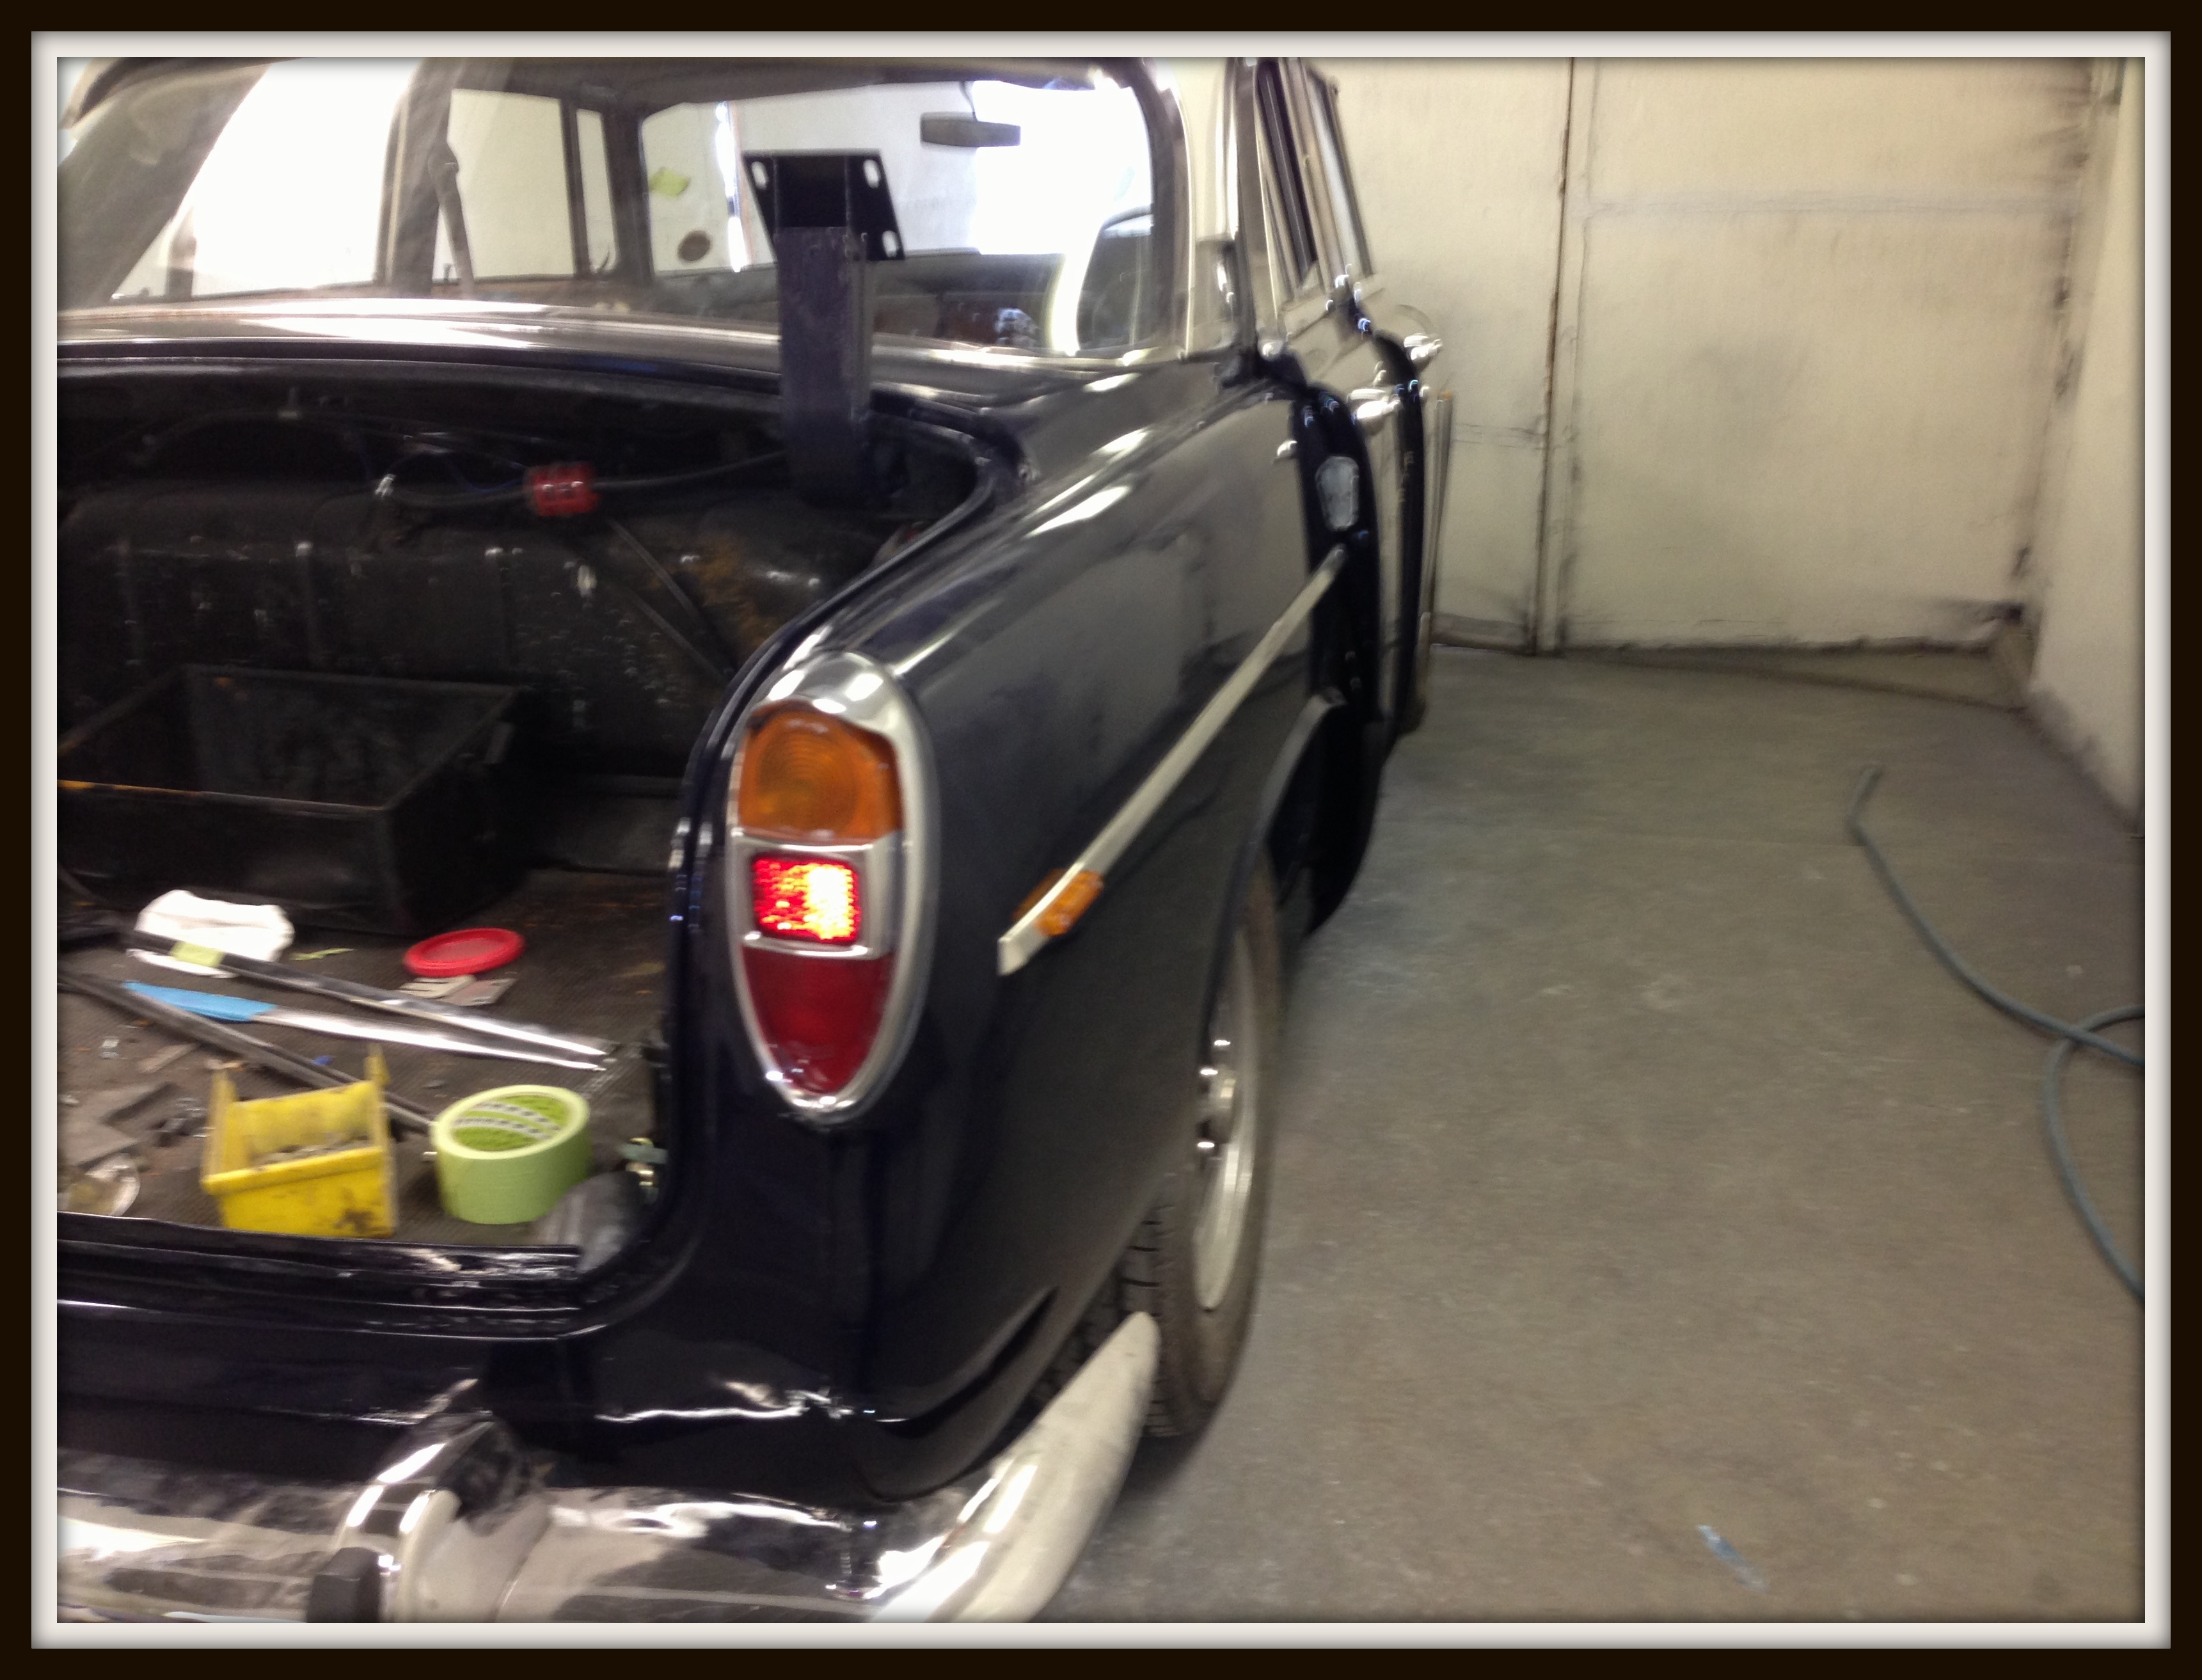
Whilst the doors were removed from the car they were stripped for painting. On removing the paint we discovered that two had been repaired before and required partial new door skins and frame repairs.
Next was to fabricate a new floor for the passenger foot well, this had several holes and was being held together by the amount of Shultz attaching the underlay to the floor. 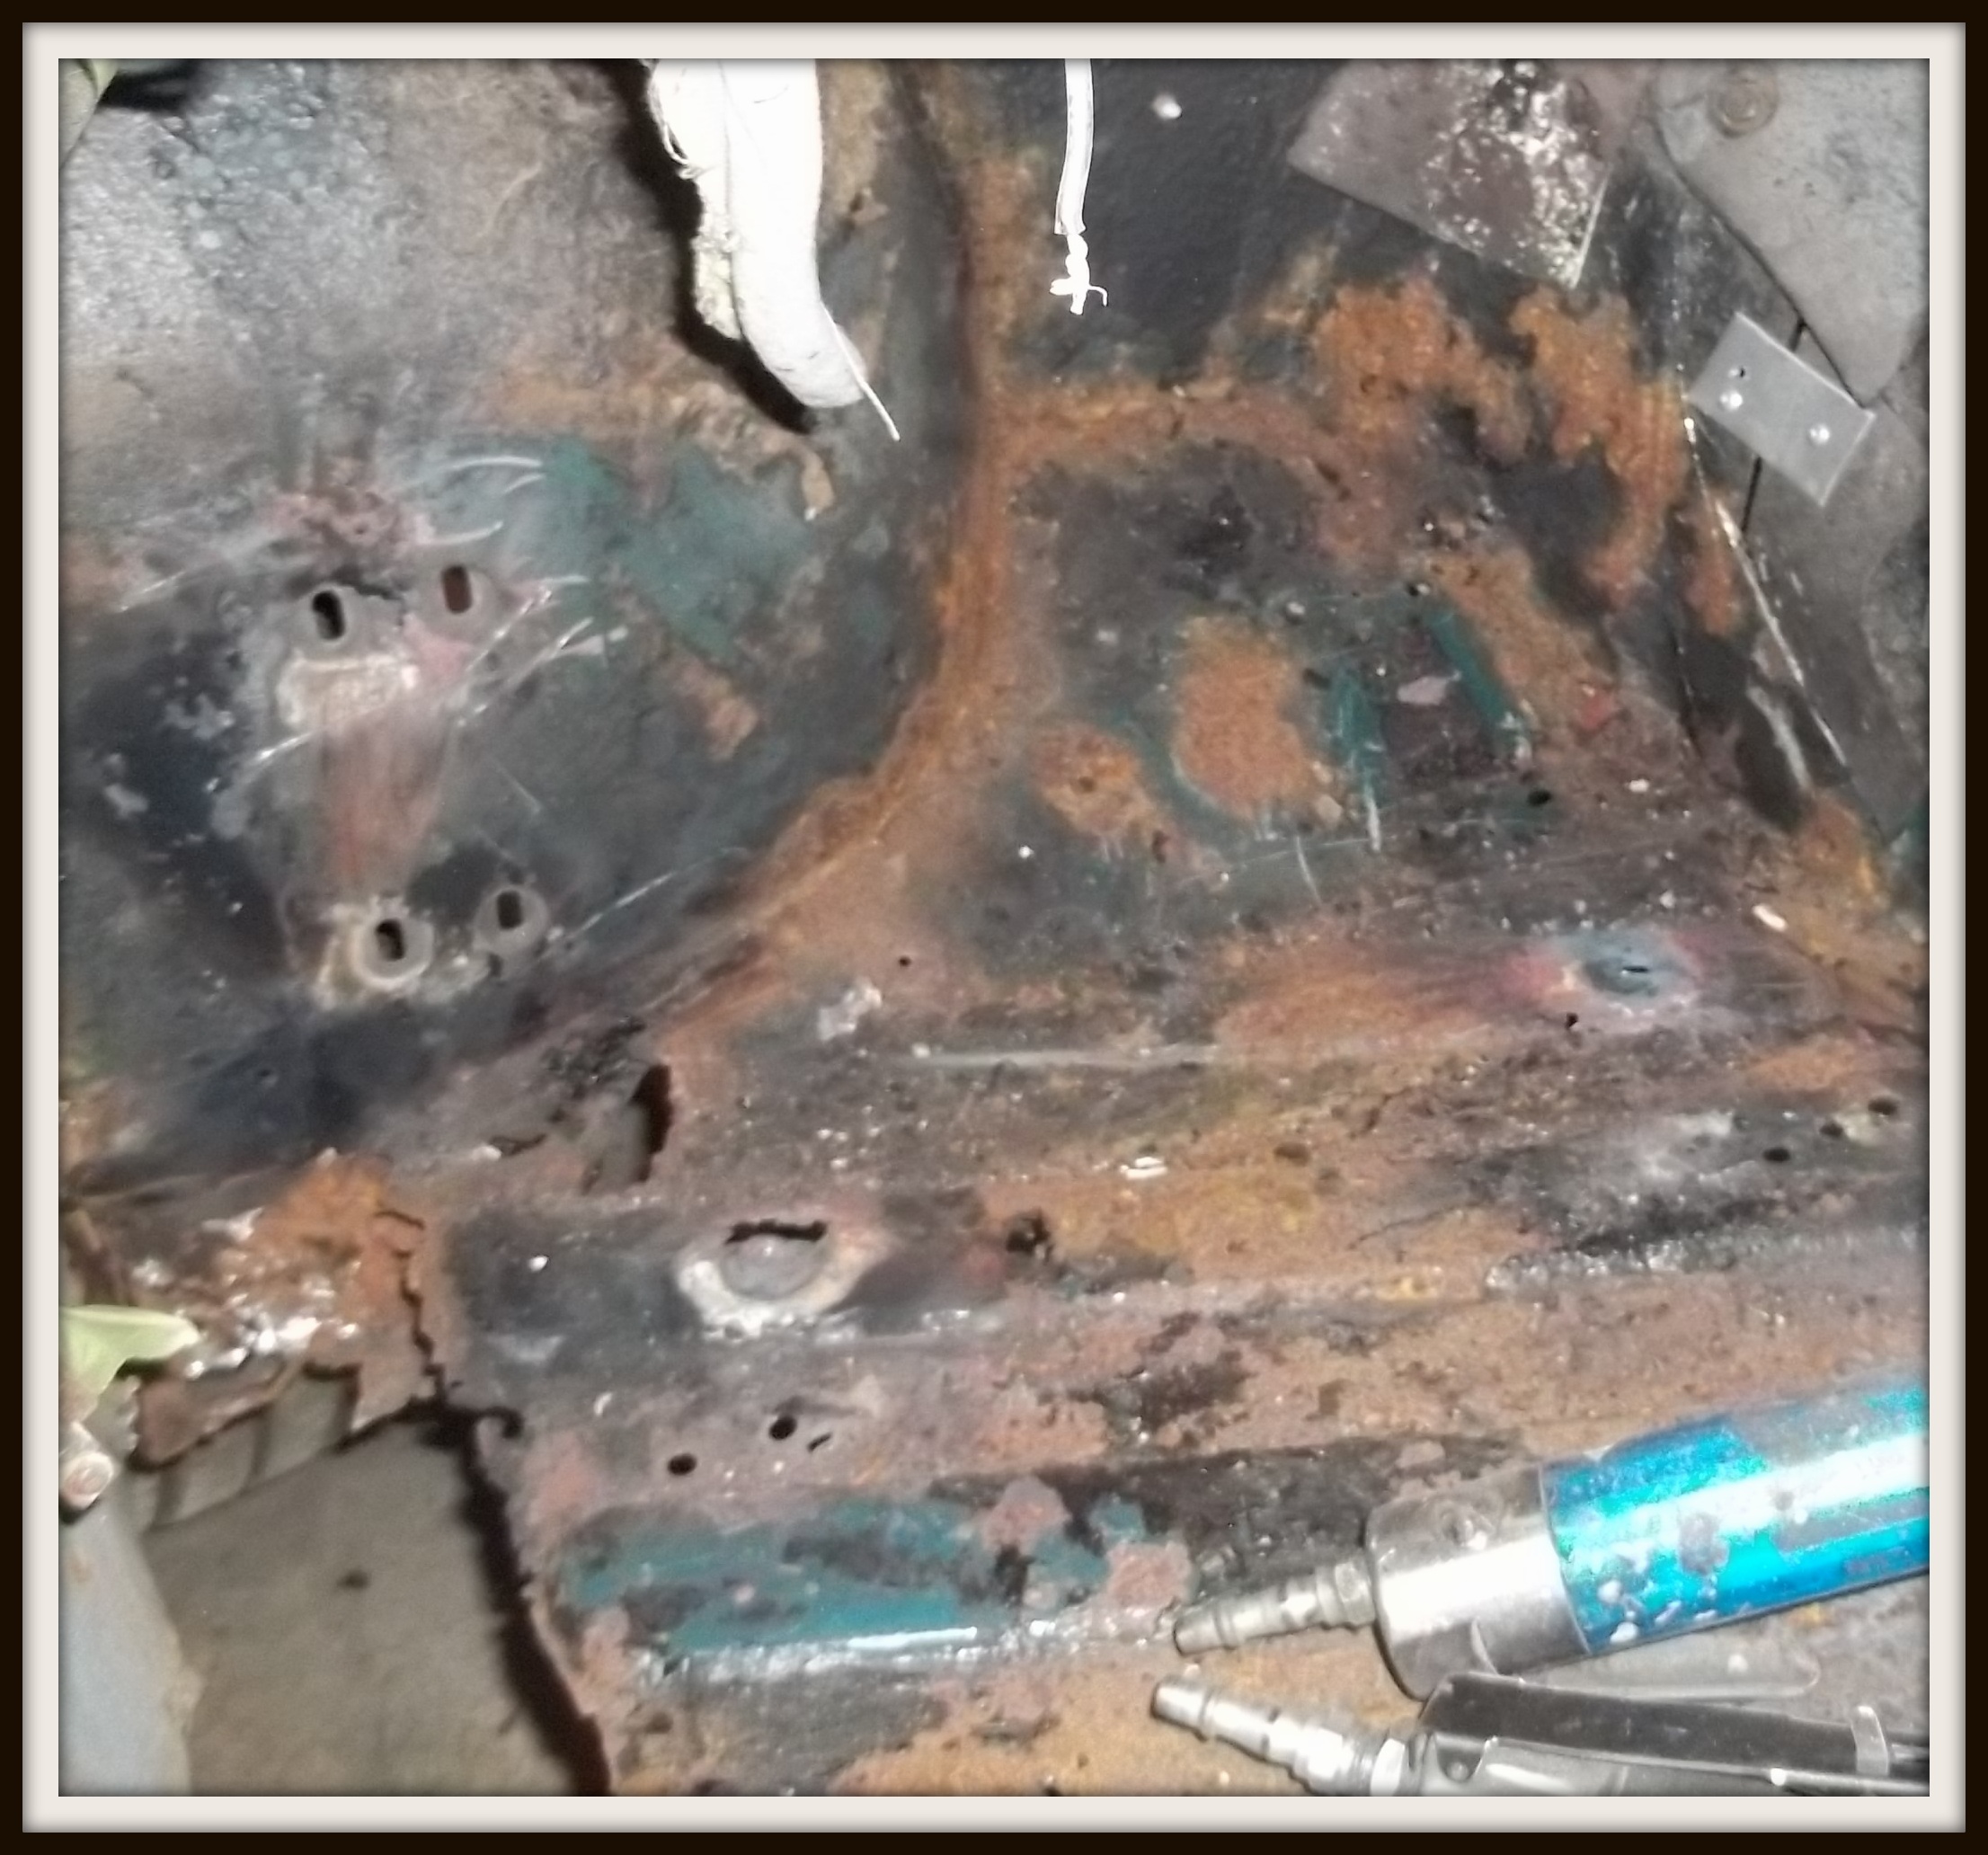
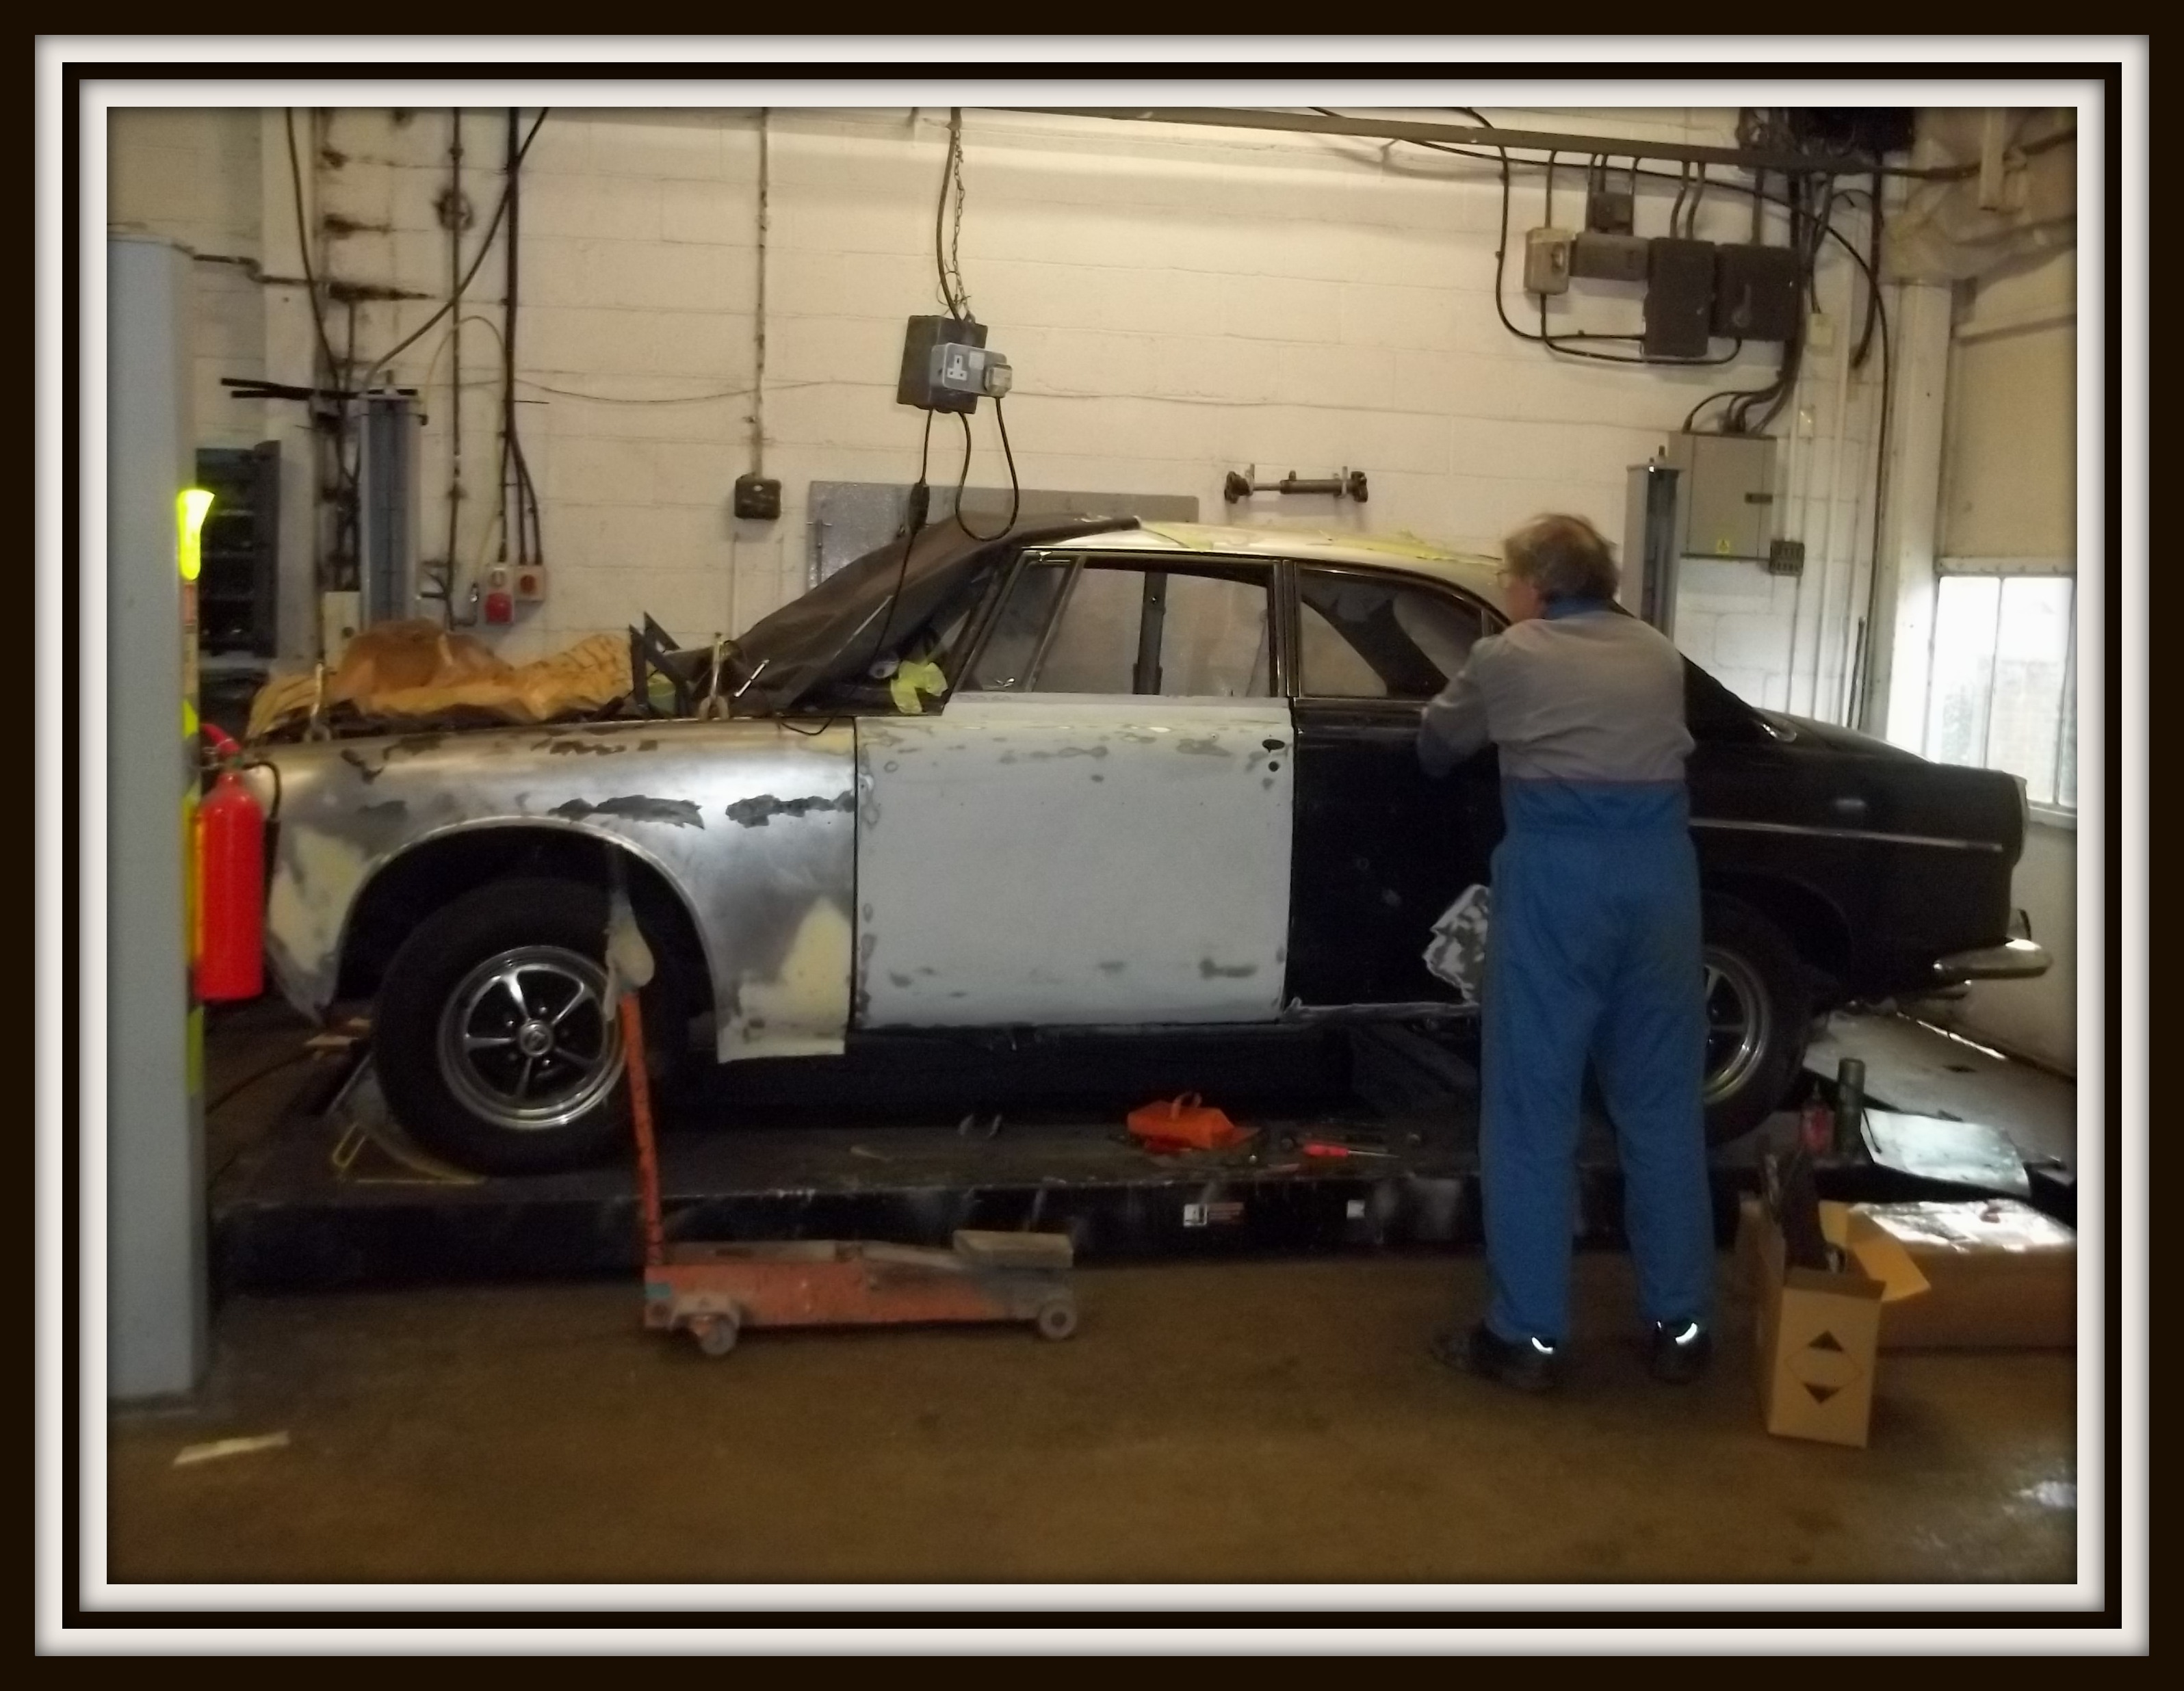
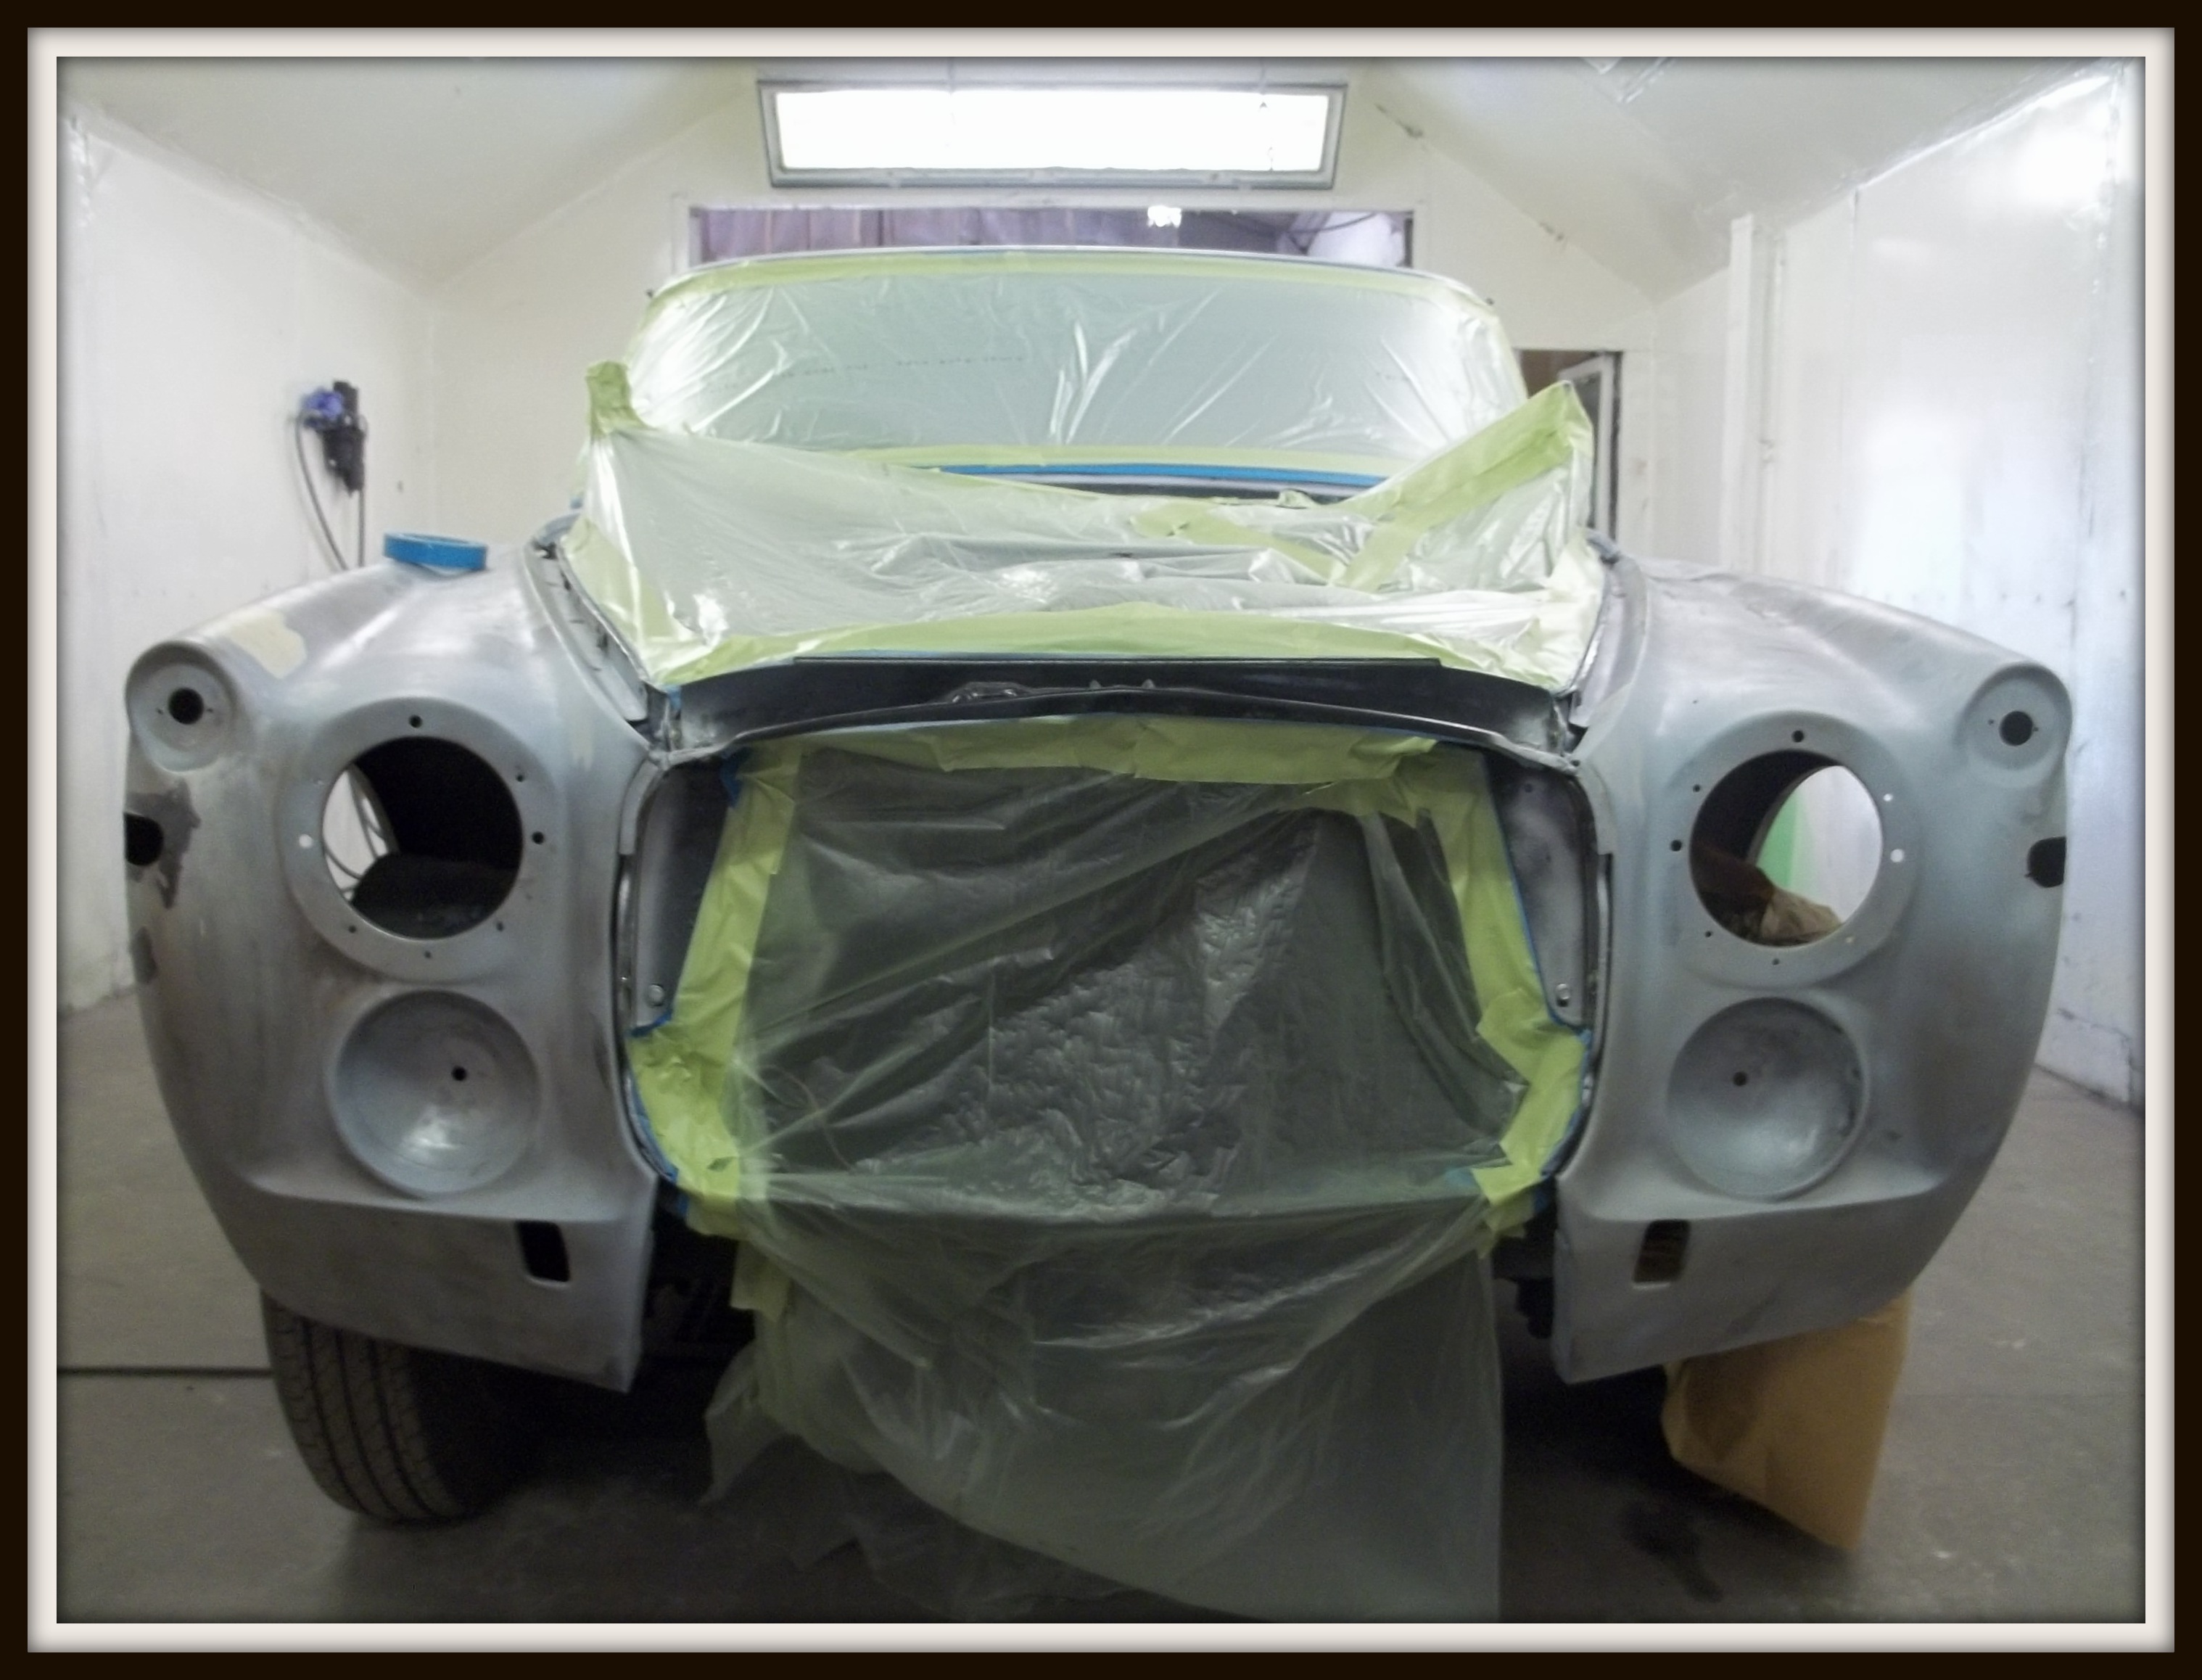
With new sills in place and the strength back in the car, one final check that all fits as it should, before the body is prepared for painting.
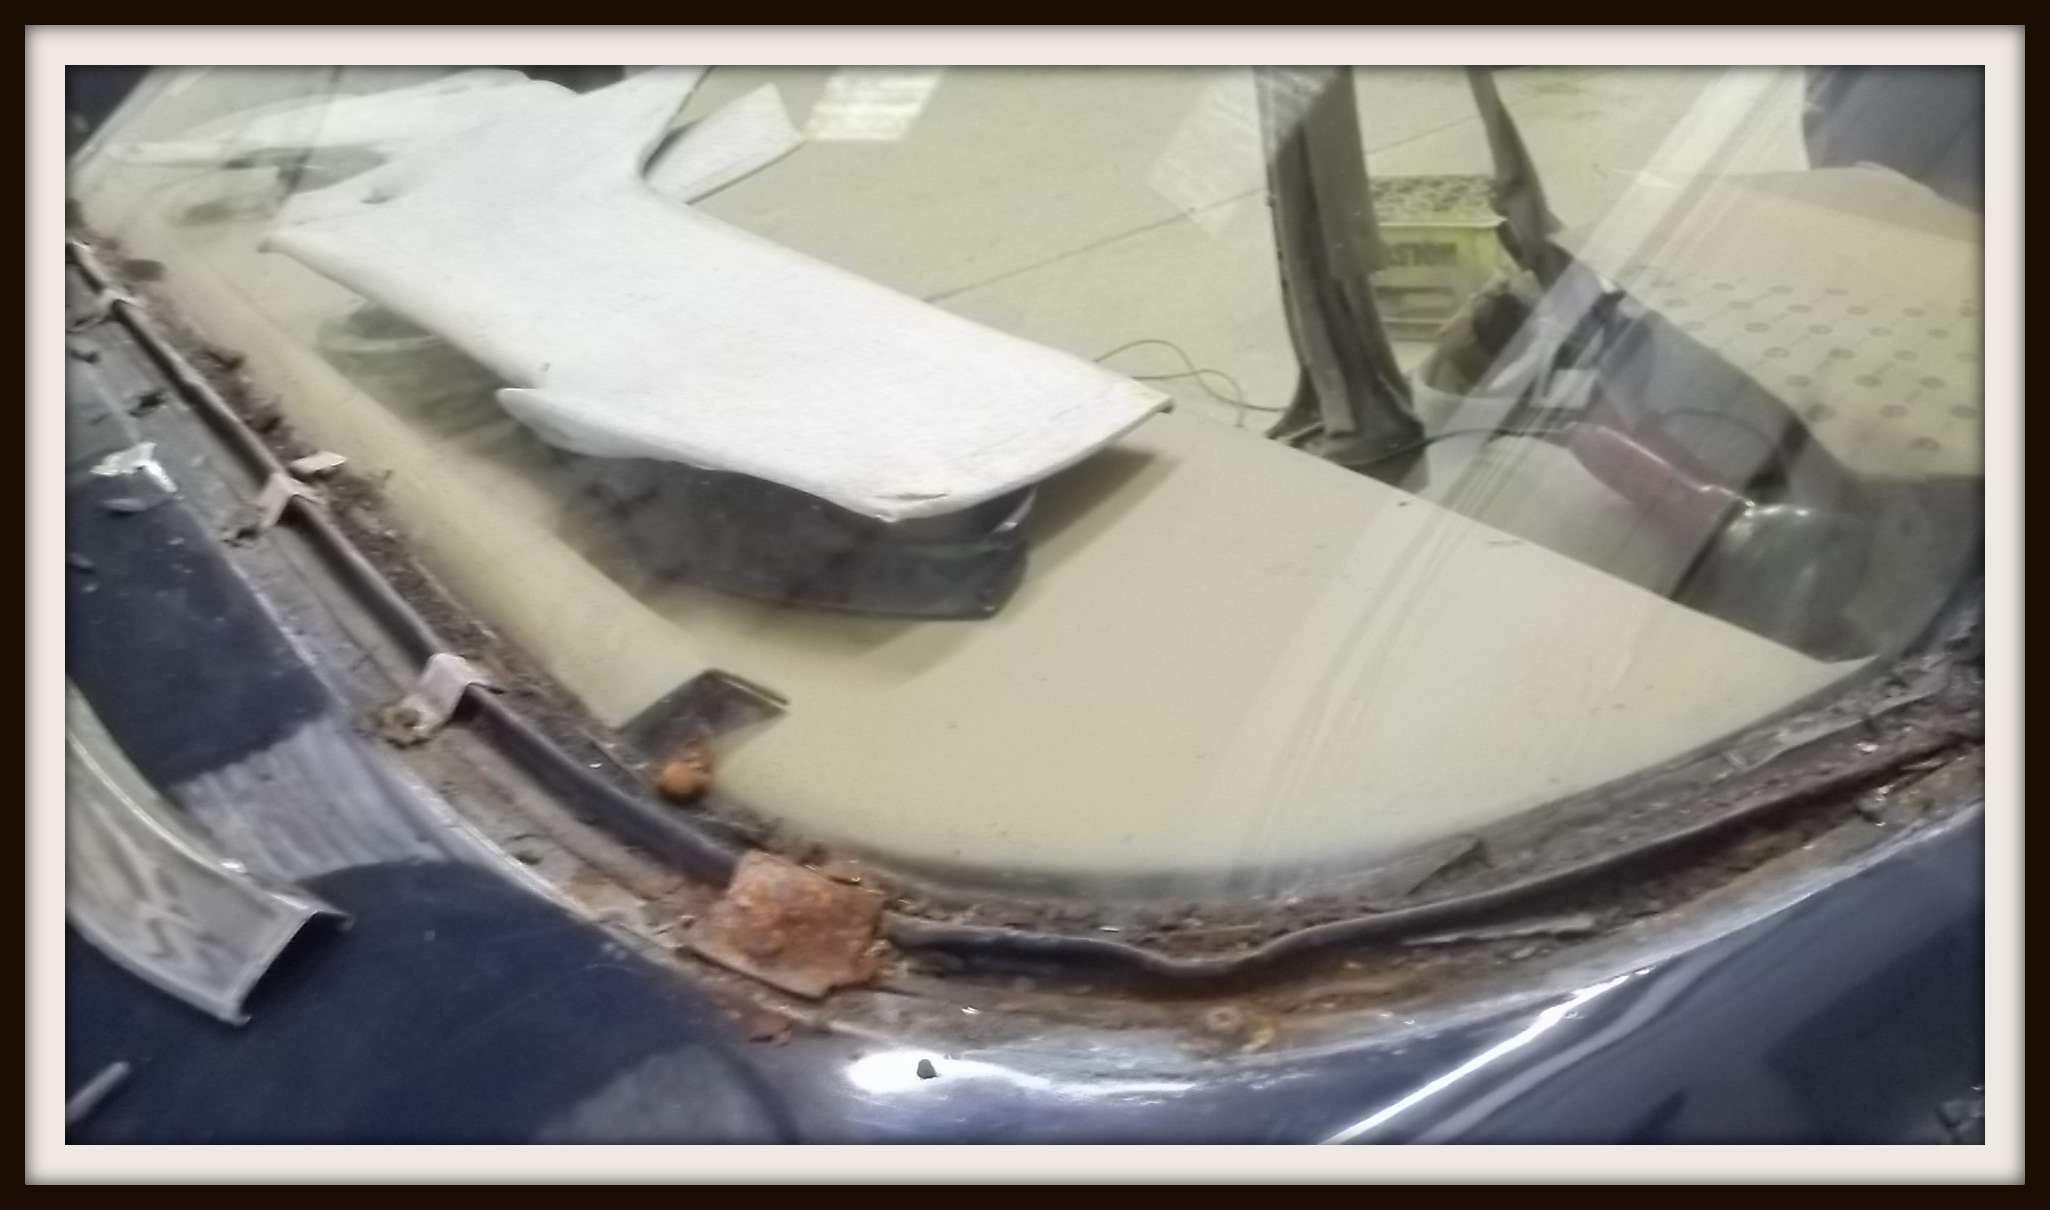
All other chrome removed, it appeared the rear screen had never been out
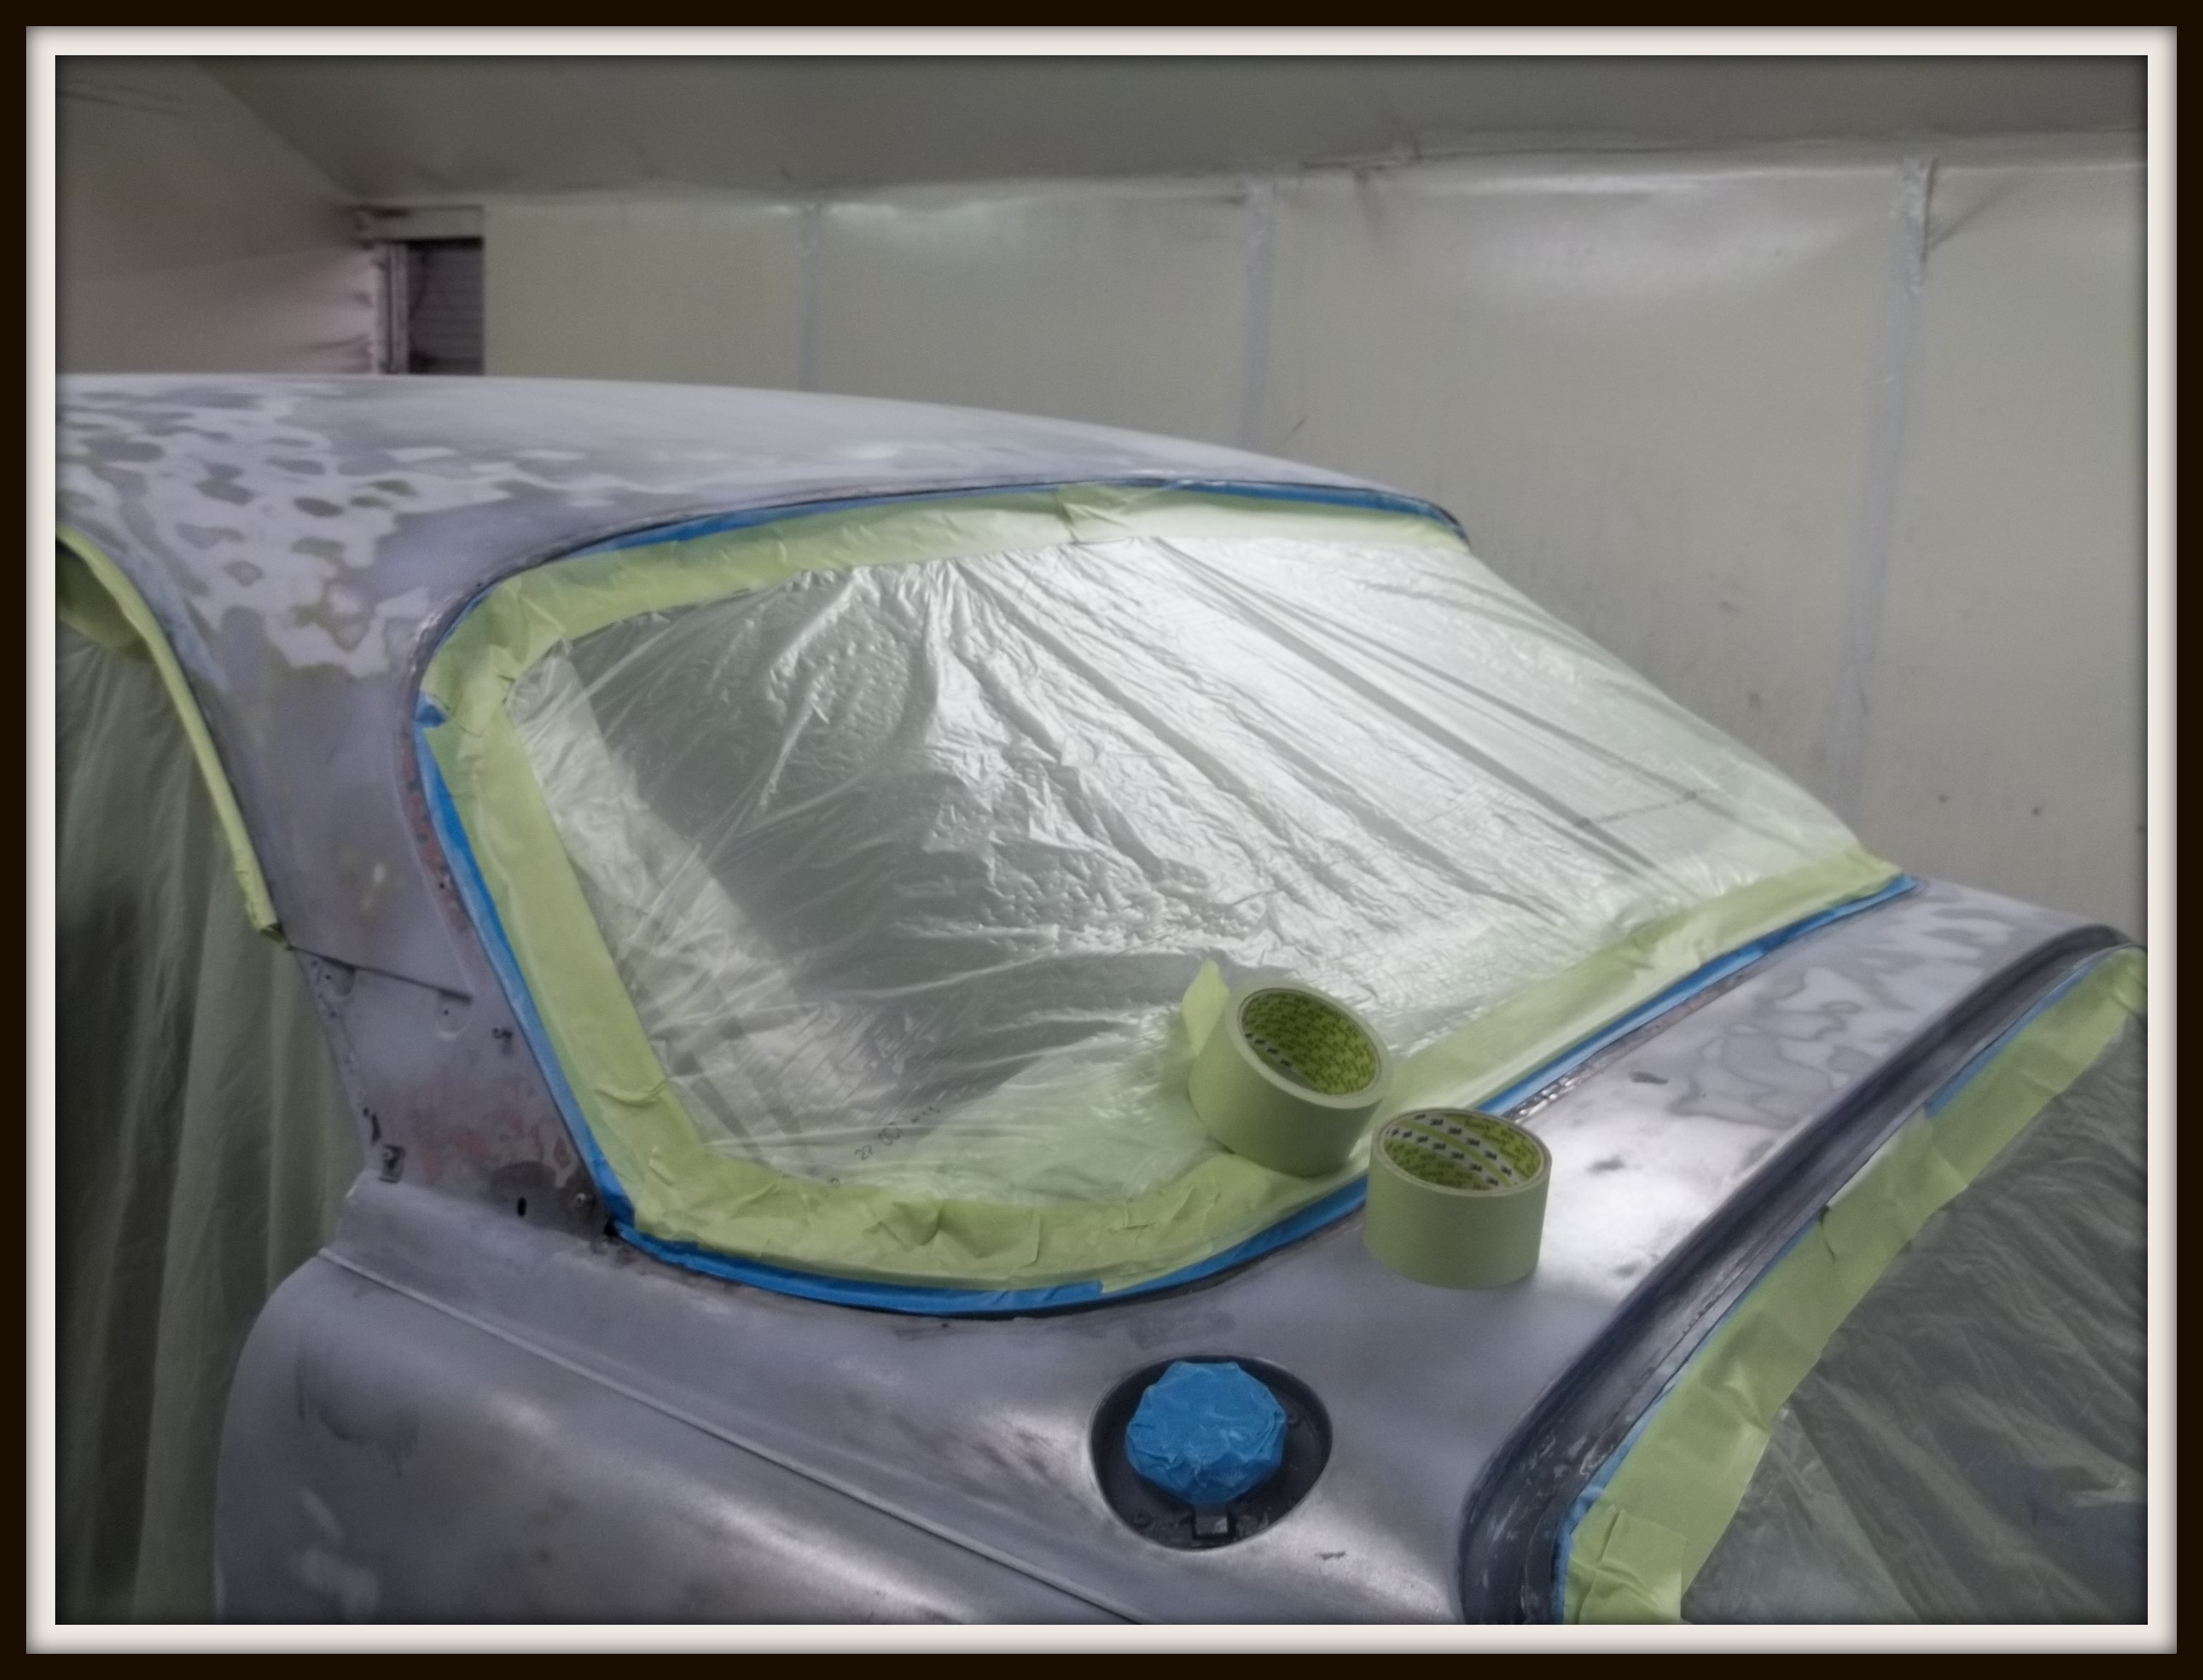
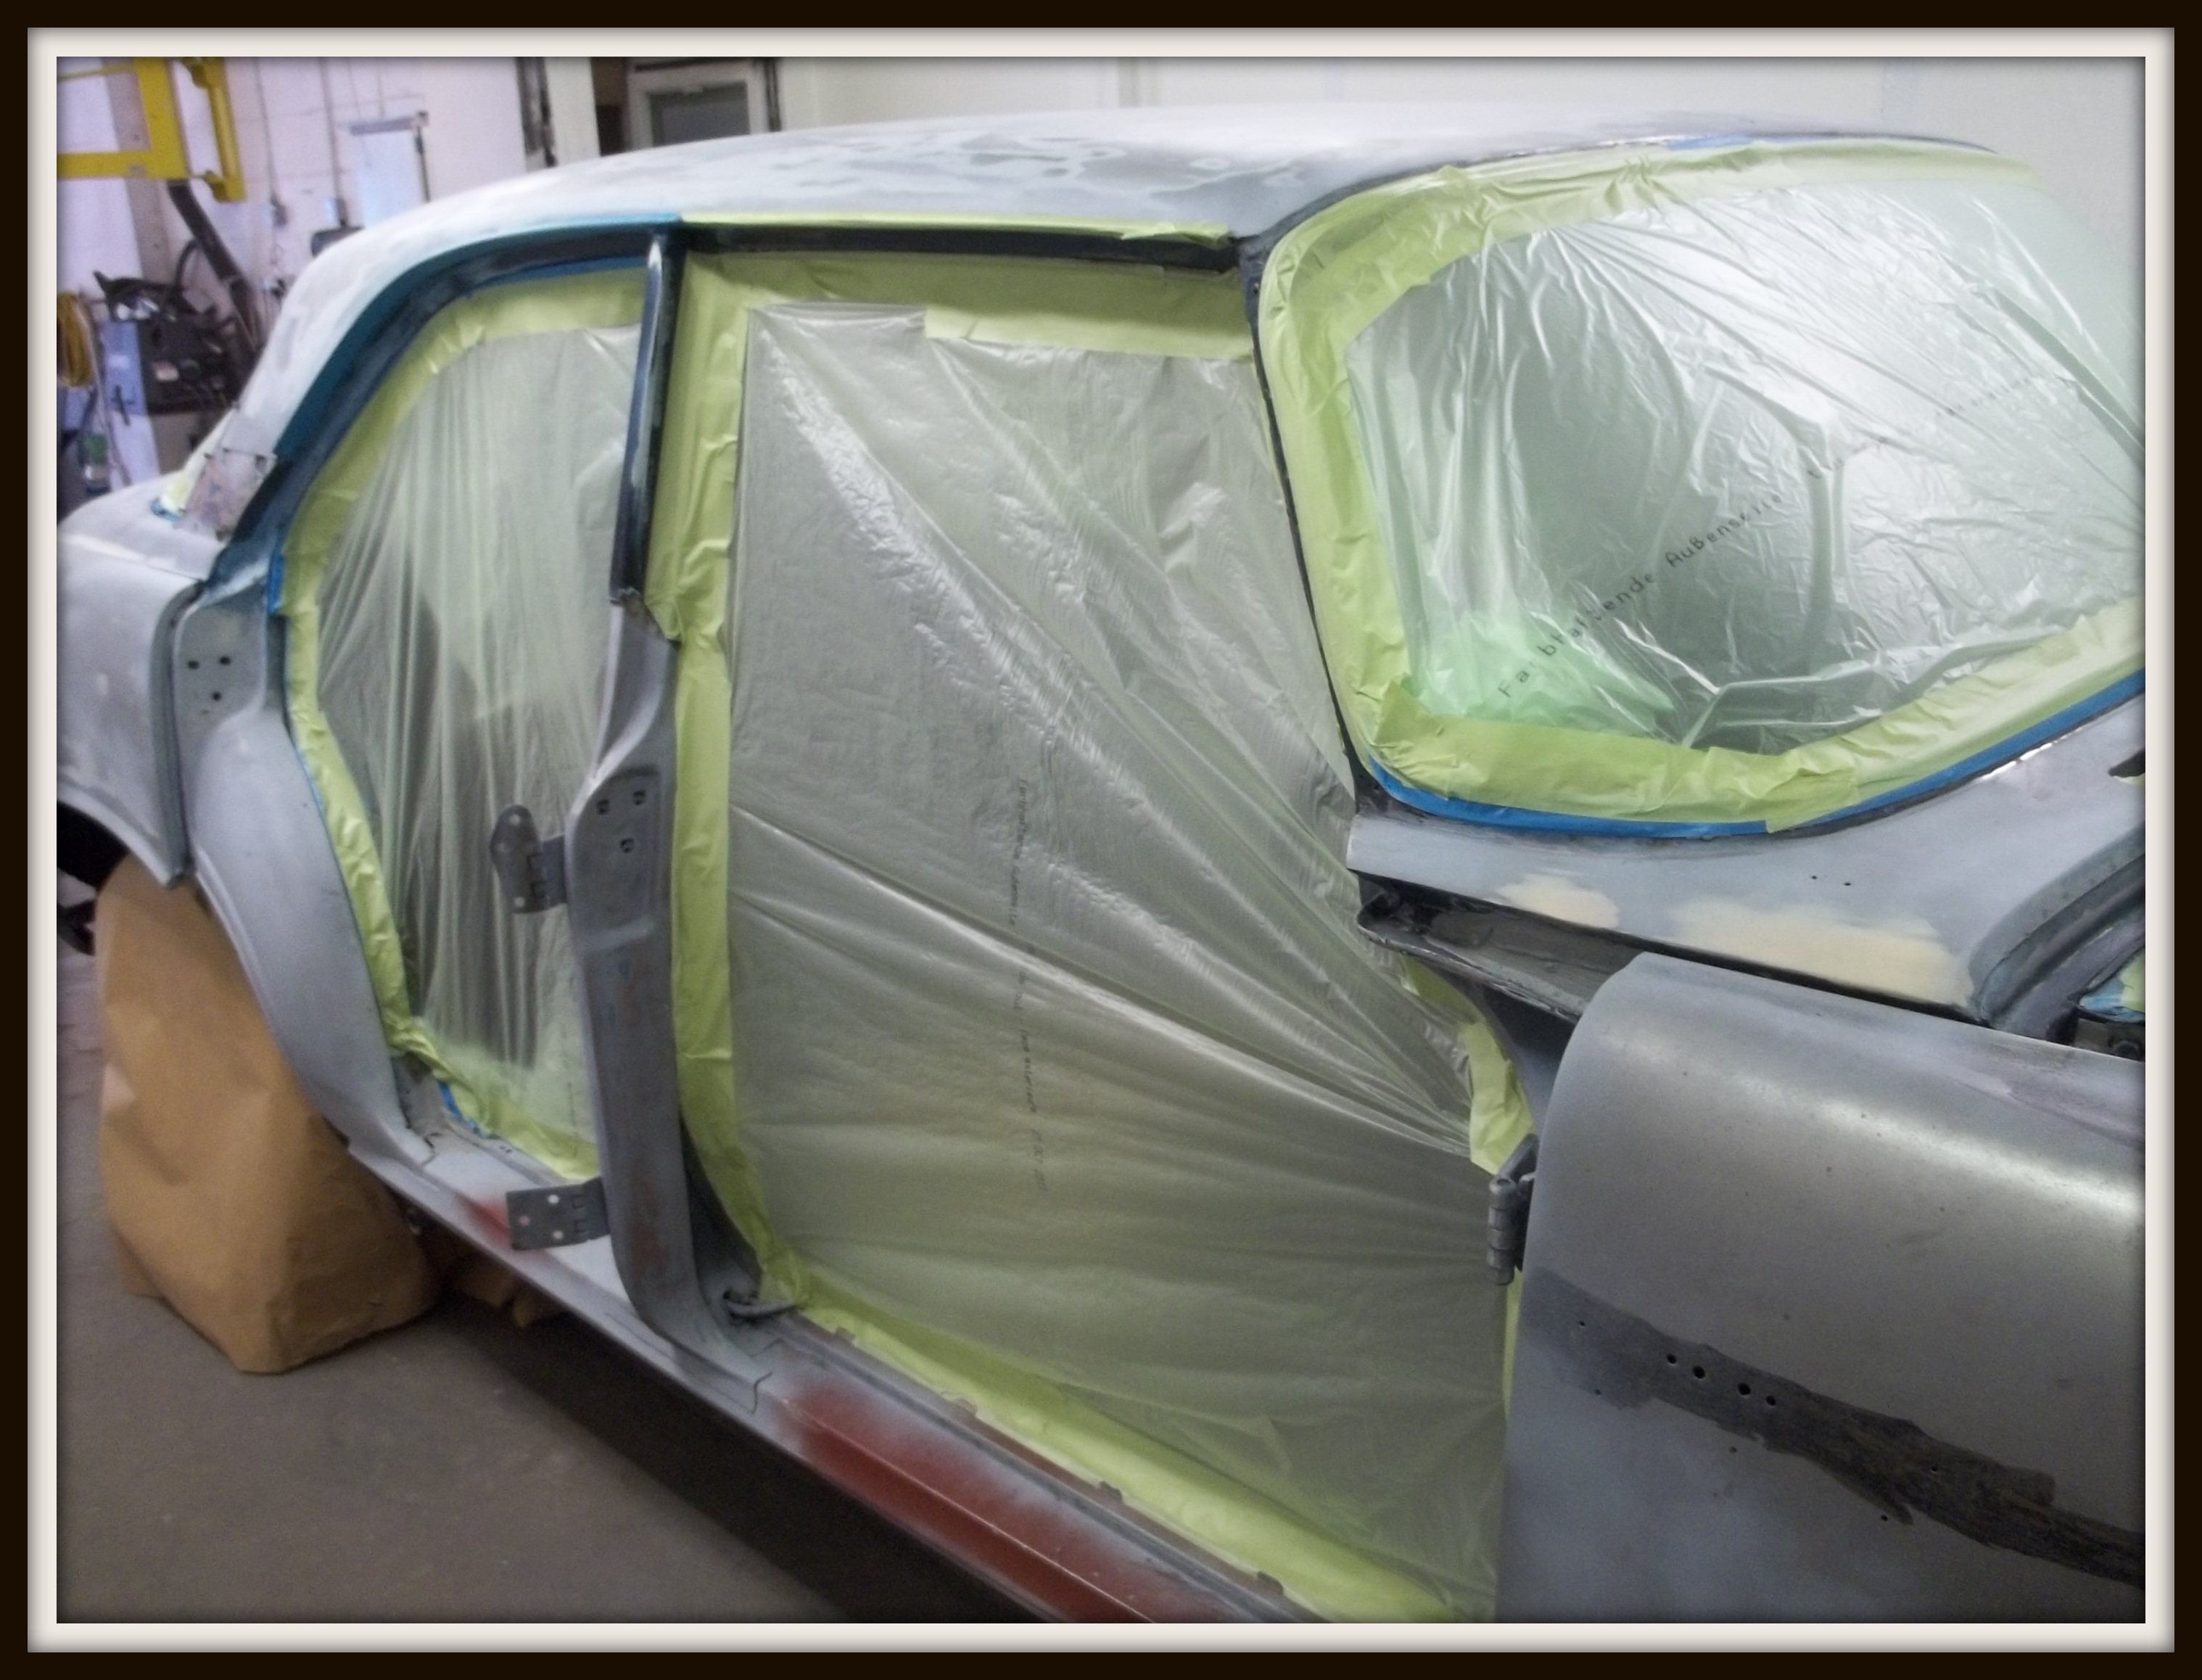
Next was a long week of small repairs and rubbing down to prepare it for its primer, the body went in first,
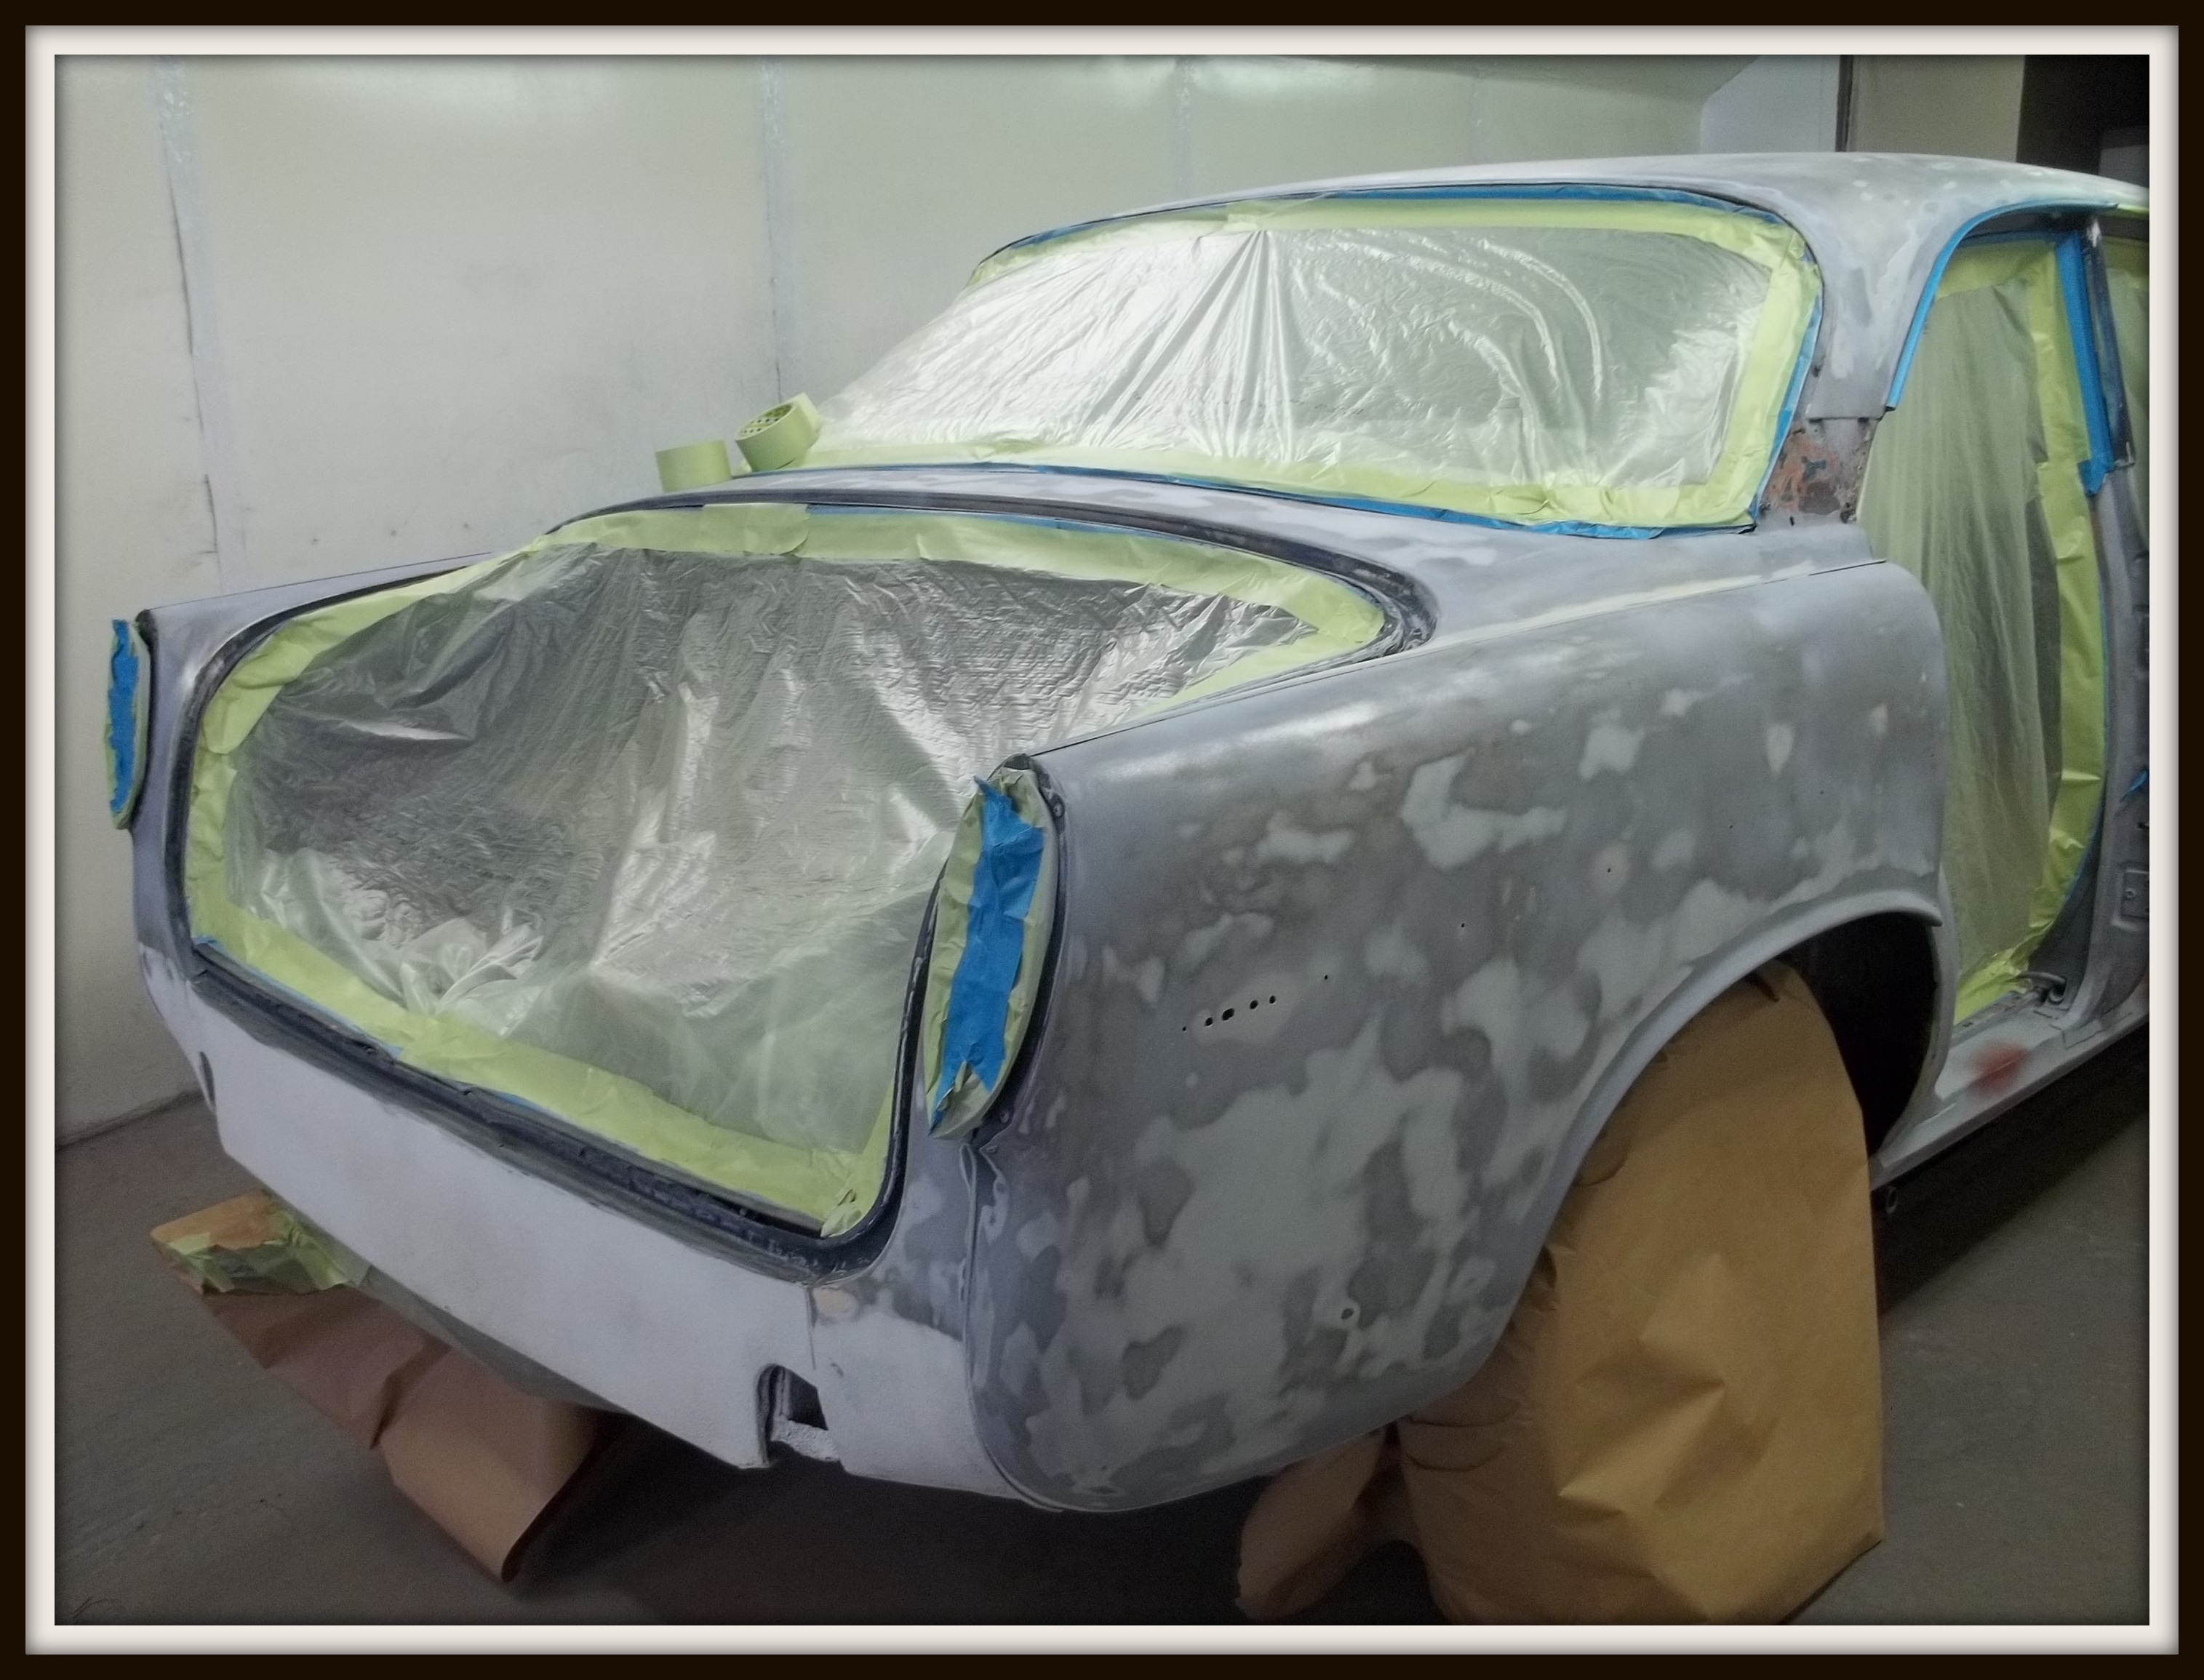
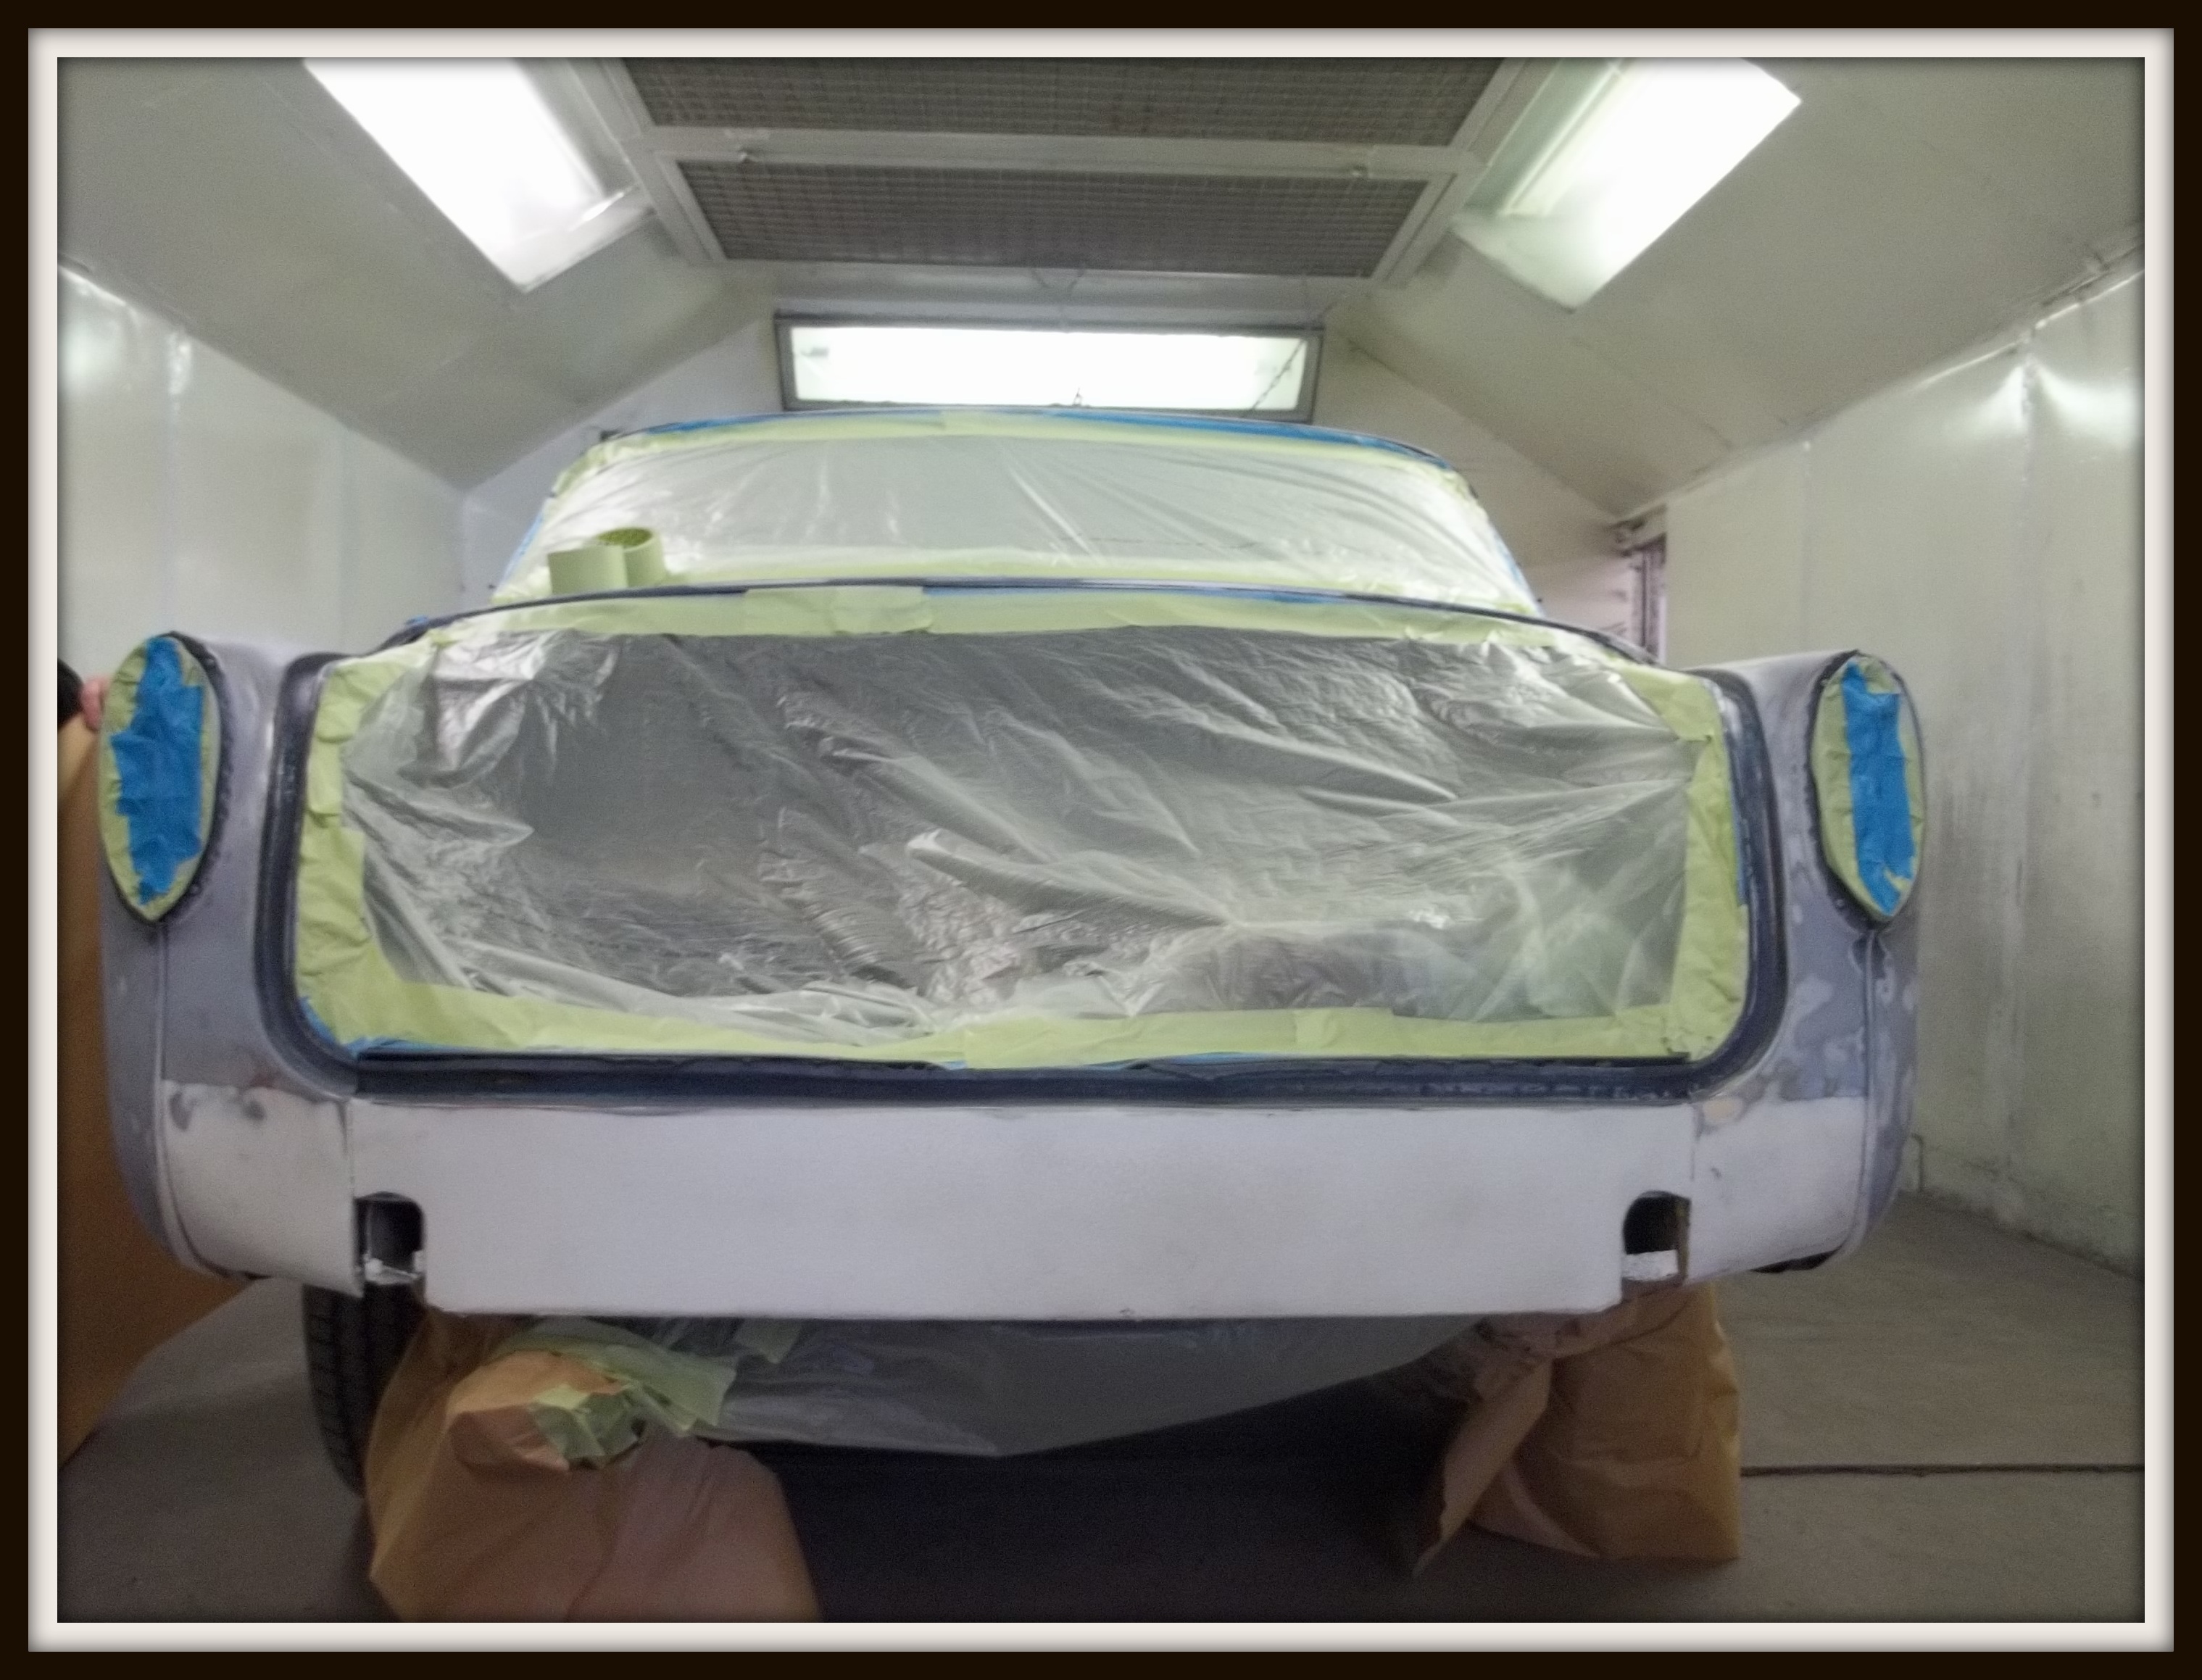
Next came the Gloss and original Silver for the roof. 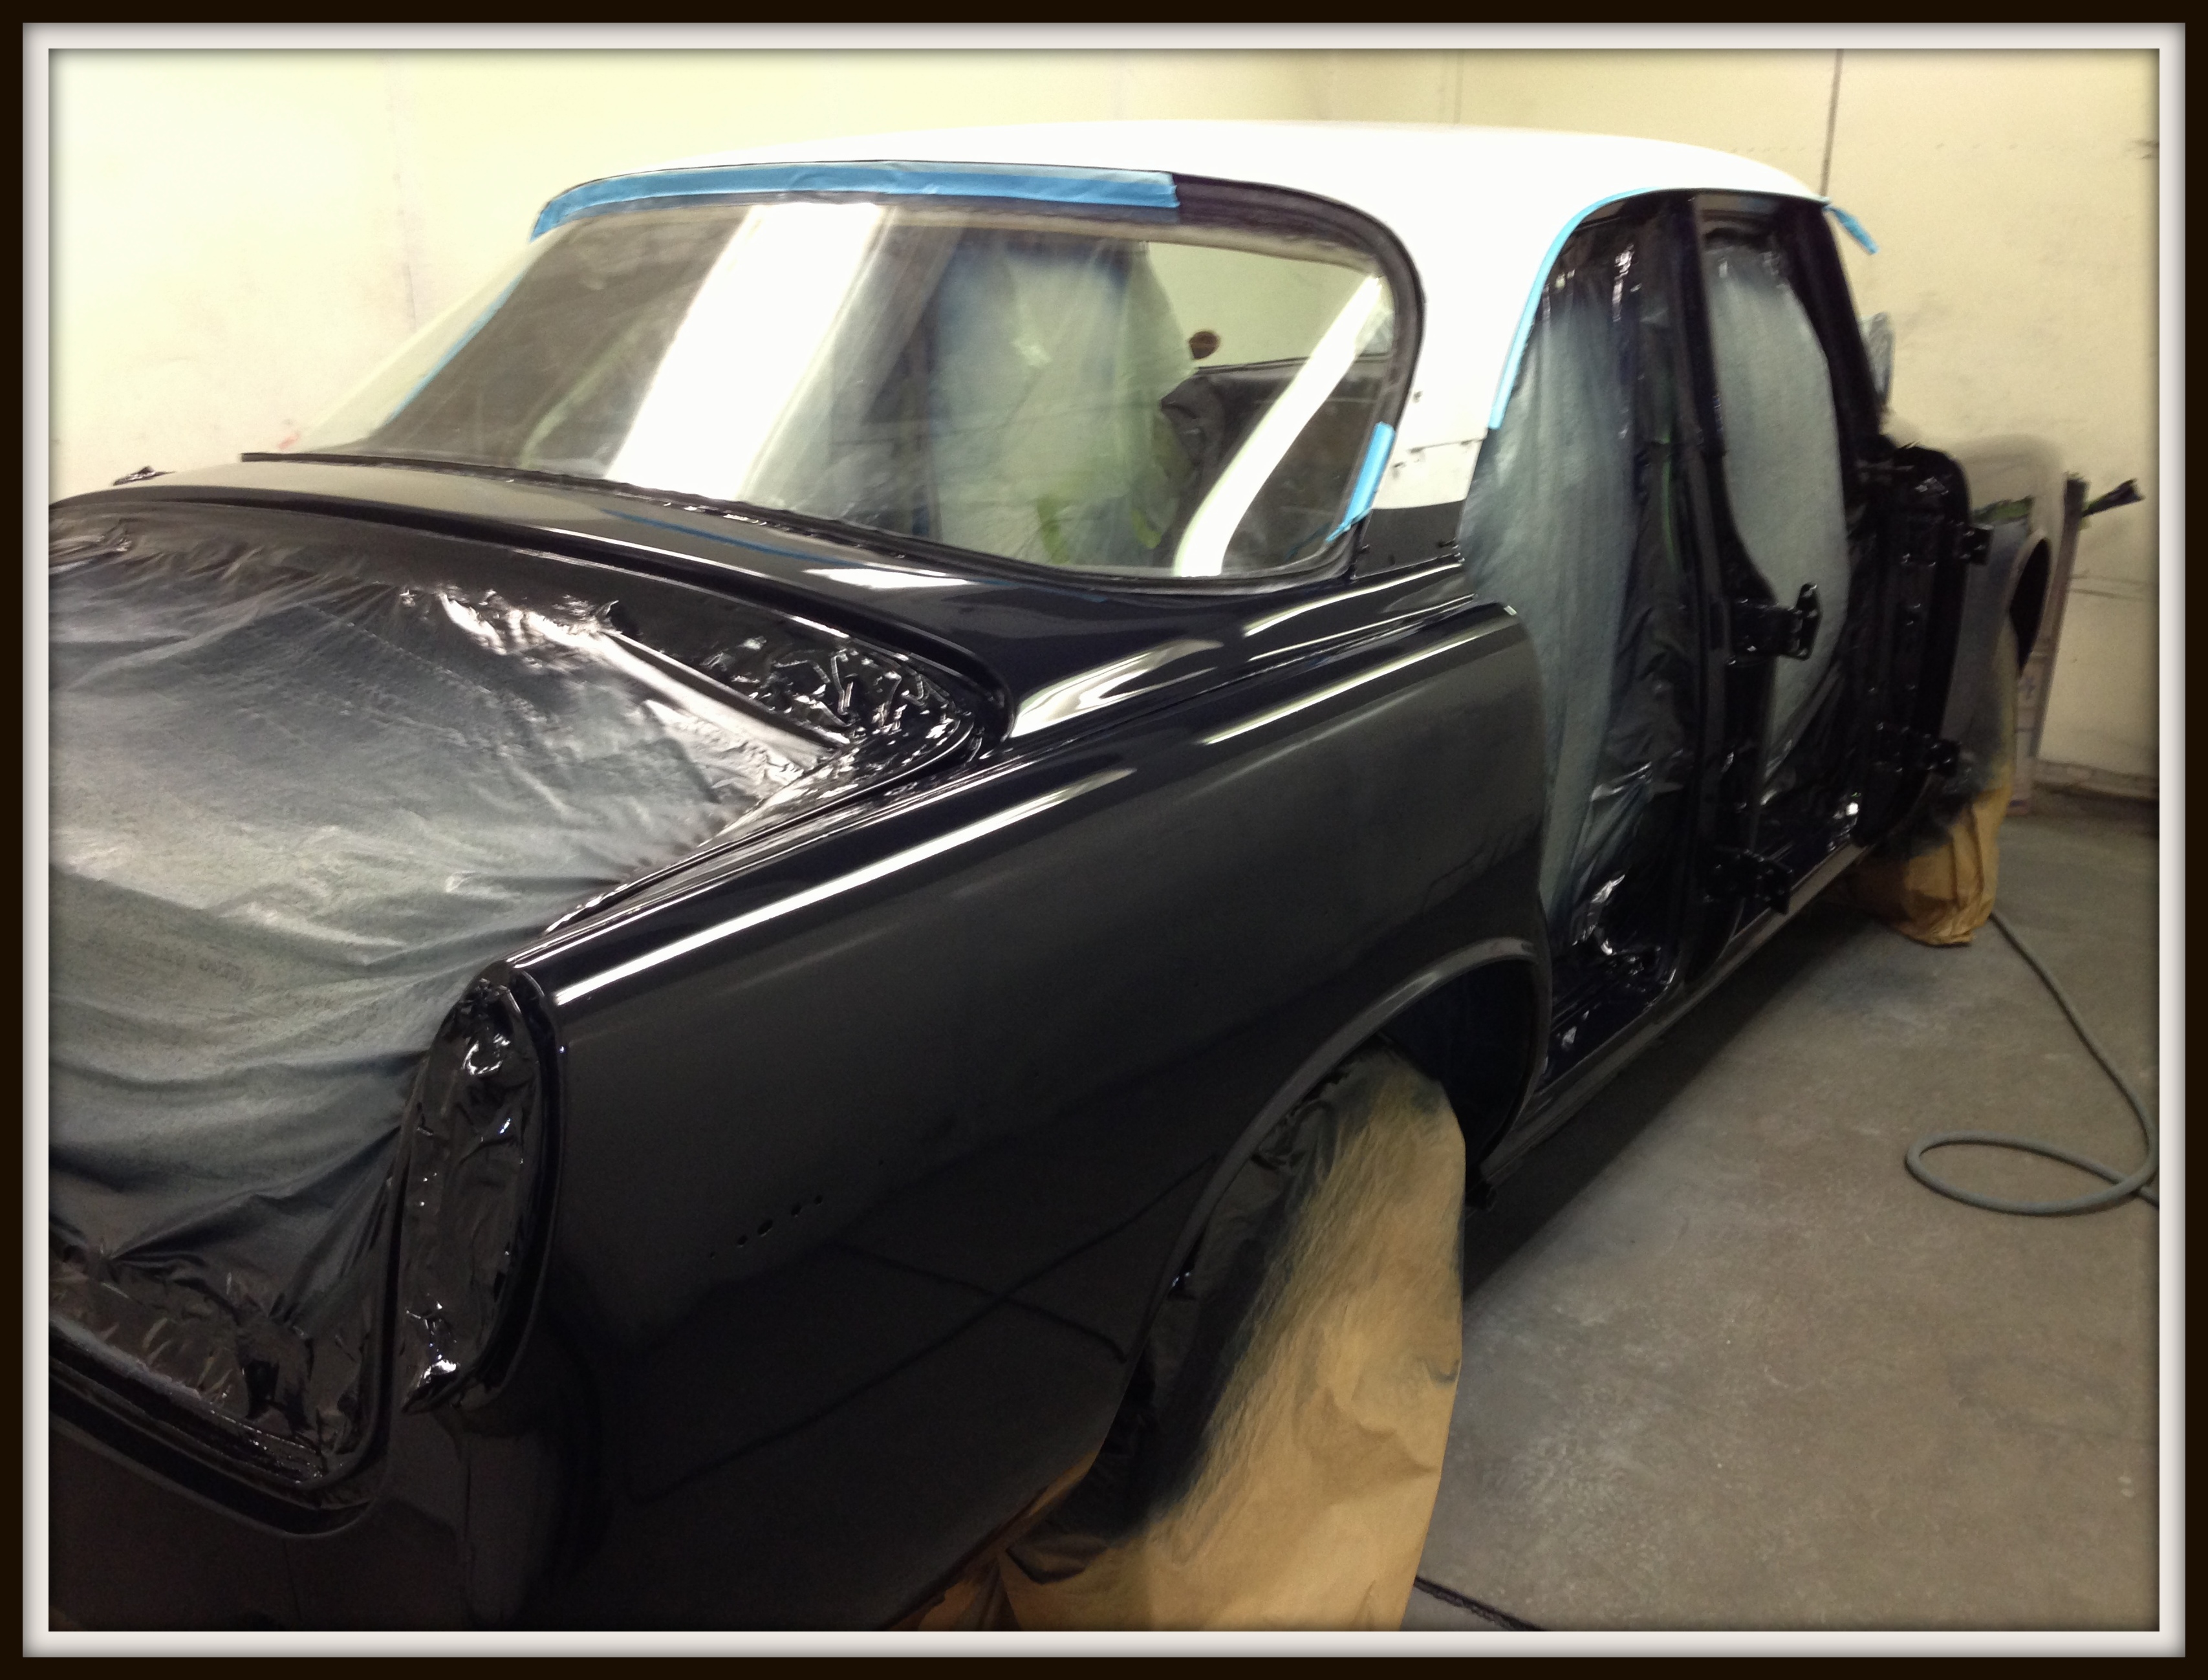
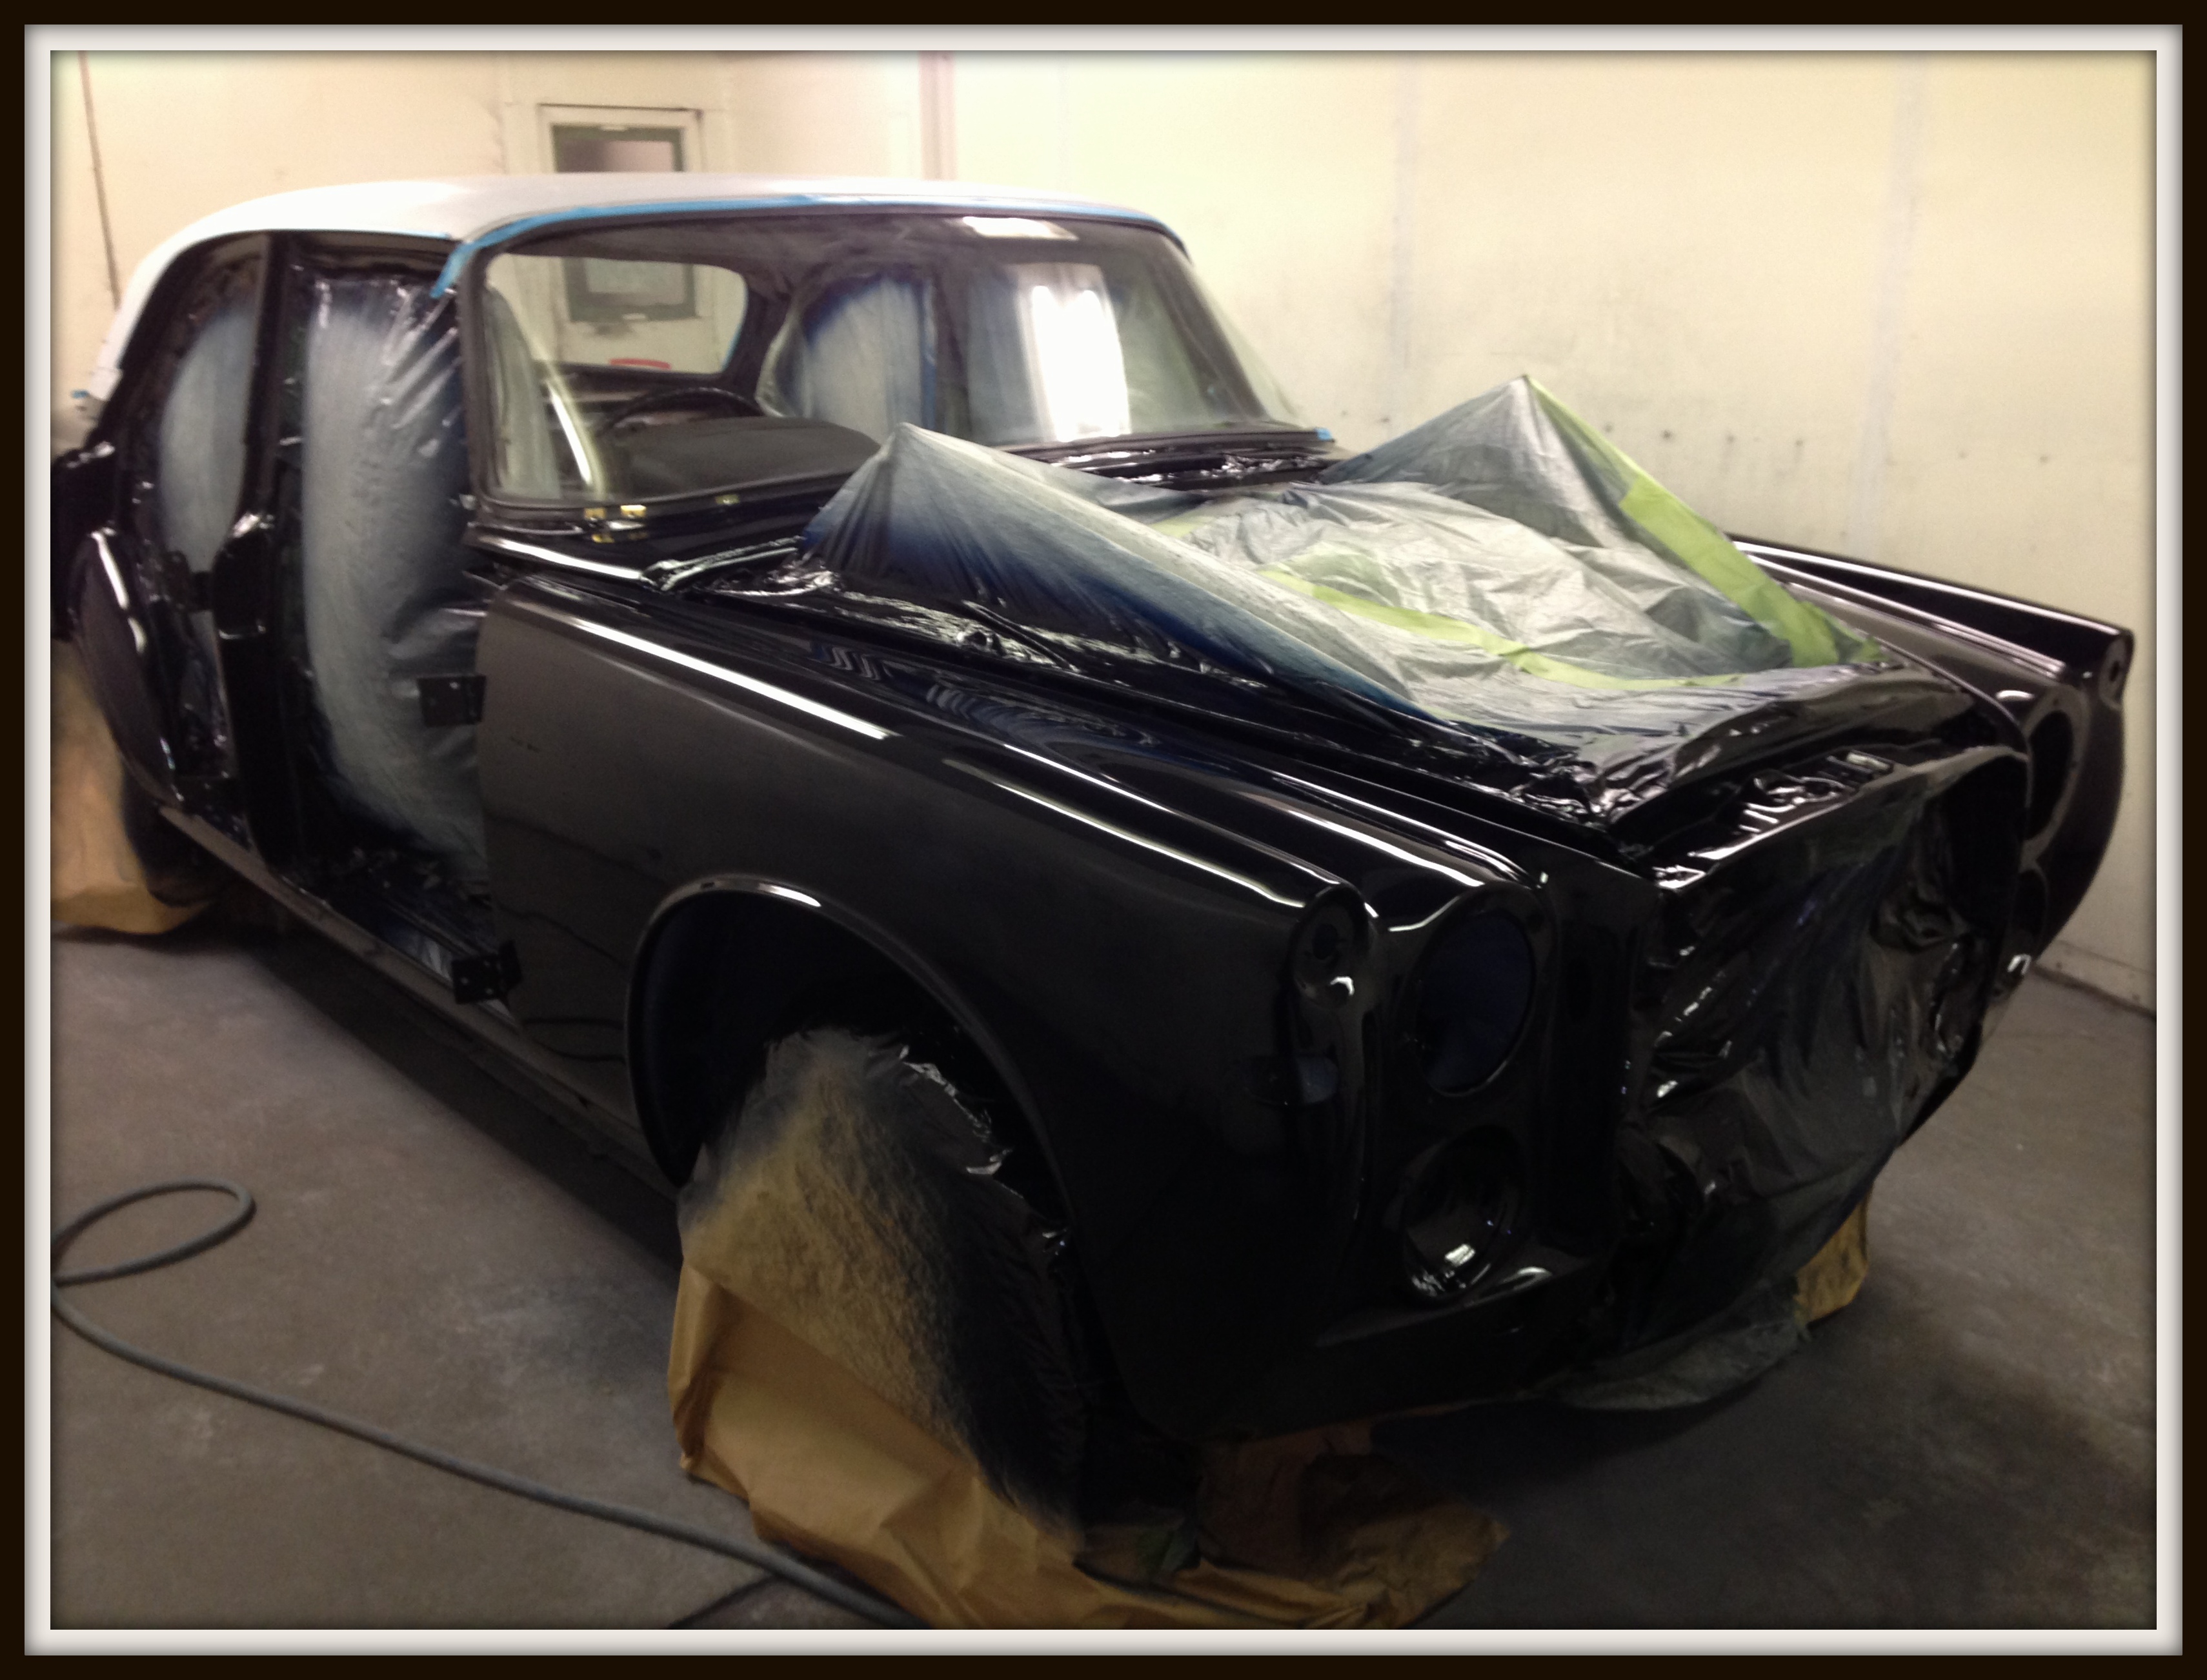
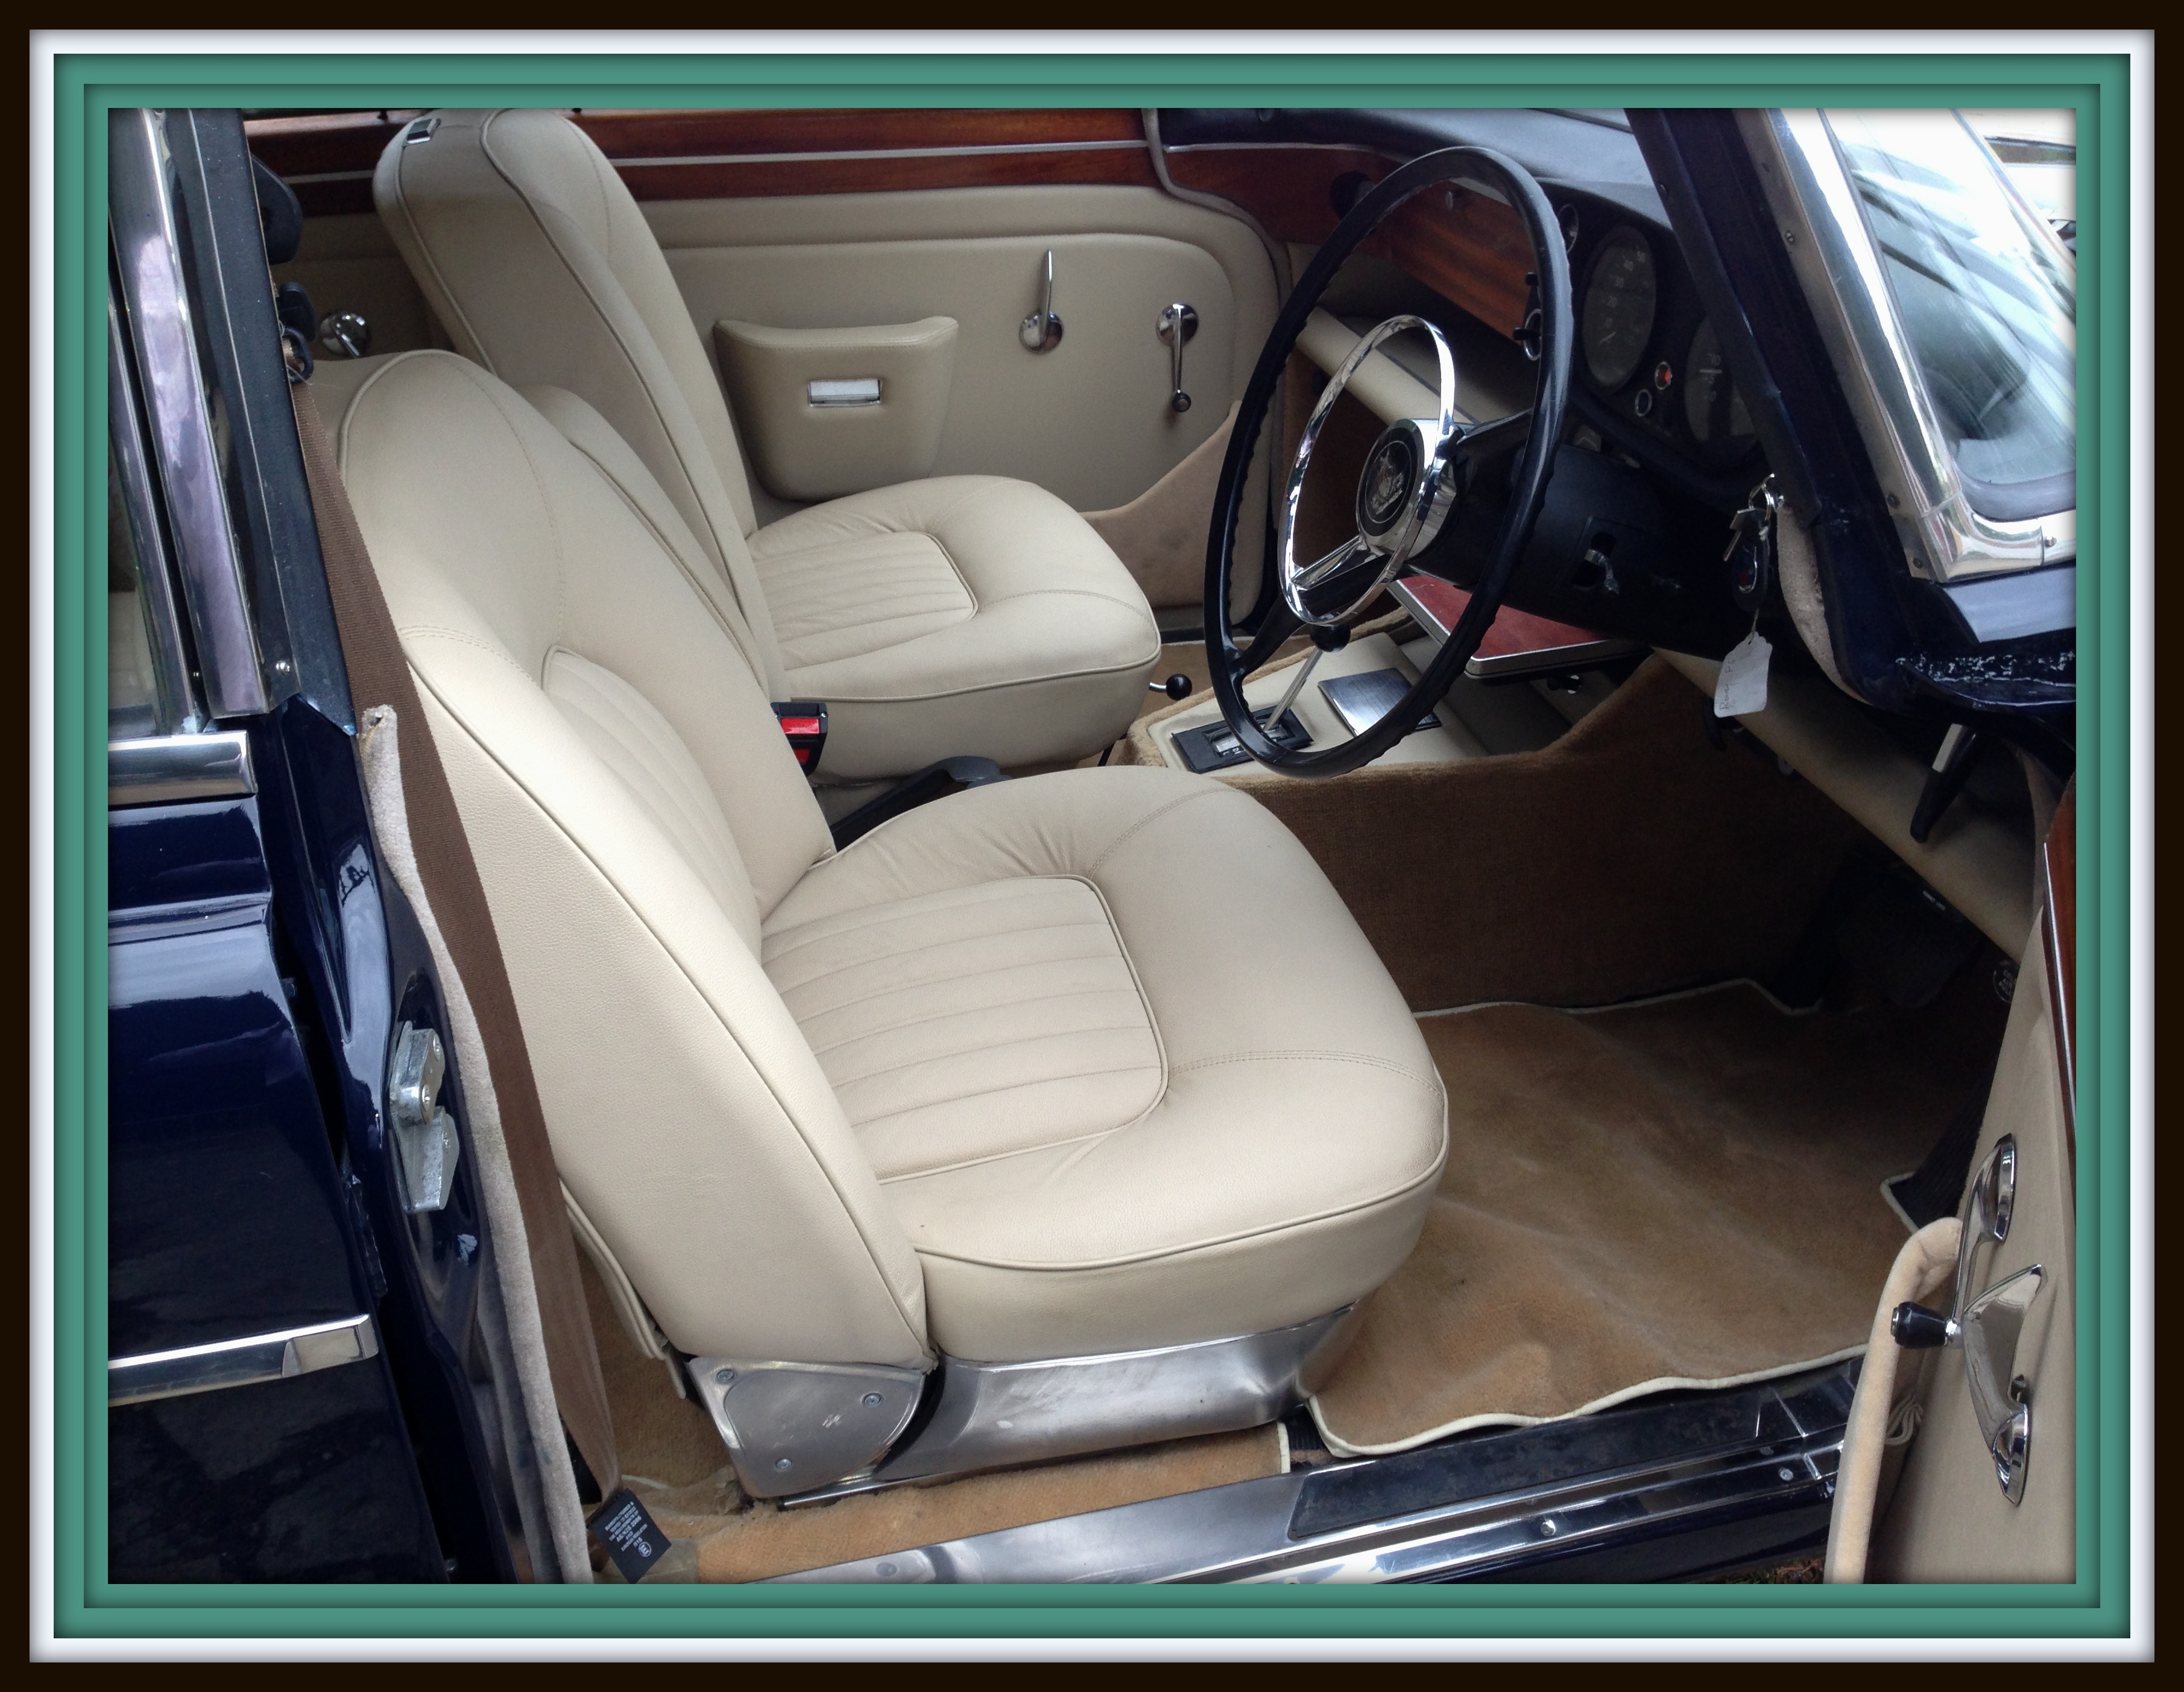
While the doors, bonnet and boot where in for paint we started putting everything back together but not before this little lot arrived, these had been ordered 3 weeks before when the owner decided that as everything was being done so well, he might as well have a new leather interior 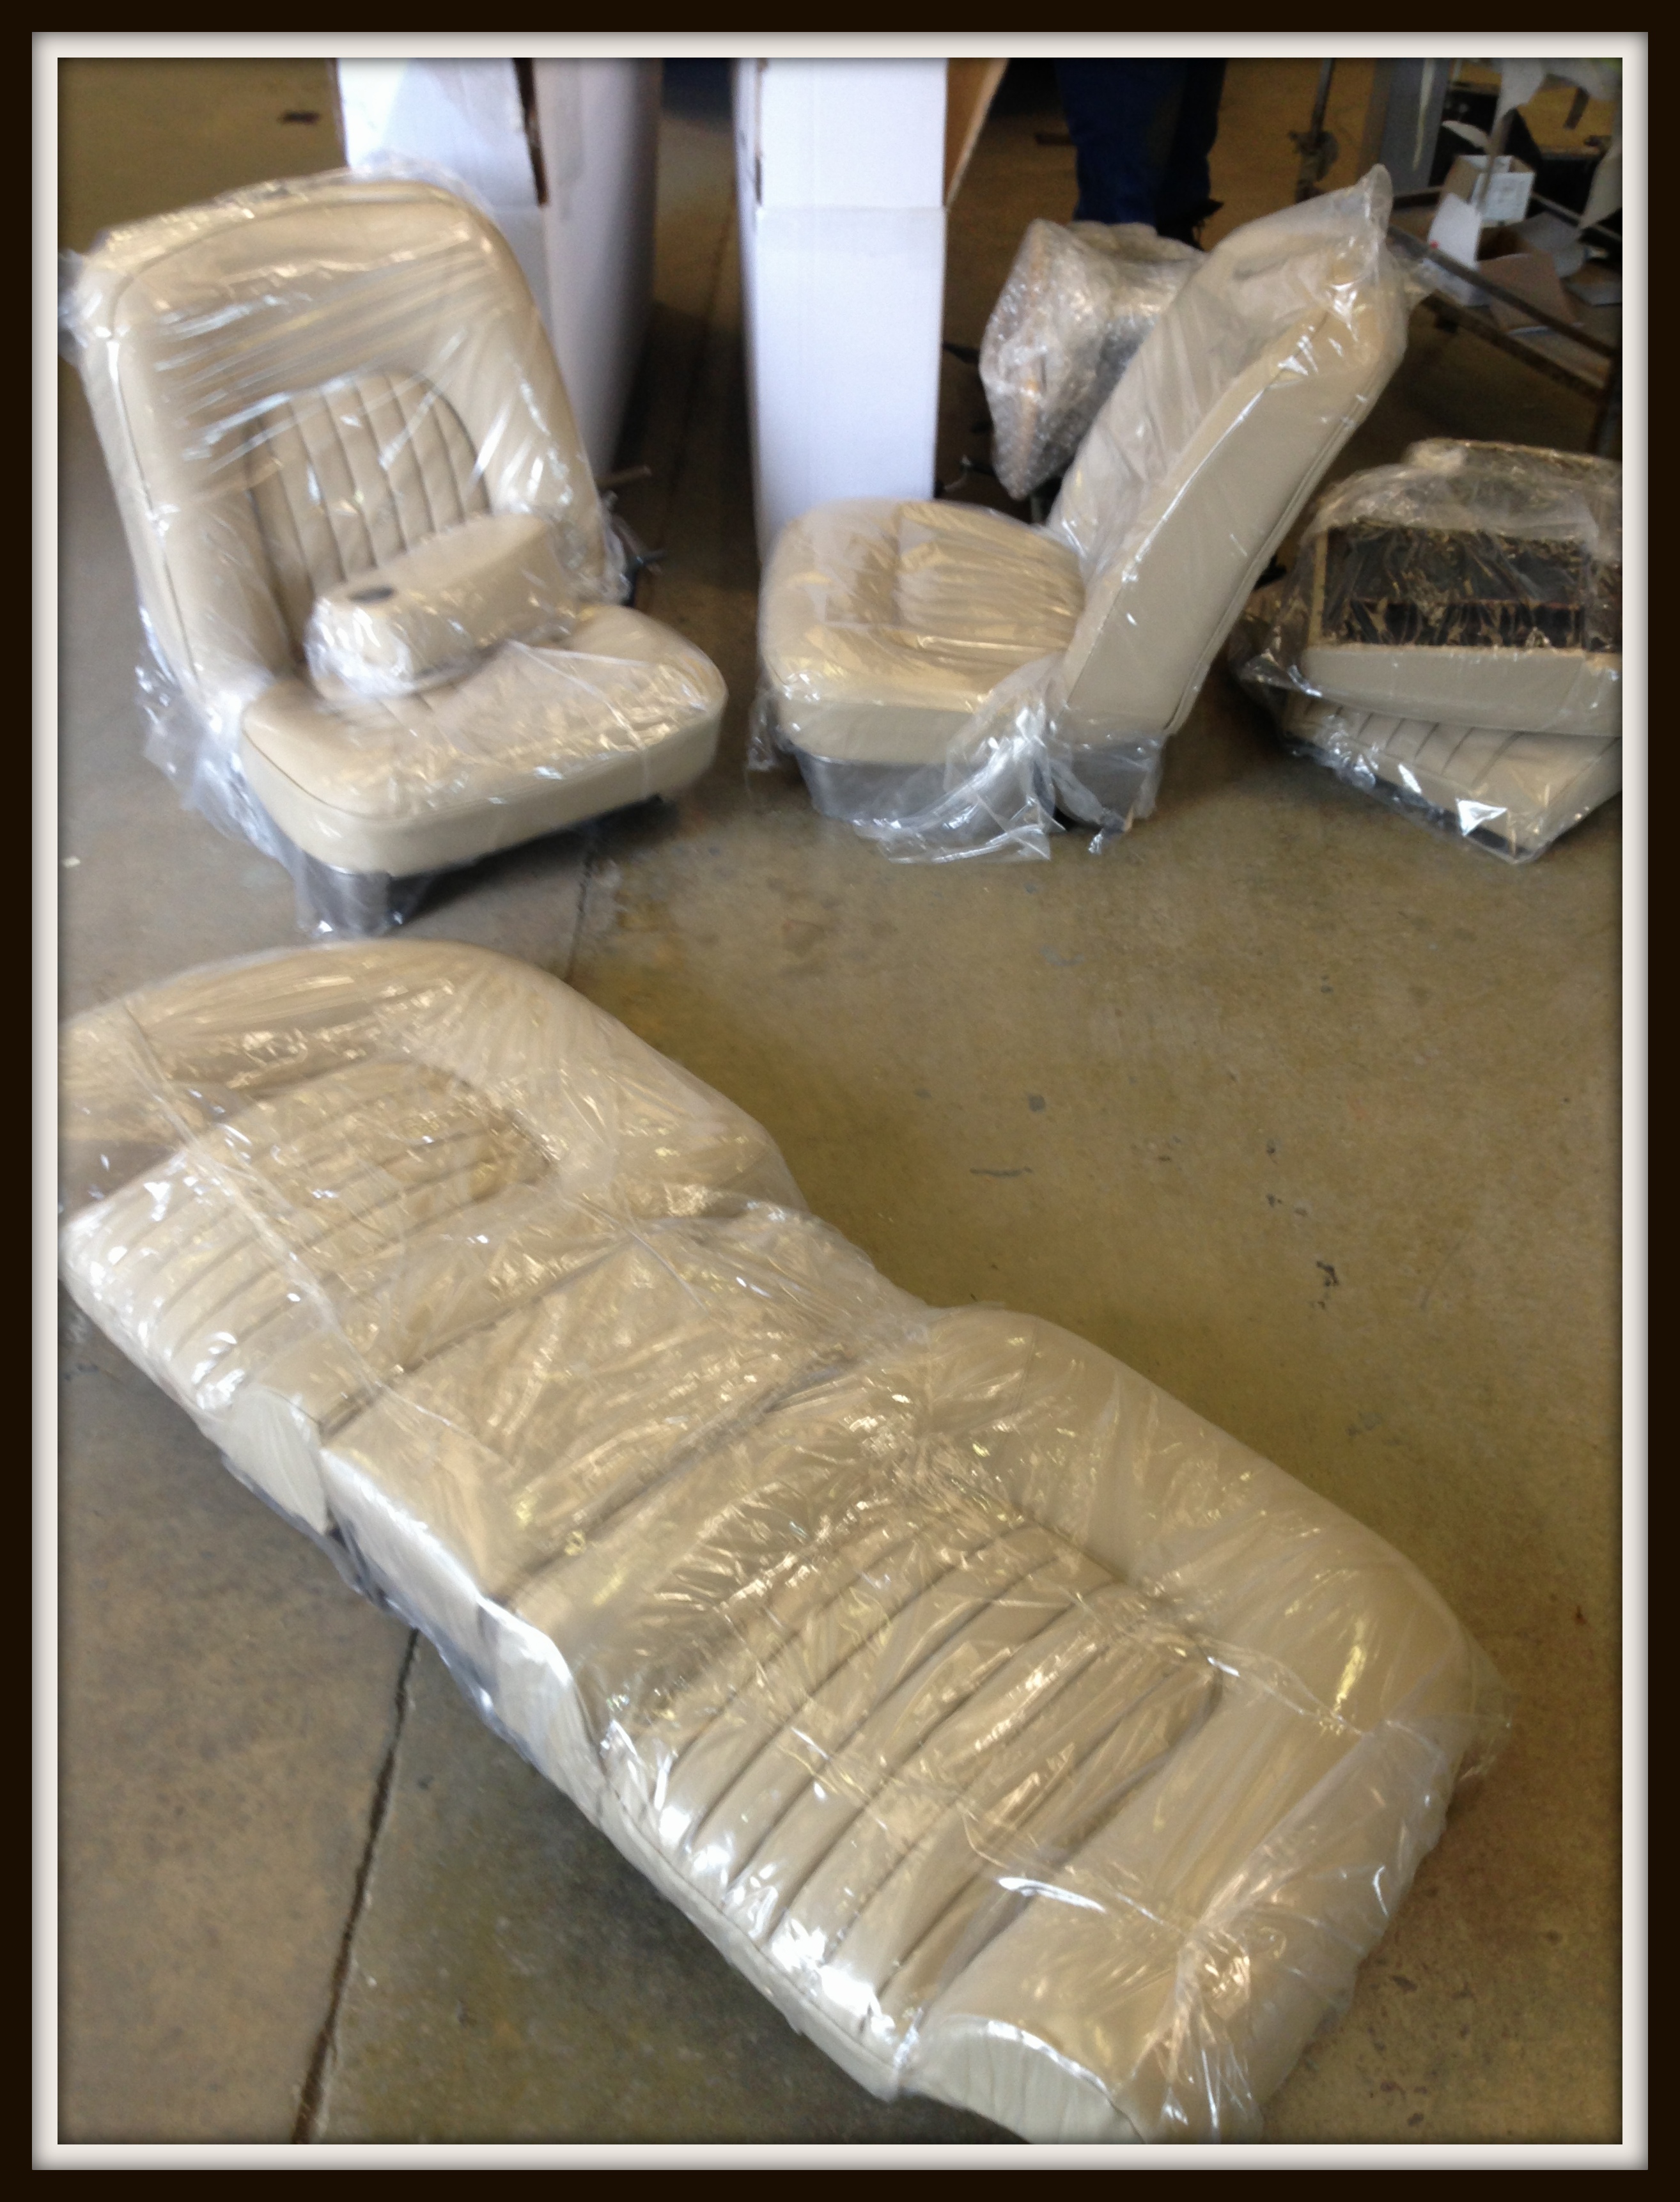
The New interior fitted perfectly, however the door panels were a challenge, as the backs had to be replaced as well as the leather, which made fitting rather tricky.

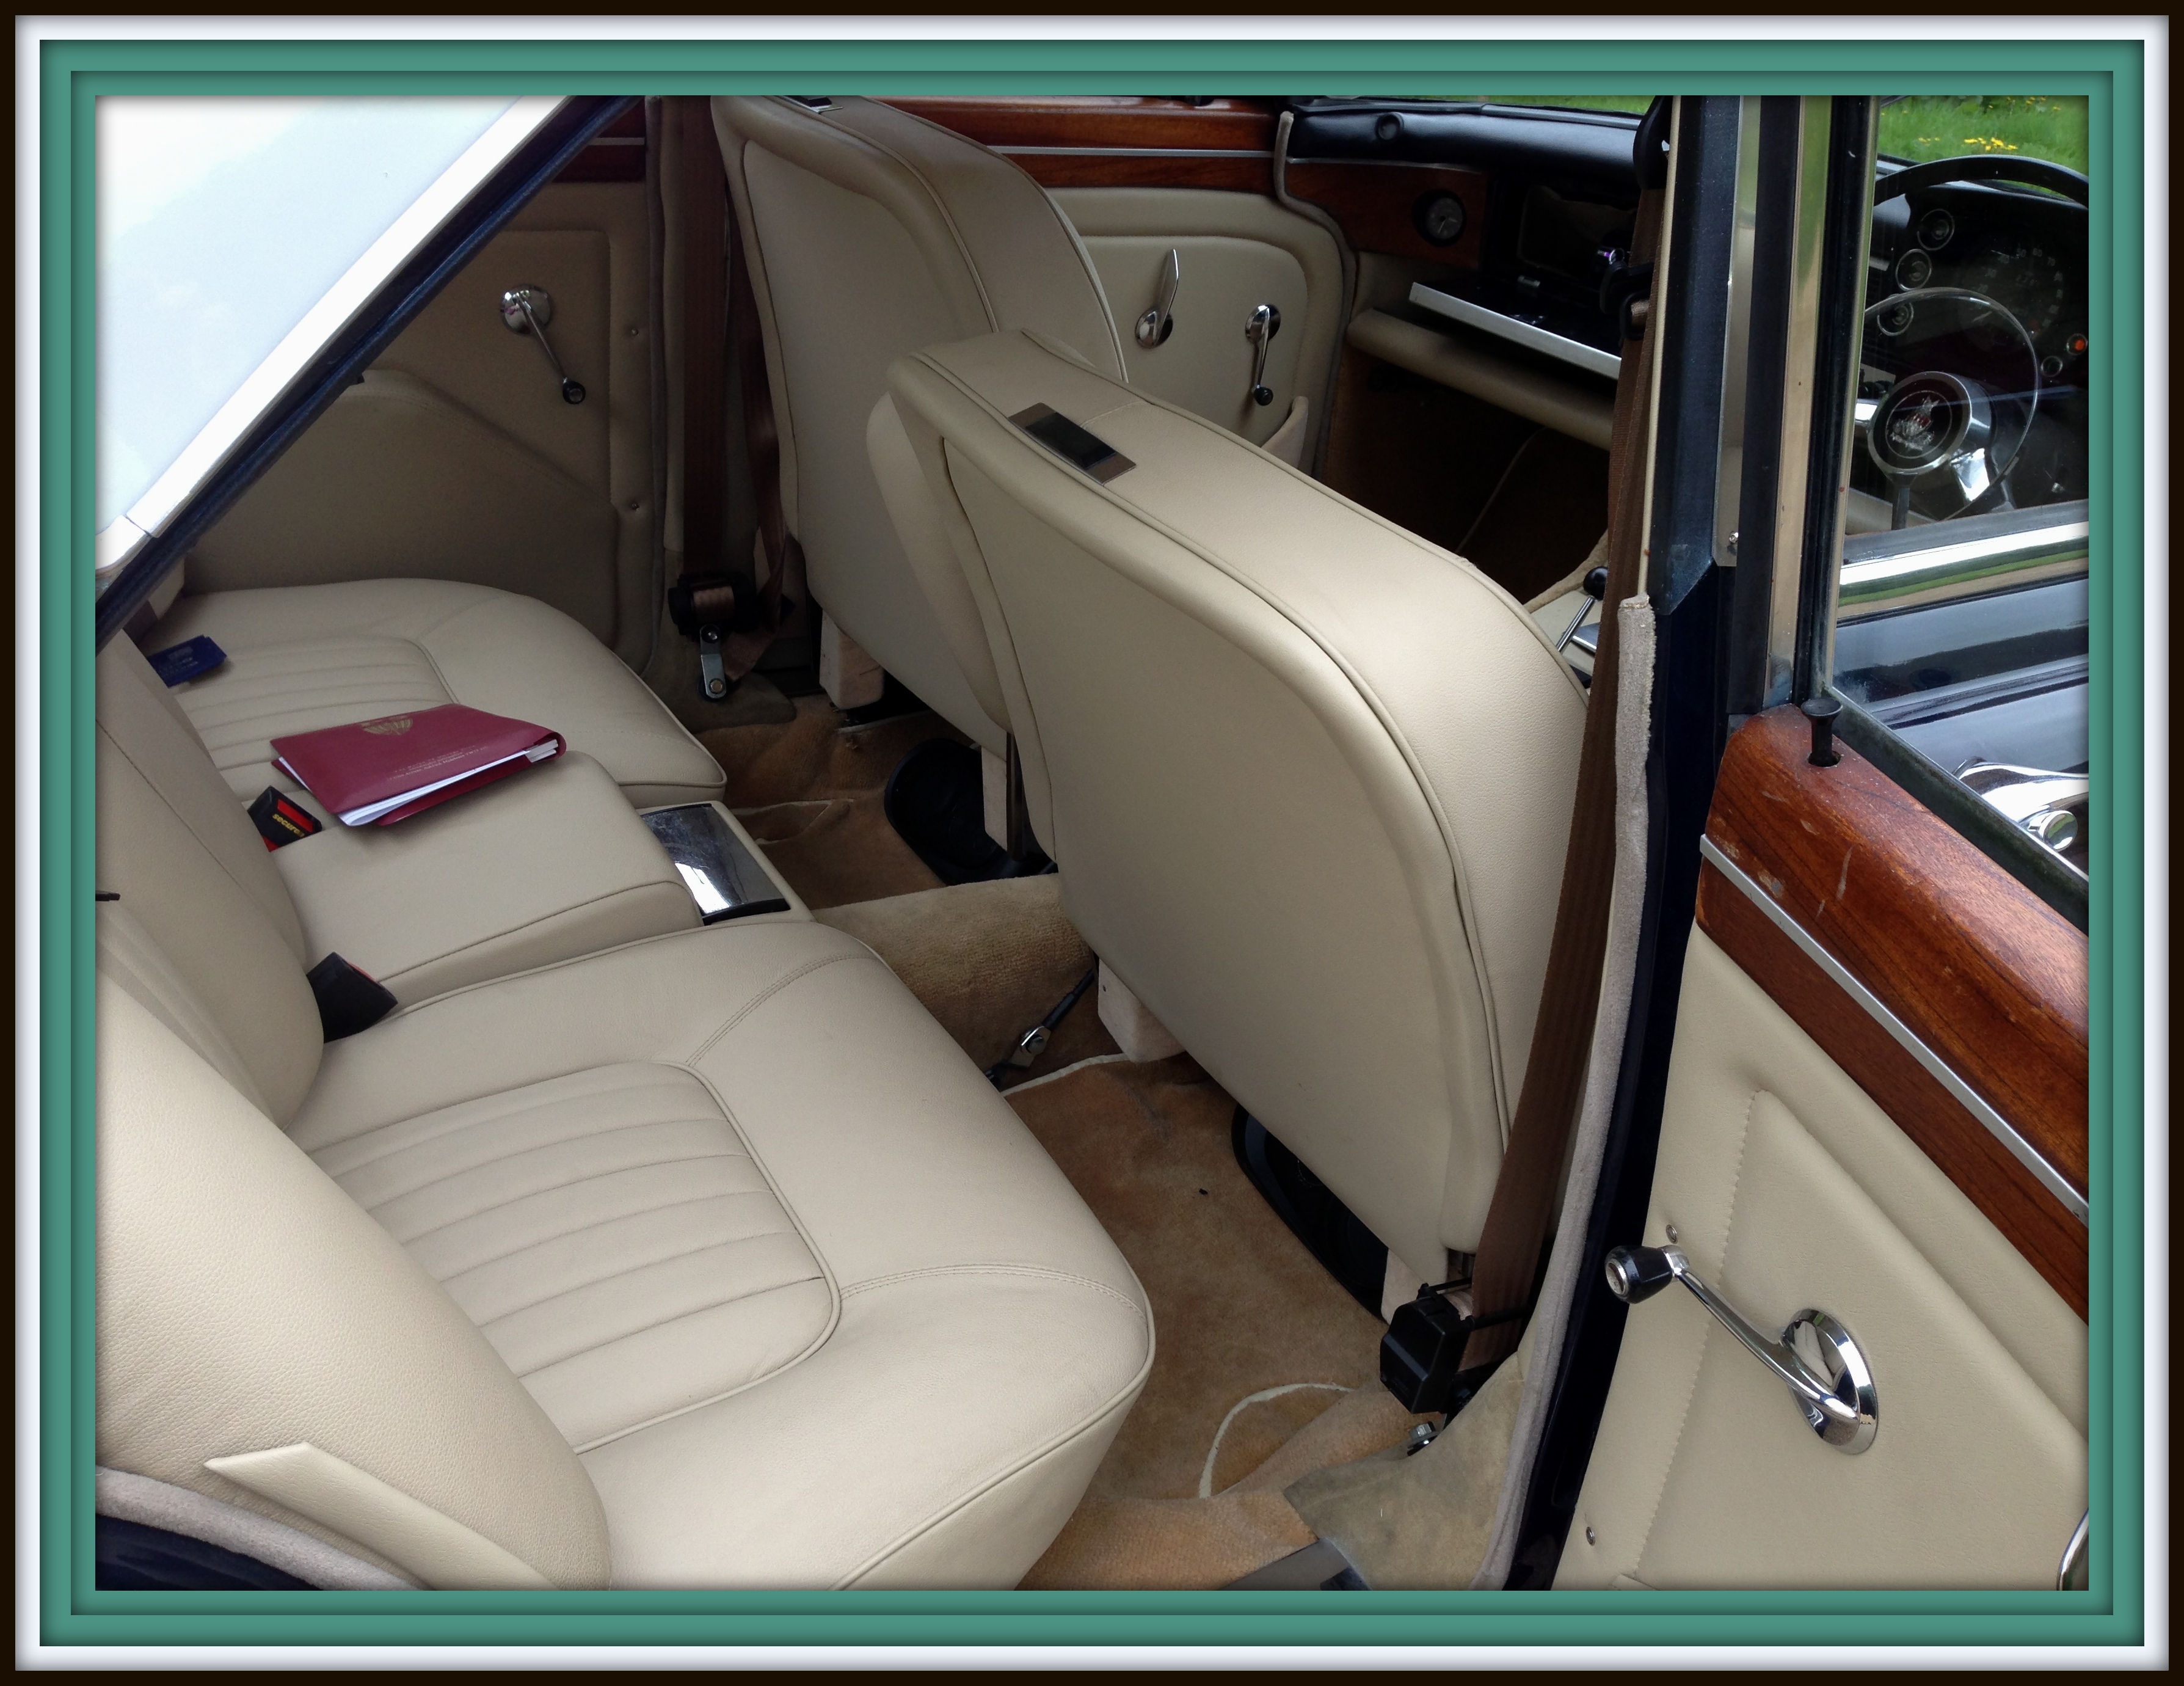
Refitting took a while as there was a lot to do, including cutting and fitting new seals for all the doors
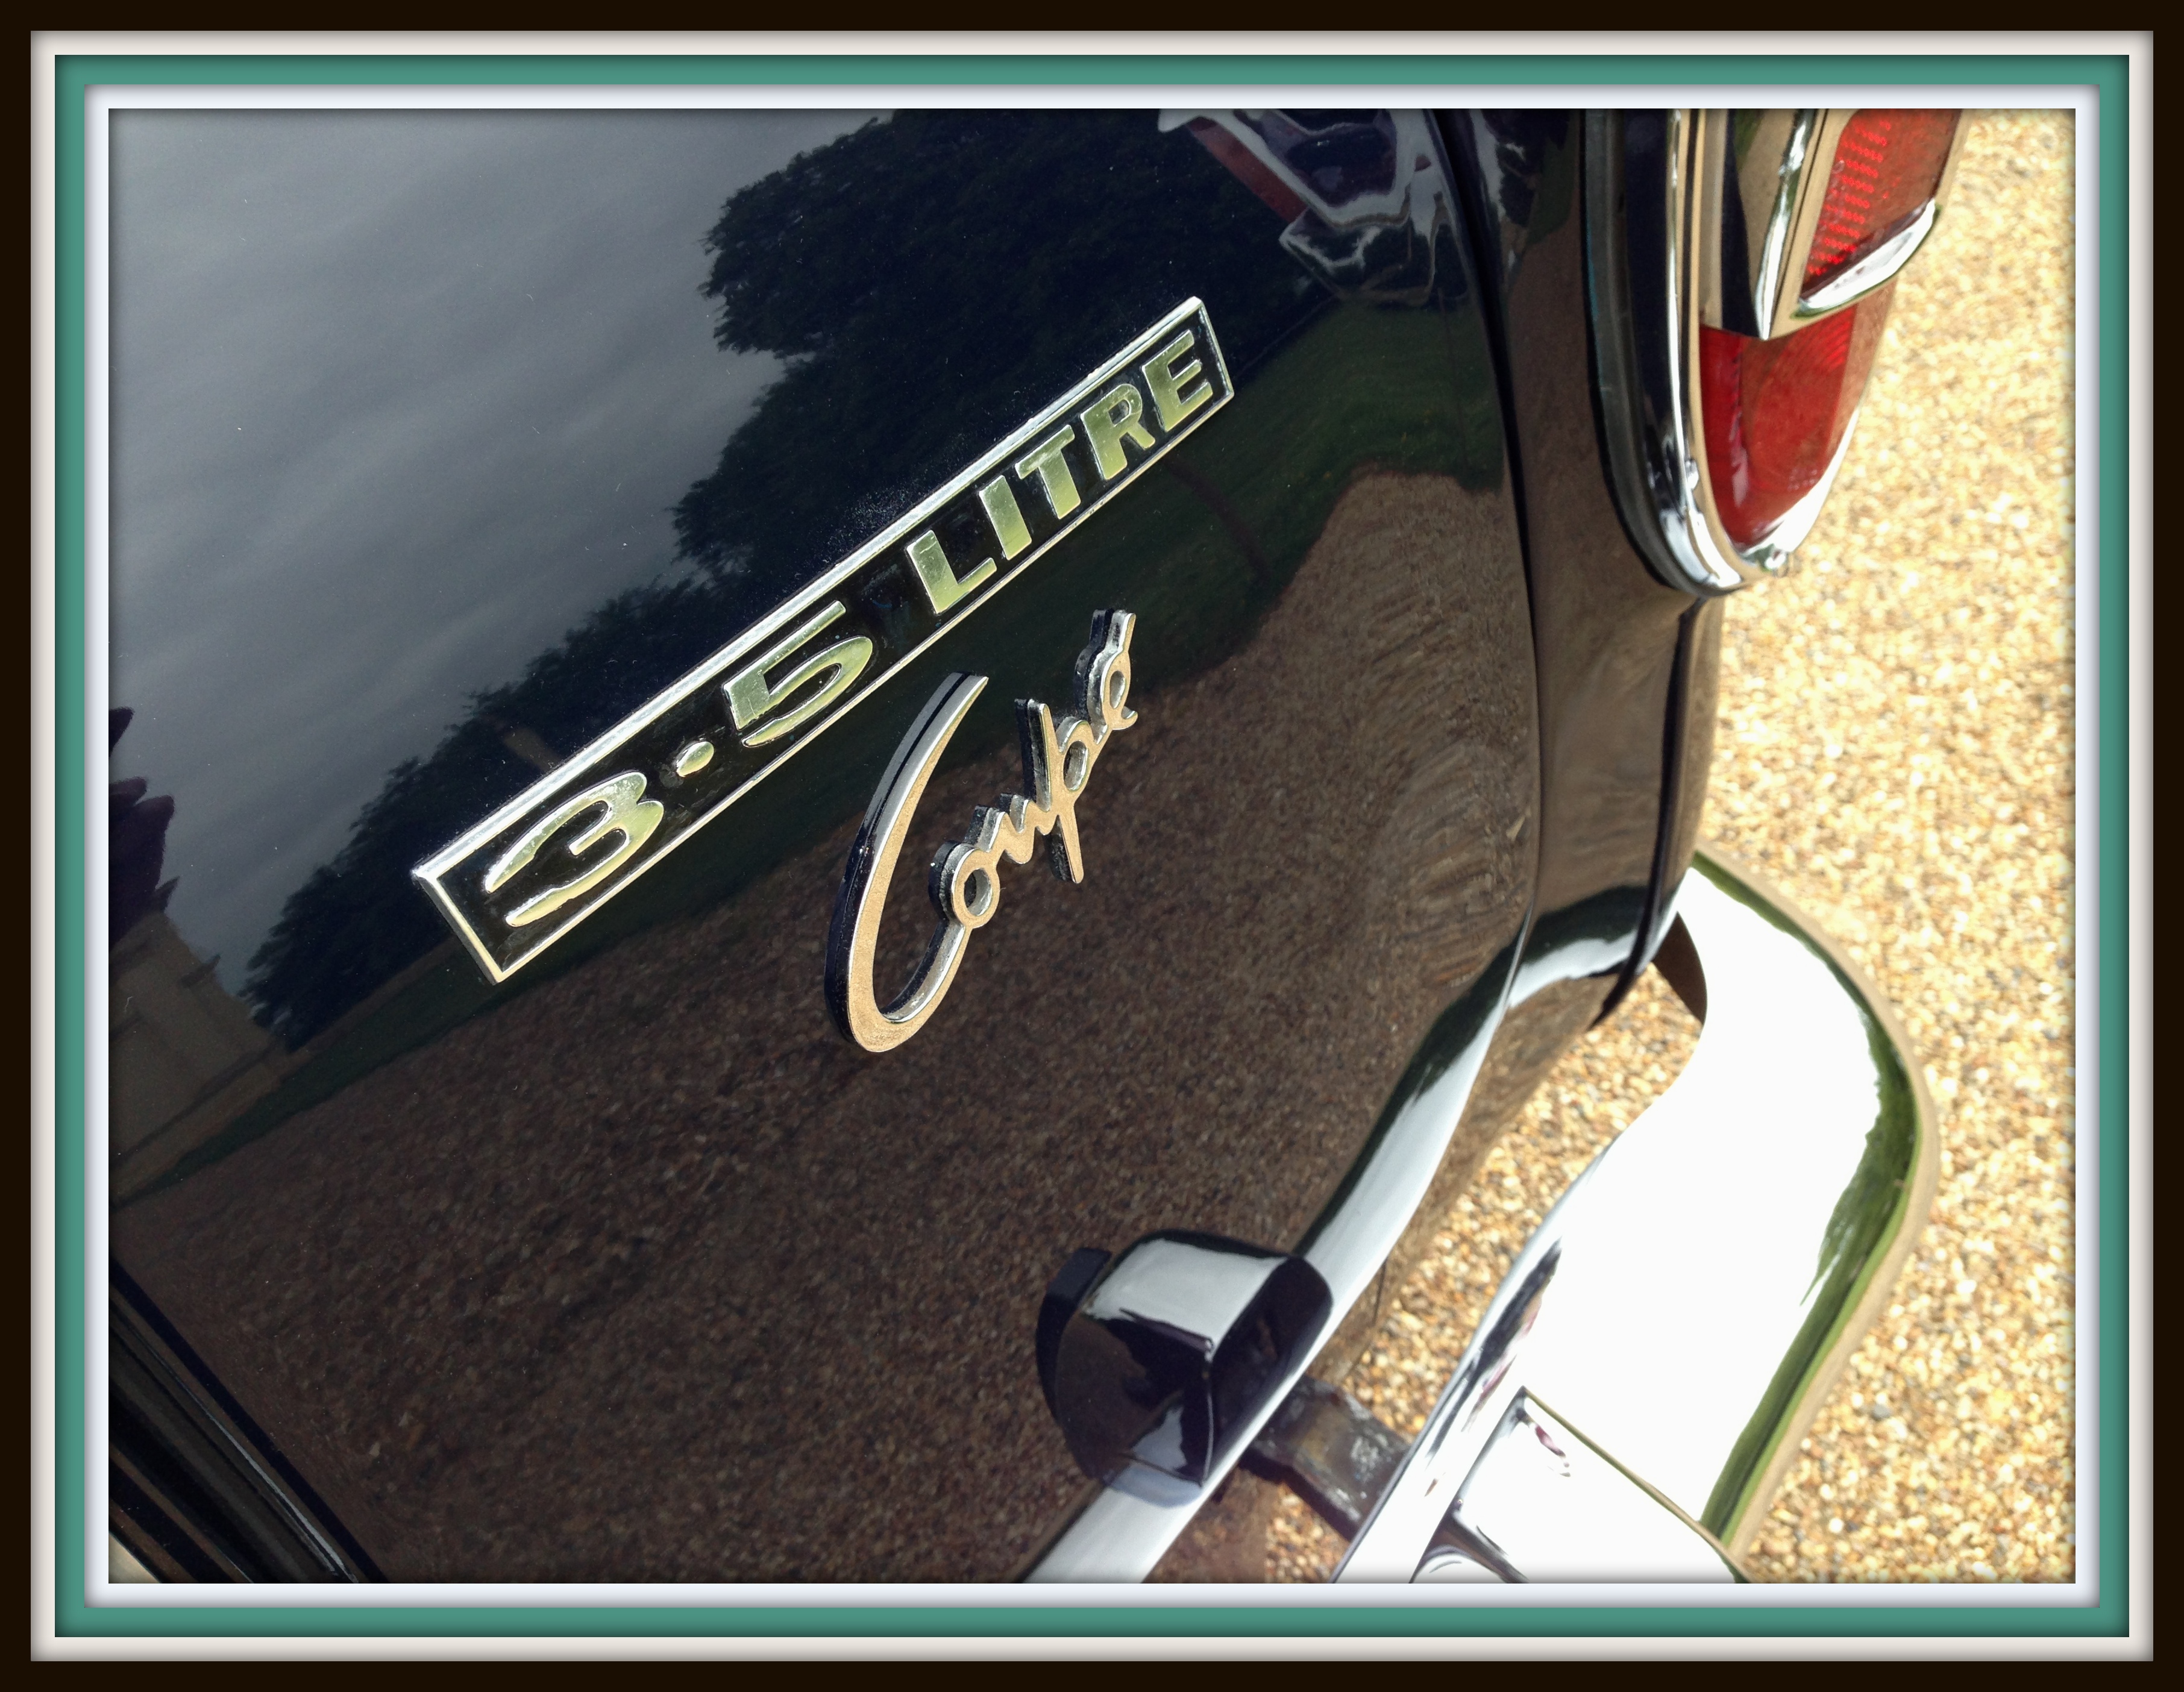
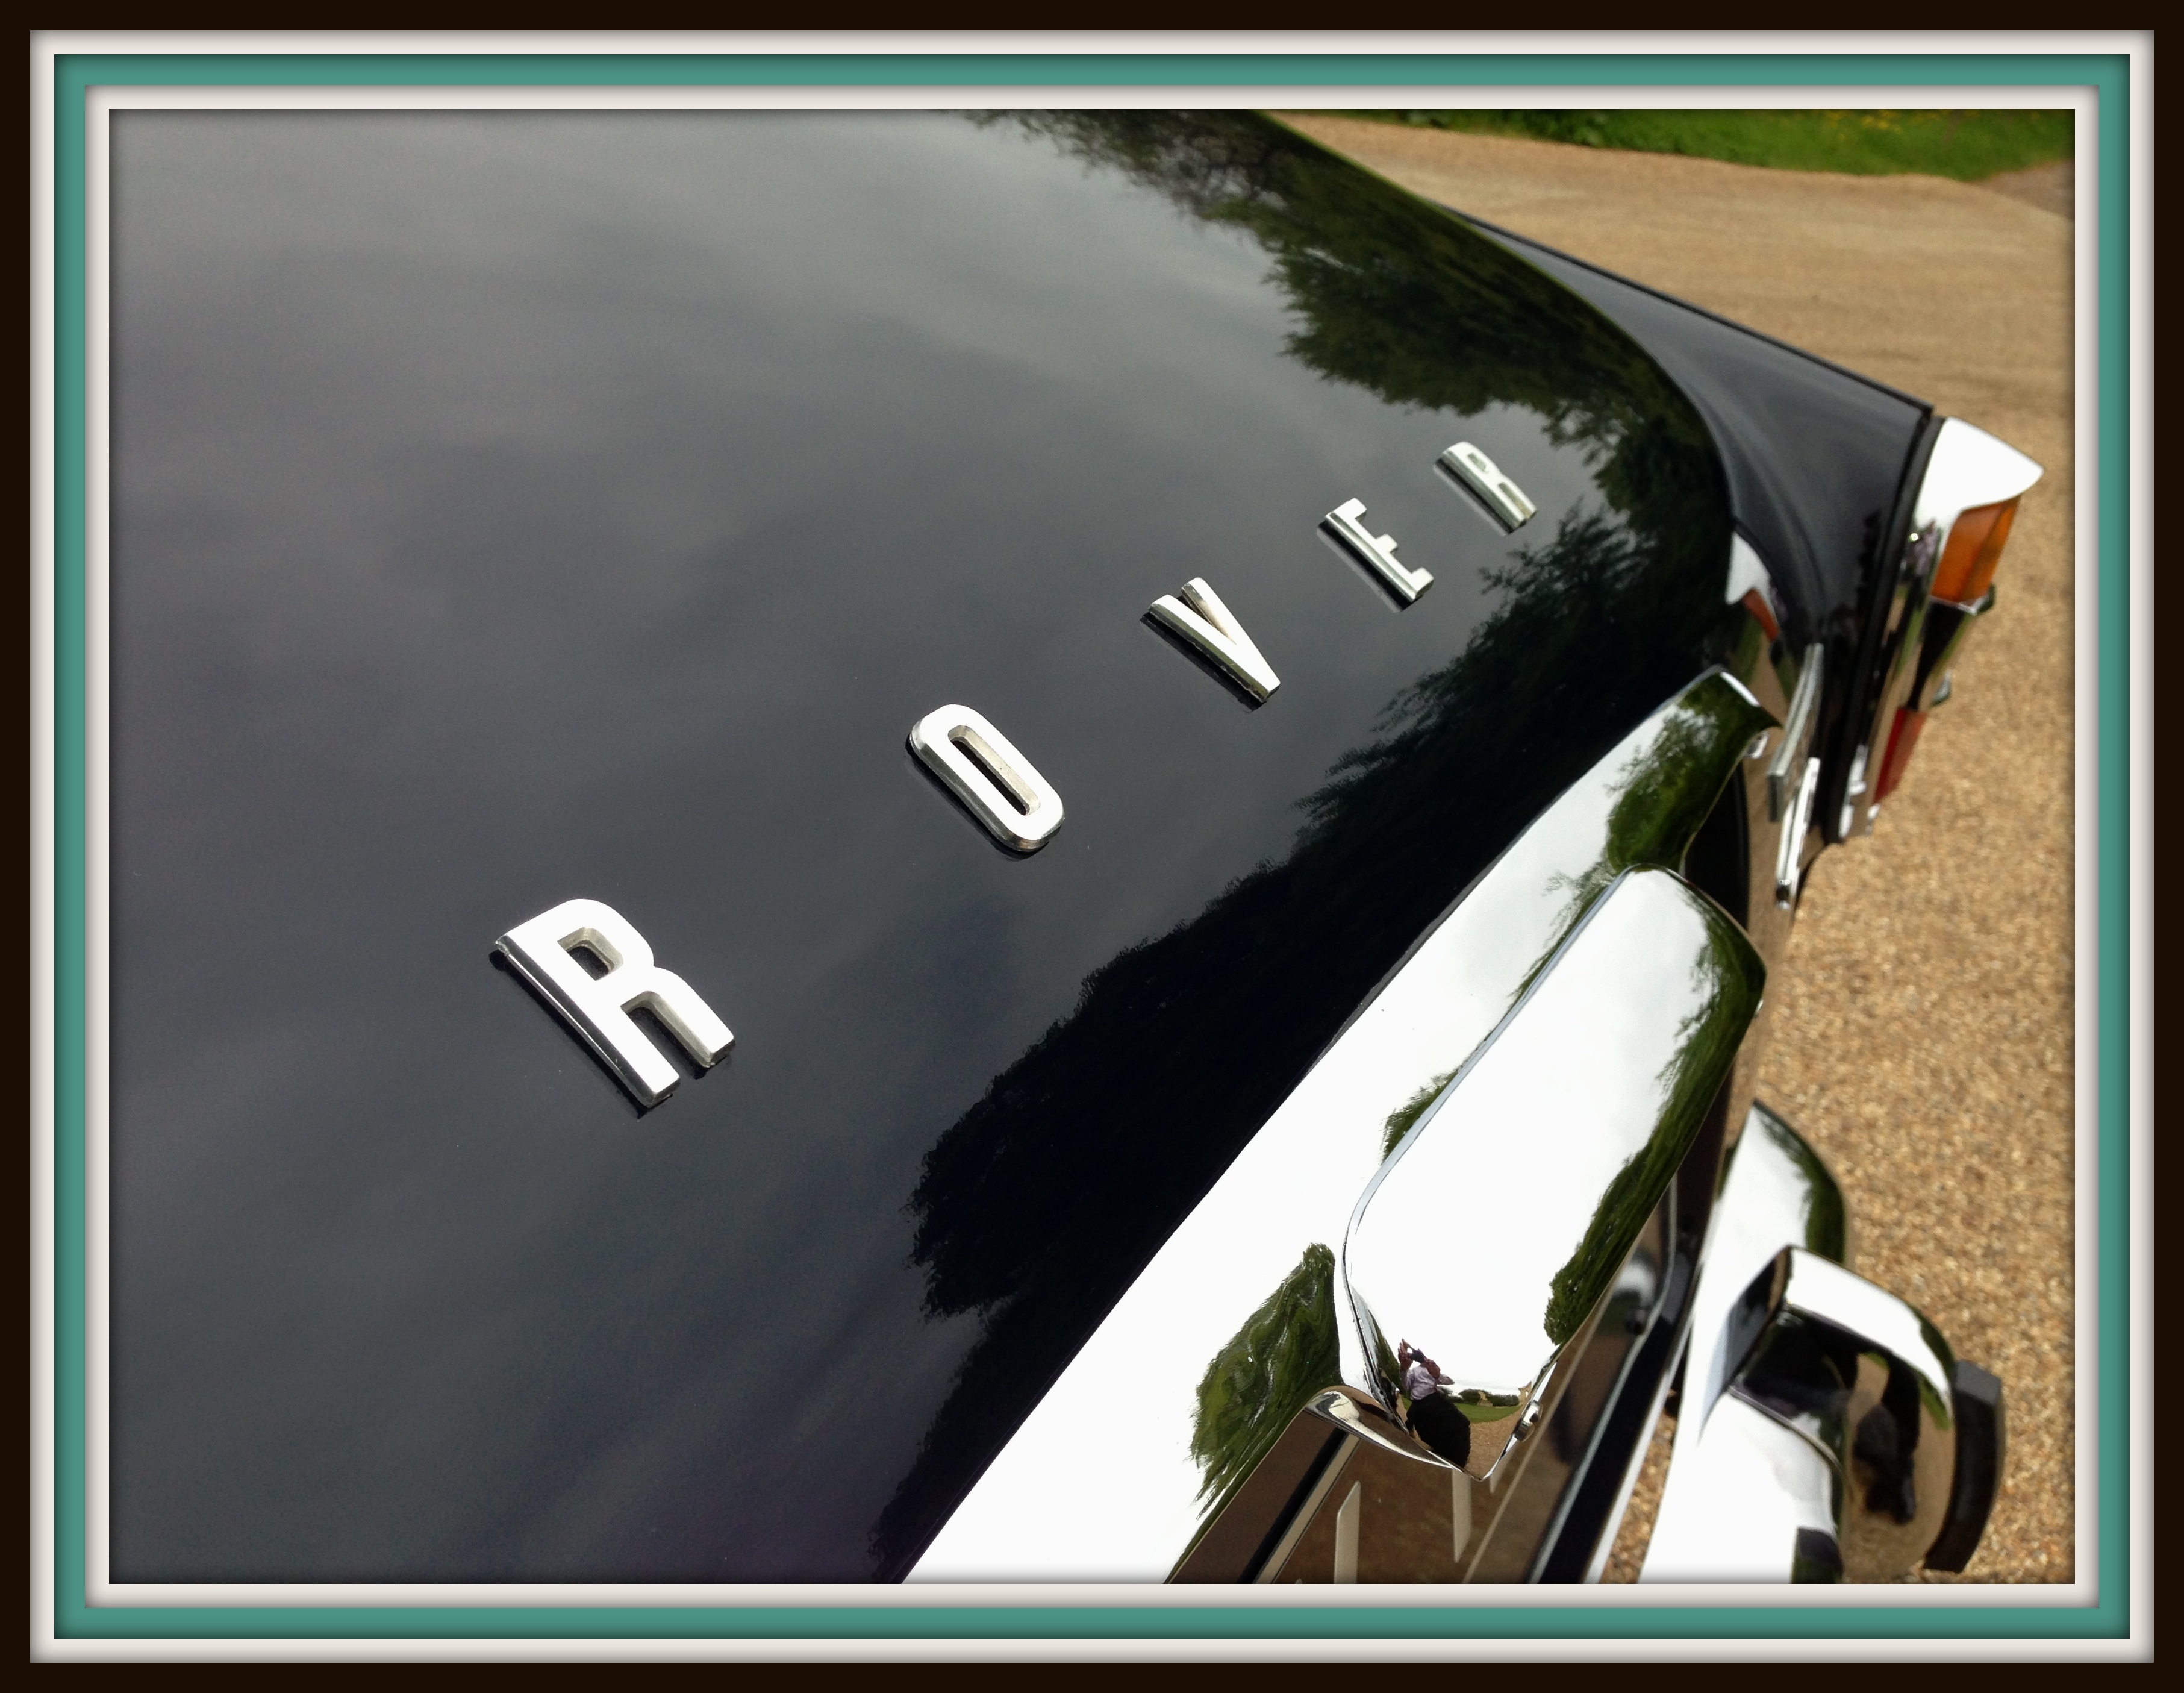
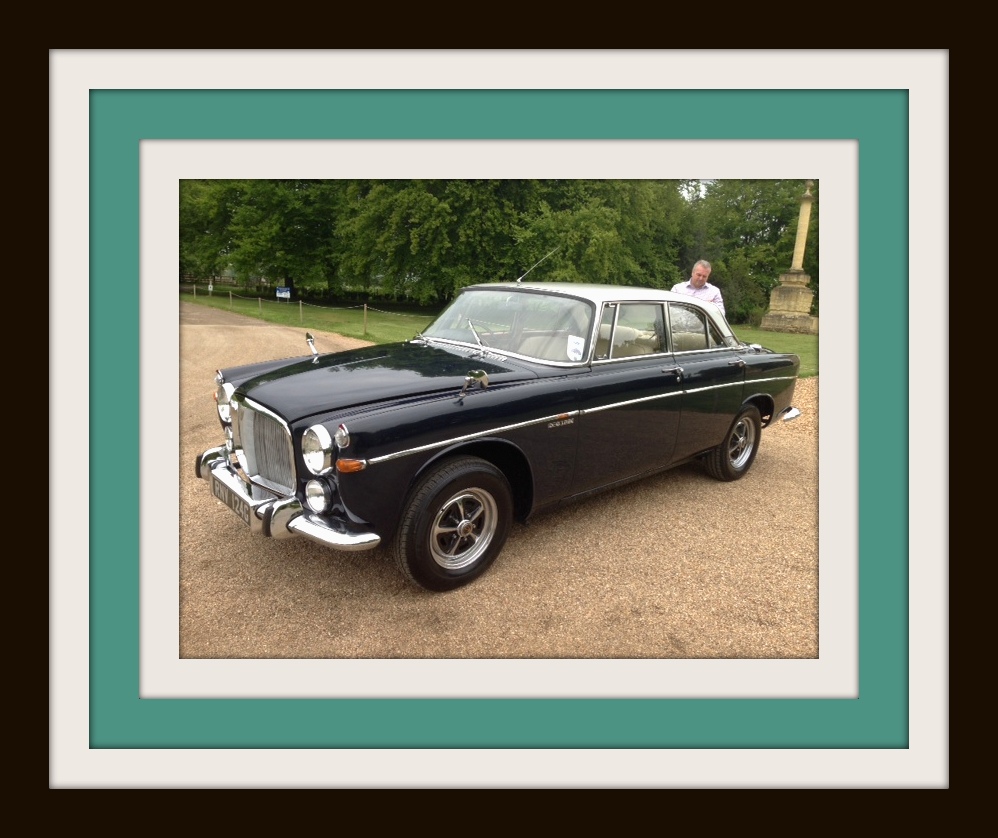
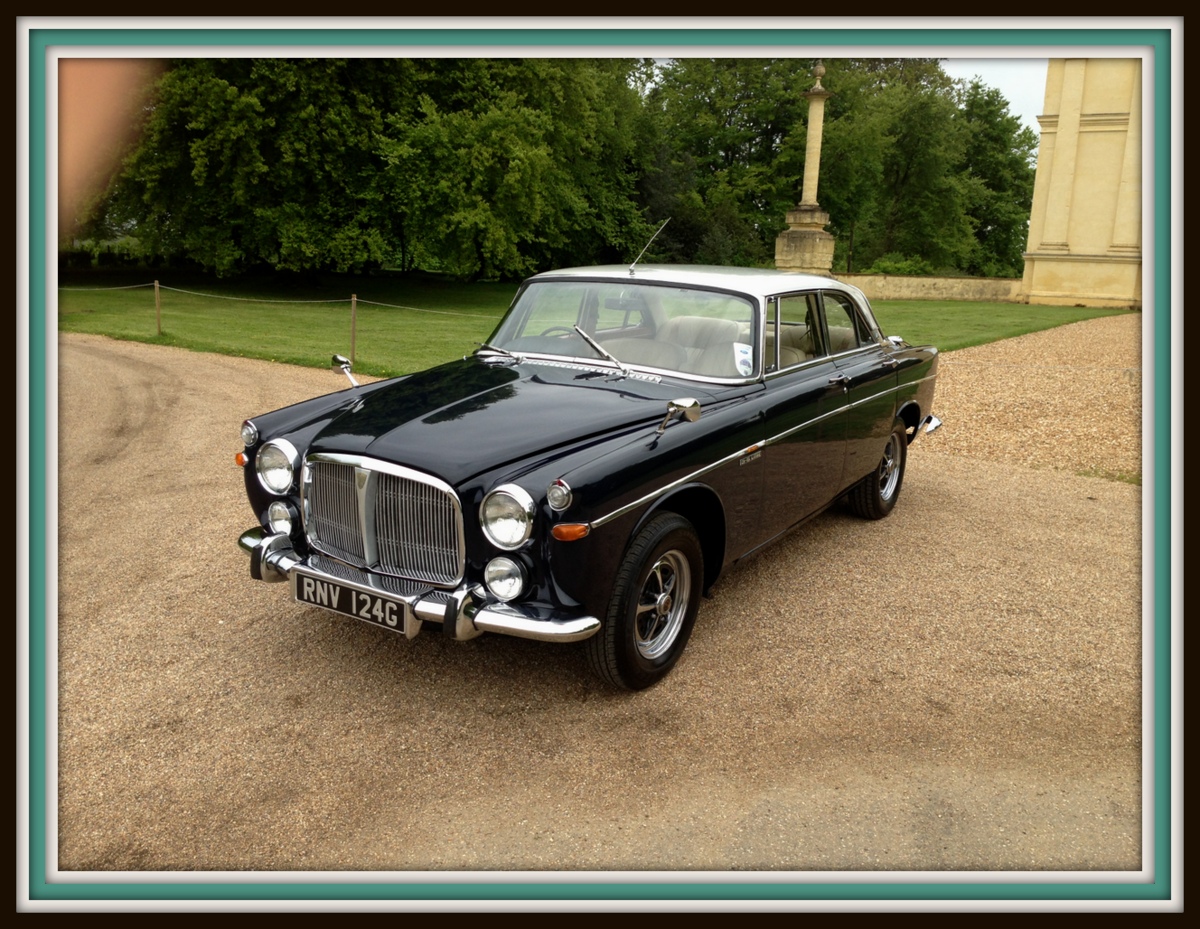
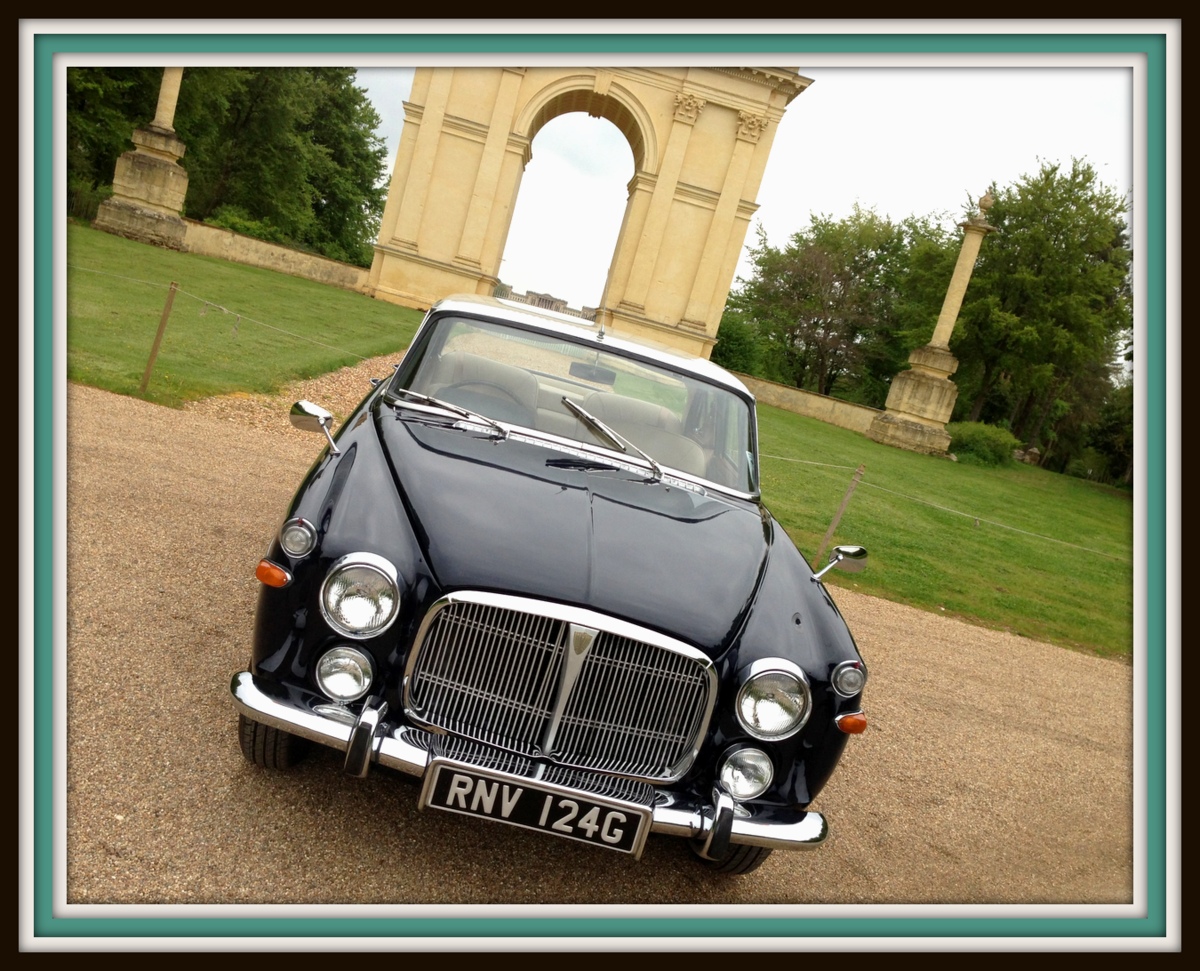
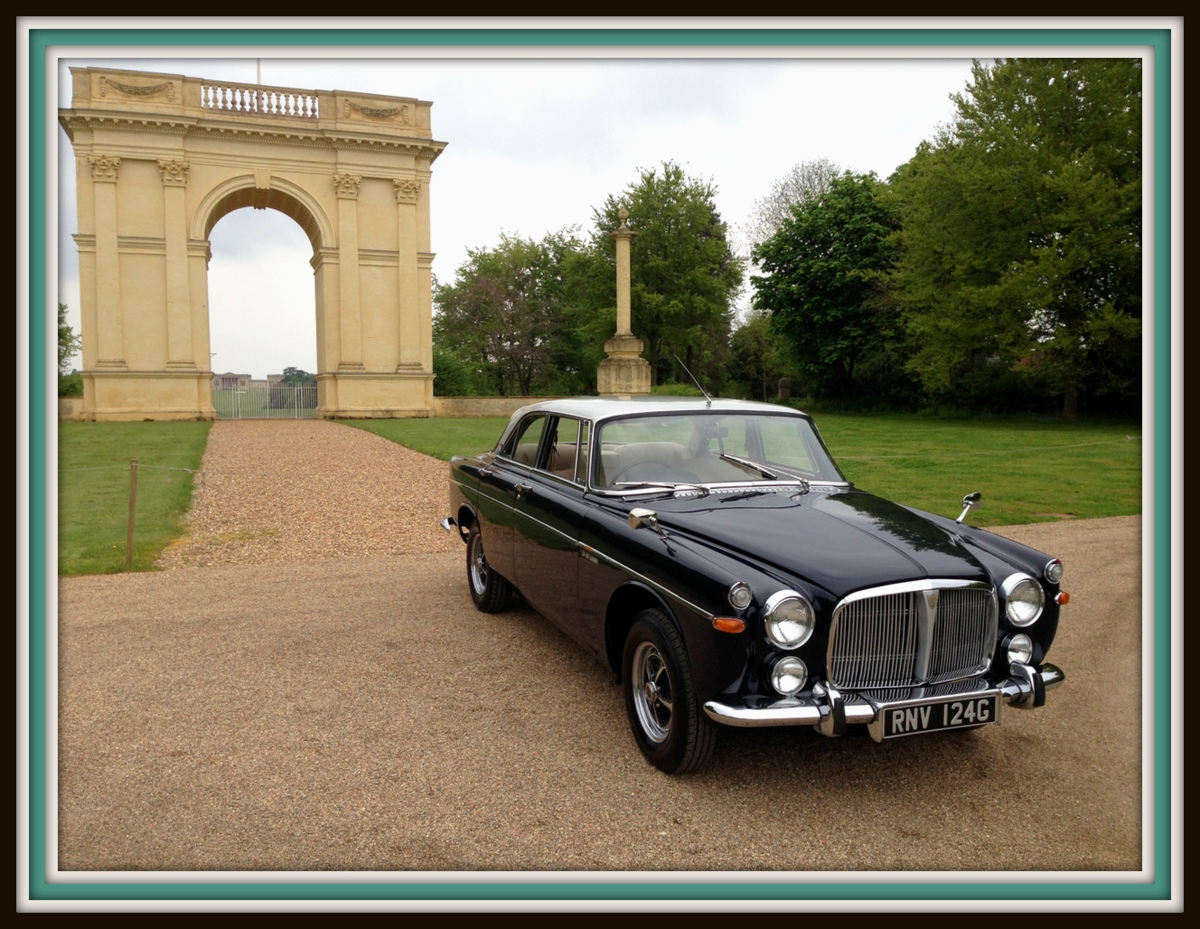
and then it was on to polishing it, and this is what we got.

![]()